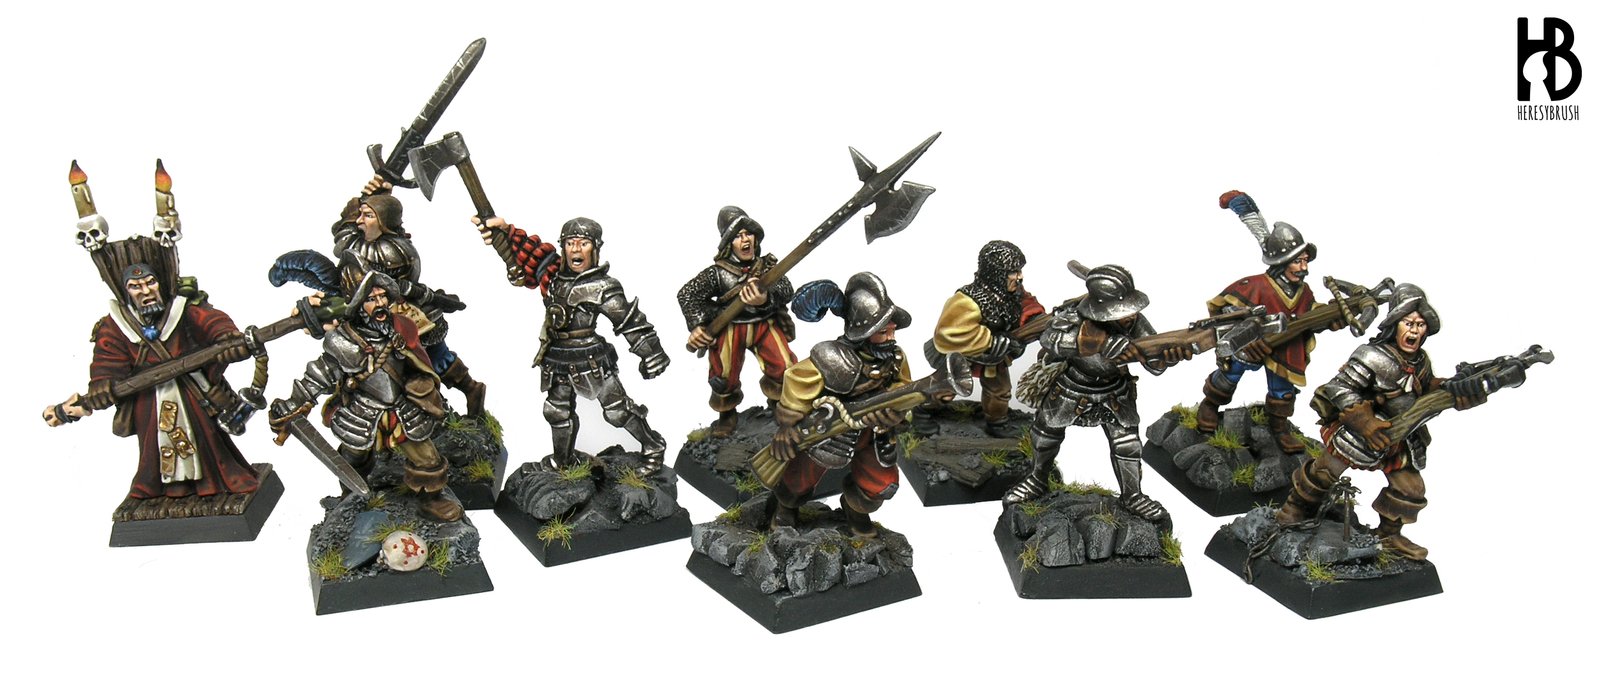
 Following another suggestion, I have prepared a small tutorial featuring how to paint metals (mostly steel). In fact, if you want to see a specific tutorial that I have not covered yet in the blog, just drop me a message! You can see the second part of this post, featuring how to paint leather, here. And I recently wrote another article featuring how to paint TMM gold, here.
For some people painting metals is not a piece of cake. Many metallic acrylic paints have a low coverage when they are thinned even with a little bit of water. However, if these paints are not thinned, they might be too thick and can easily generate undesired textures. In addition, the metal flakes -used to create a sparkling effect mimicking a metal surface- can create some weird effects (for example, when the flakes are too big), and we need to be extremely careful with the brushes and water used with metallic paints. The water used for cleaning the brushes or thinning the metallic paints will be full of metal flakes that can ruin any other paint if we reuse it. Finally, another difficult part is how to apply shades and highlights using metal colours. We will cover this part here.
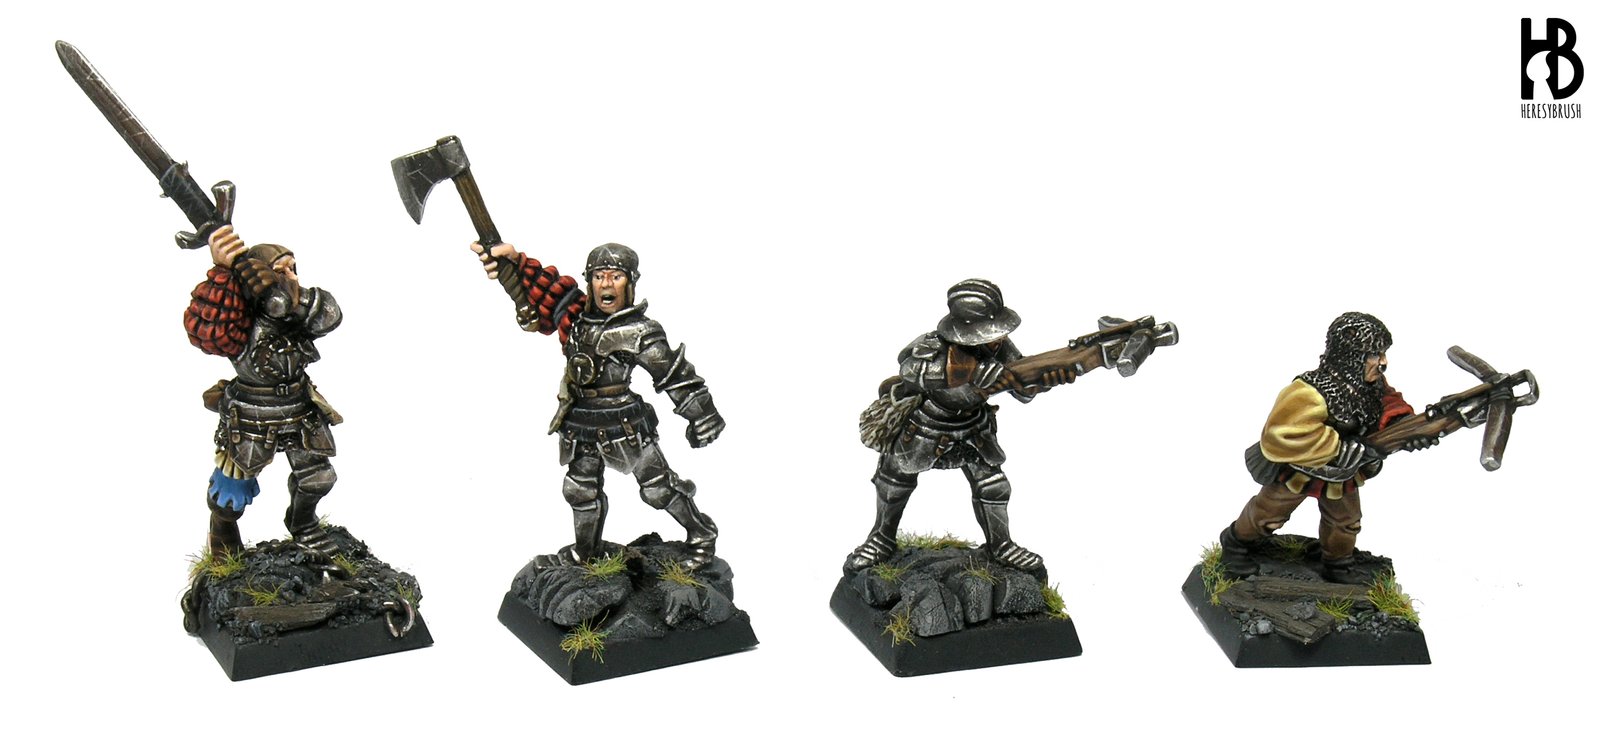 Last year I was involved in a very cool project about painting an Age of Sigmar army in only one year with my friends from Modelbrush. I decided to paint a “horde” army (Legions of Nagash), which meant that I had to find quicker ways to paint my miniatures. I really enjoyed this project because I put into action several techniques which otherwise I would have never even tried. For example, I tried intense washes (Contrast paints from Citadel) for the first time, and I started to use more heavily the airbrush to paint figures. Another quick technique I developed was precisely one for painting metallic parts using washes or Shades from Citadel. If you have the opportunity, try to participate in one of this painting leagues or painting projects. They might be very instructive! Later on, during the last autumn, I decided to repaint my old miniatures for Mordheim -which are fully armoured- and I decided to go a little bit further with this technique.
Far from being fully optimised (it will never be!), in the following lines, you can find my recipe to paint “true metallic metals” (in opposition to “non metallic metals” where we create the illusion of metal using non metallic paints). I would like to mention that this is only one recipe of hundreds. Remember to check Google and YouTube and try different methods until you find the recipe that fits your style. The best teacher is the practice!
True metallic metal
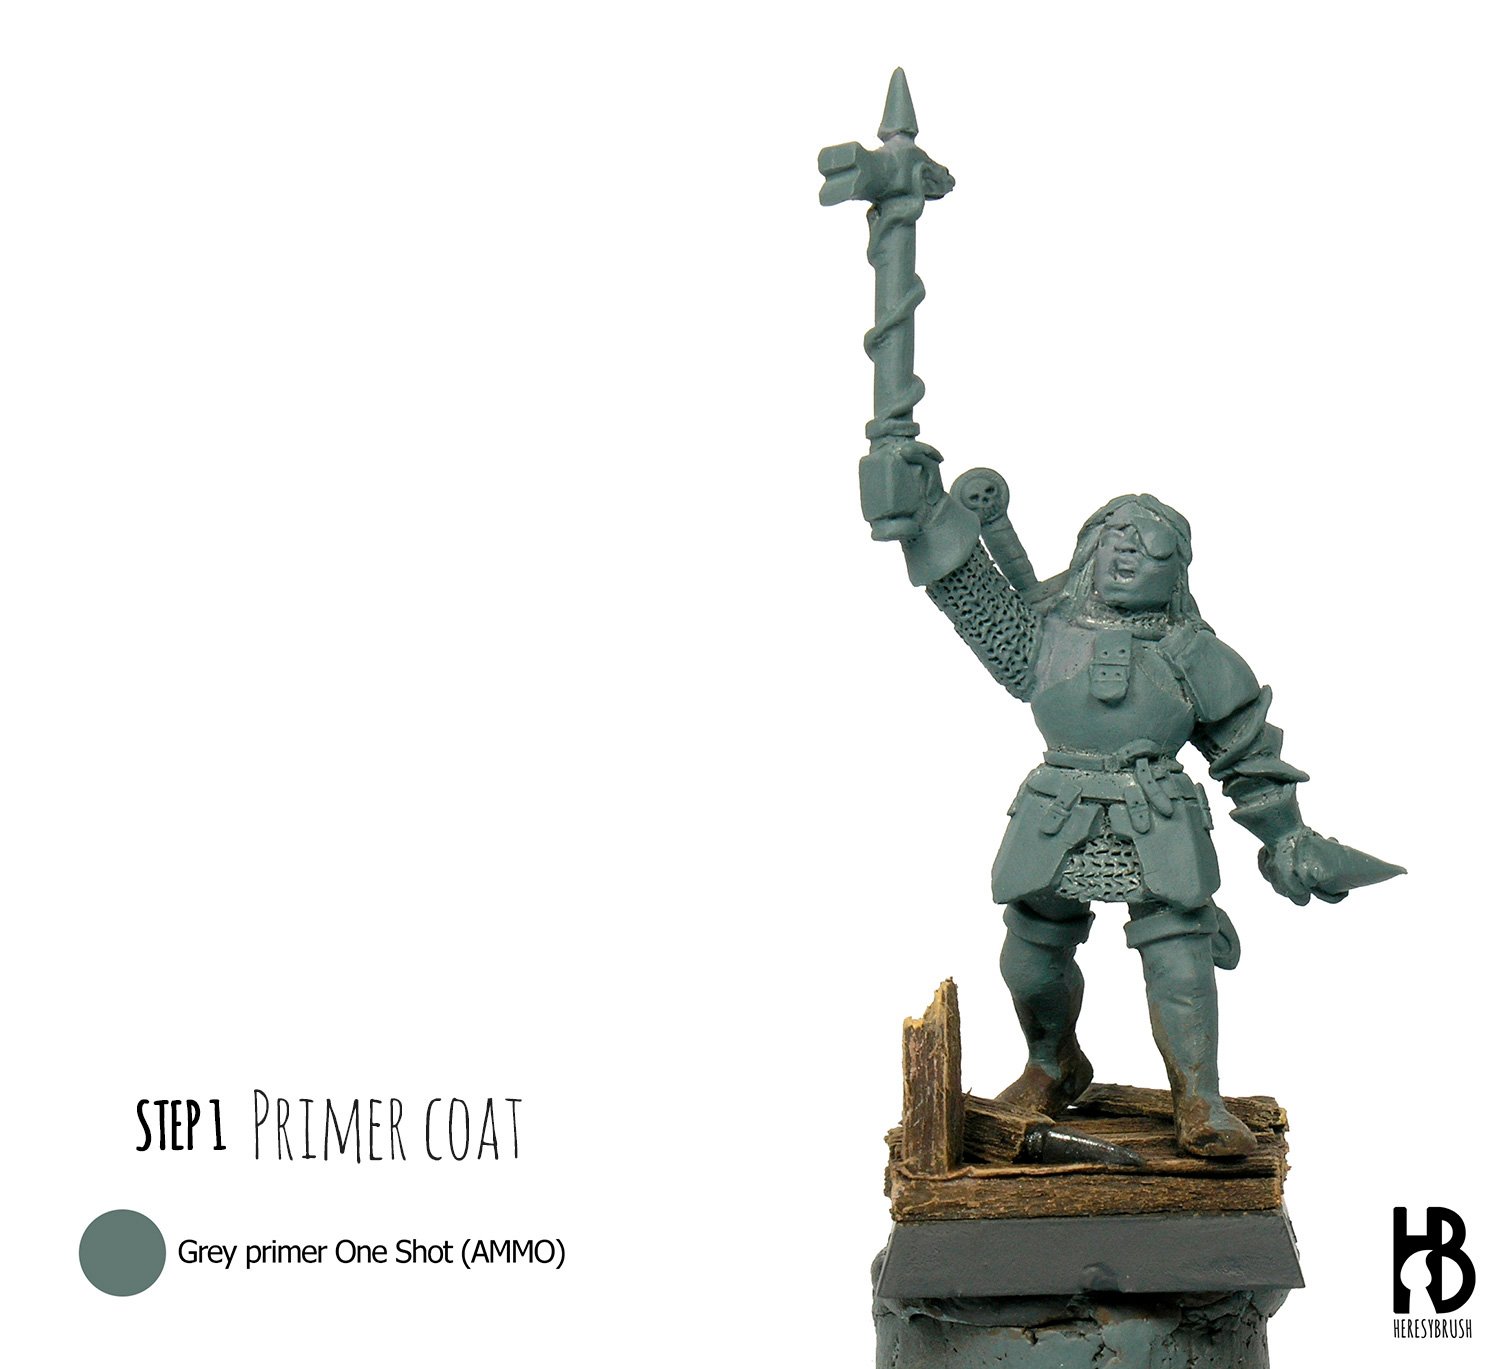
First step, as usual, it is to apply the primer coat. I airbrushed One Shot grey primer from AMMO. I normally use grey primer because this neutral colour is covered nicely by basically every paint.
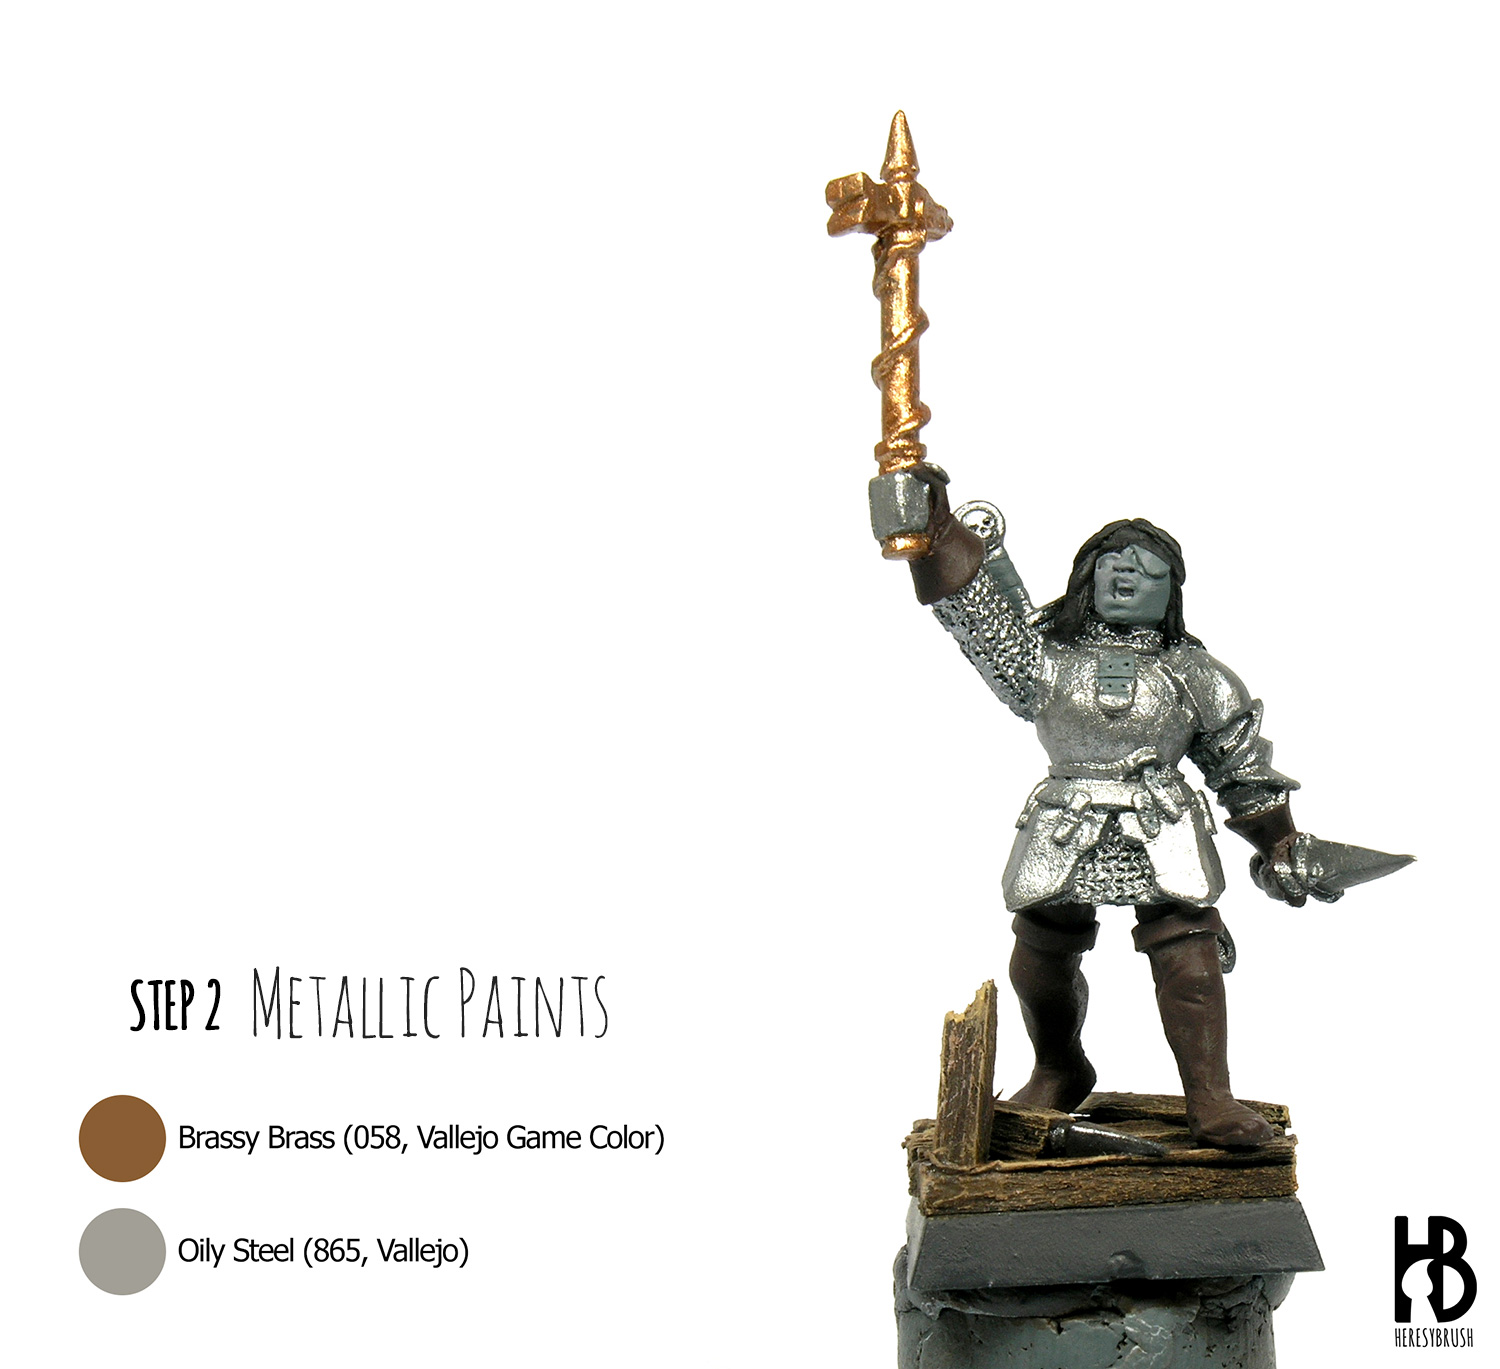
Next, we paint every metallic part of the miniature with steel. Here I used Oily Steel (865, Vallejo), but any other medium steel or iron color works. I wanted to add a little bit of contrast to the miniature, so that I painted the war hammer with Brassy Brass (058, Vallejo Game Color). I thinned the acrylic paints with a little bit of water and applied up to three layers to obtain a homogeneous color. I prefer this way in order to avoid strange texture. Remember to have a second glass of water to clean the brushes used for metallic paints.
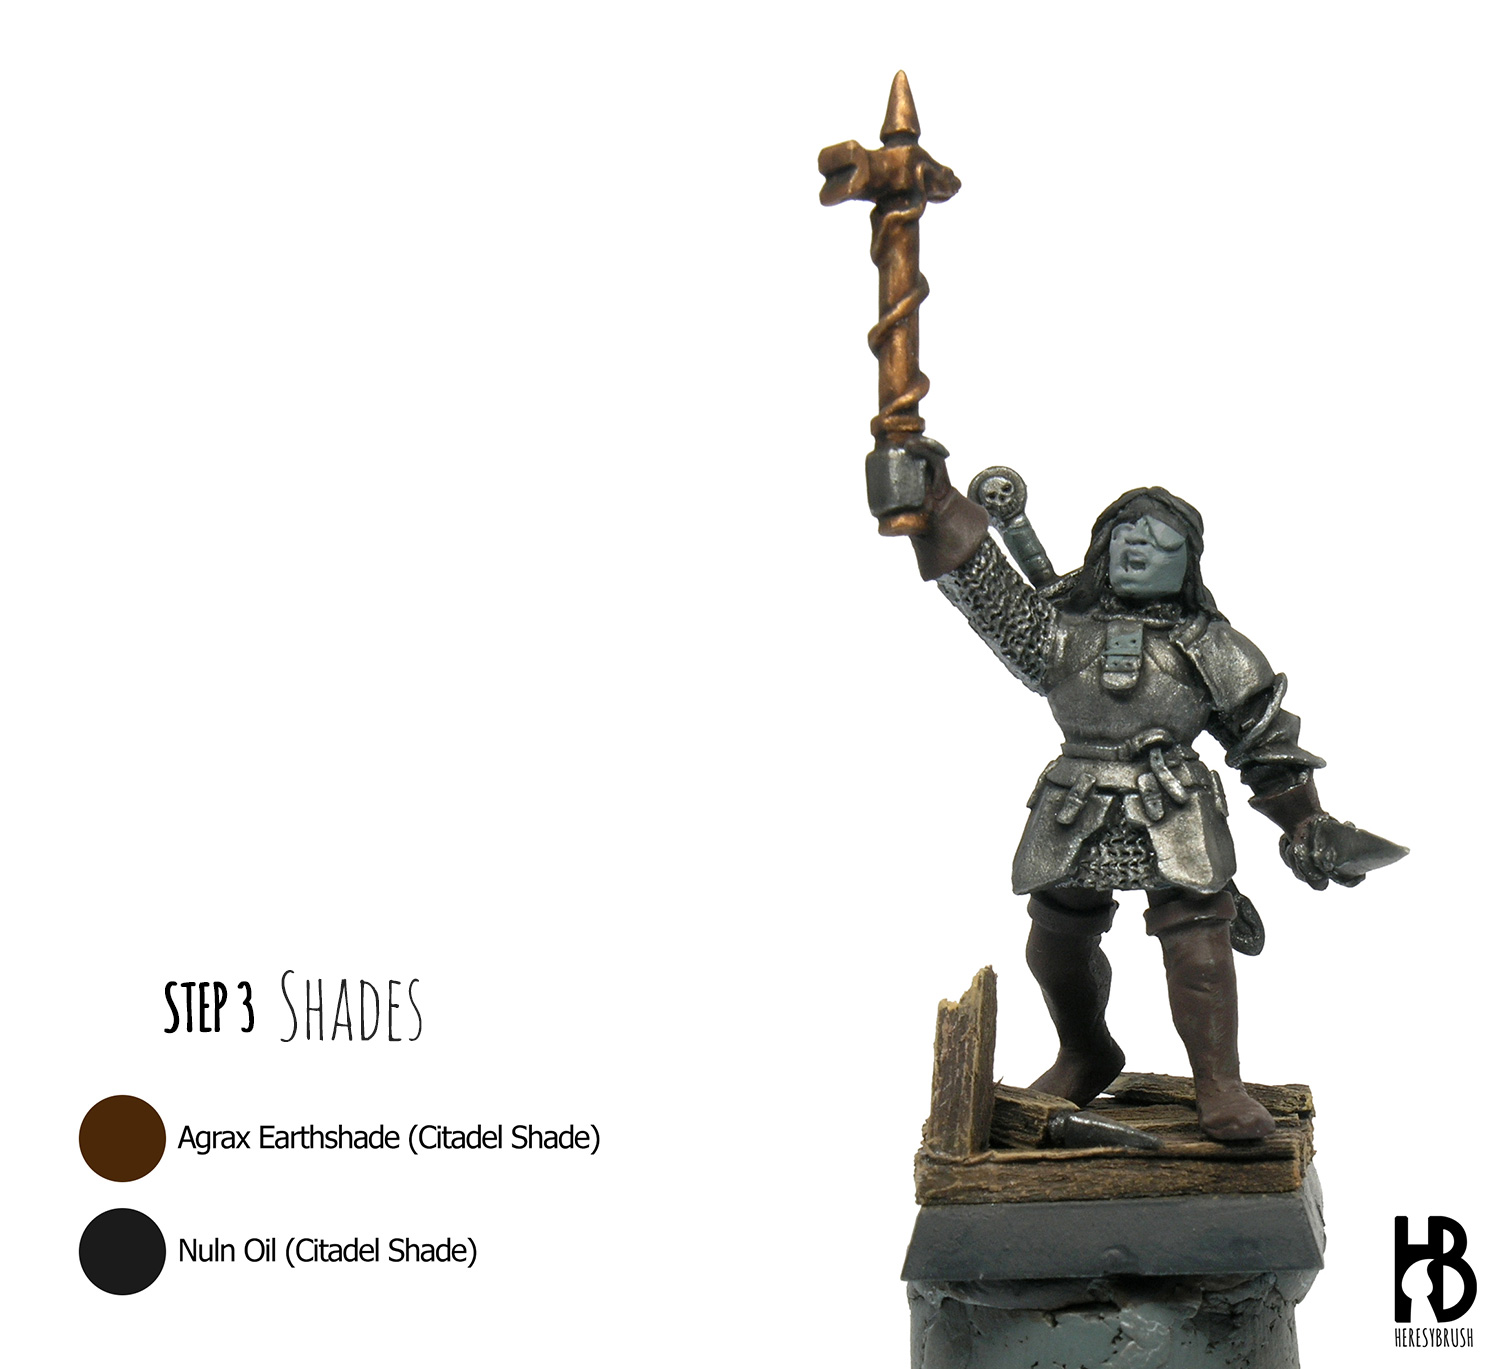 For the next step, we need an acrylic wash. I personally love Citadel Shades, which came in very different colours. I used two: Nuln Oil (black) for the steel and Agrax Earthshade (dark brown) for the brass. Once the wash is dry, we can apply a second layer when needed. For example, I did this in the war hammer to gain more contrast. As you can see, you could even leave the miniature as such: the effect is already marvellous!
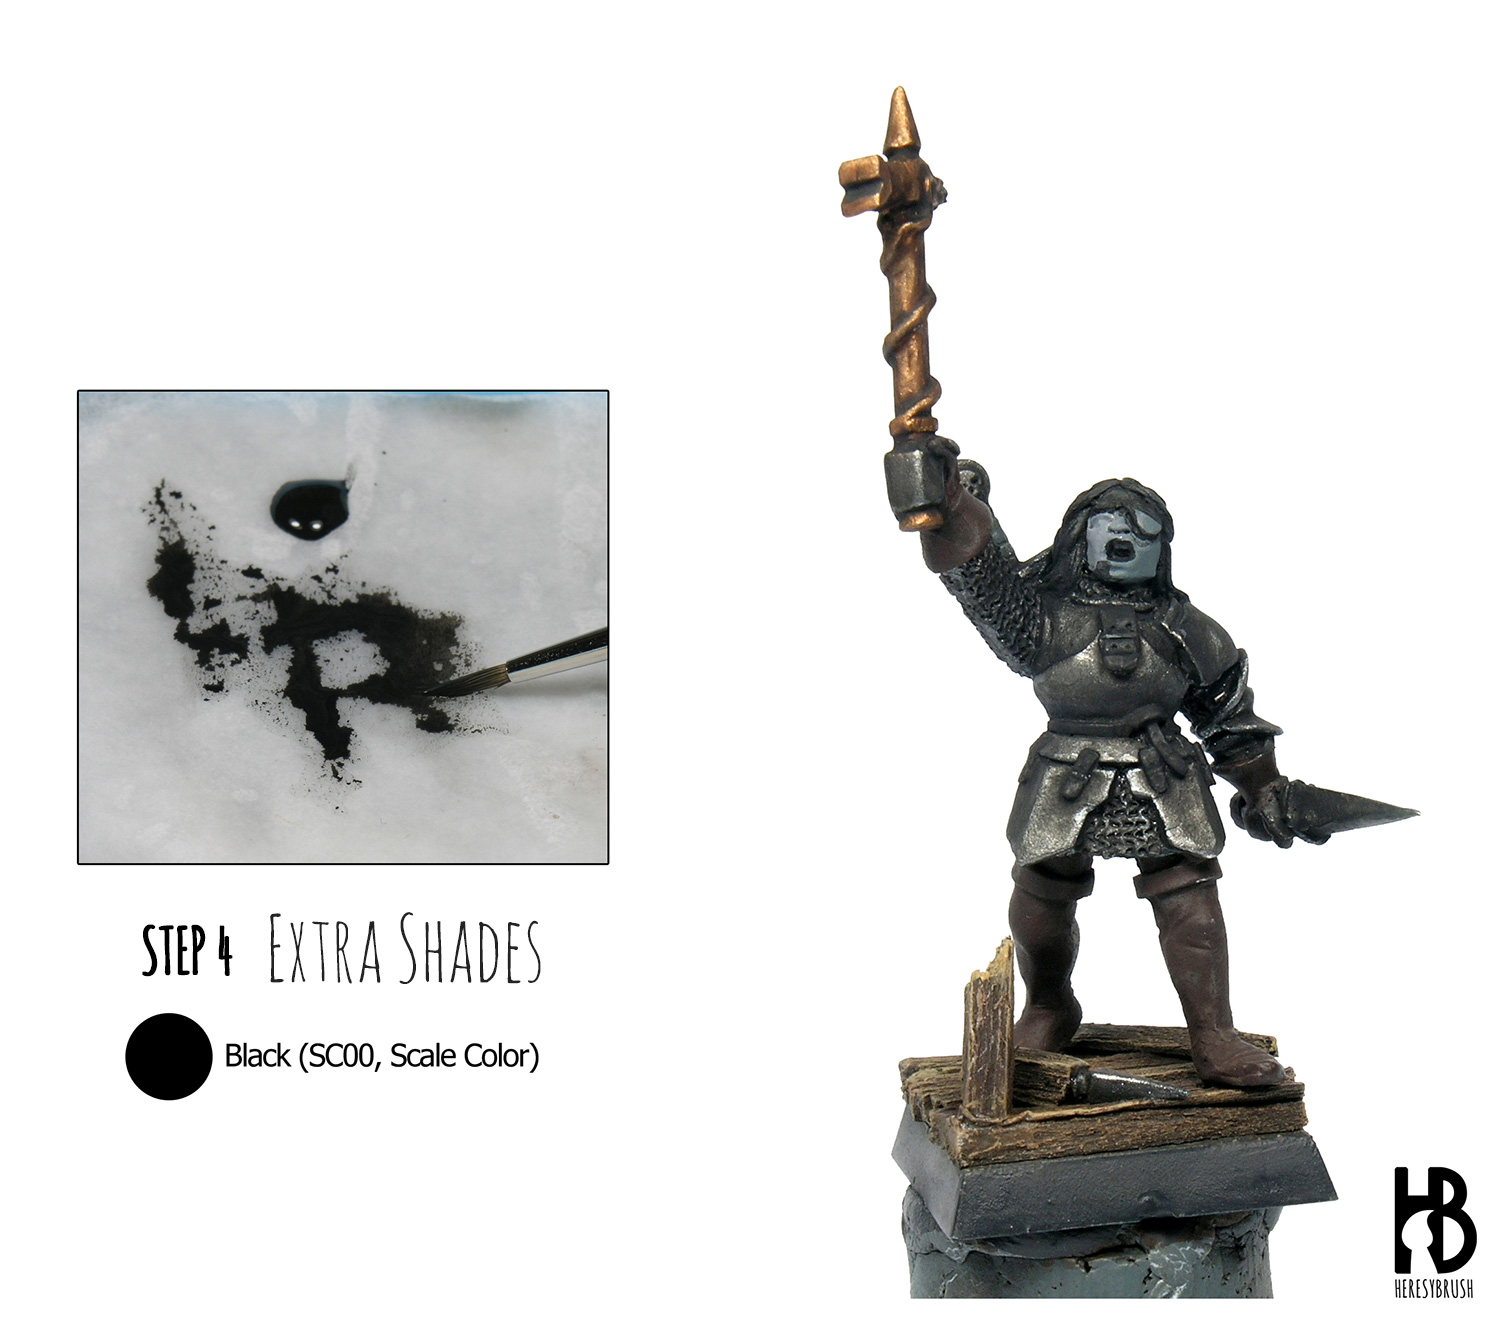 We can gain more contrast by doing two things: 1) apply a black profiling, and 2) using glazes. For the former, we use black paint and a thin brush to paint a thin black line around all the metal parts and details to clearly identify them. Most of them already stand out thanks to the wash, but for those that are not marked this step is important.
In addition, to force the shades we can use glazes. A glaze is a very thin layer of paint (thinned 1:5 with water) or semi-transparent, which still makes visible the color that is below. This results in a soft transition from one color to another. It is very important the direction of the stroke because we leave more paint in the area from where we remove the brush. Therefore, if we use a black glaze we start the brush stroke from the lightest area and finish it in the darkest one.
As you can imagine, the idea is to darken more strikingly the shades. For example, the breast plate is divided into two parts. As you can see, I darkened the lower area of each of them, creating an interesting contrast in the middle part. Furthermore, I marked the shades on the upper part of the tassets (the metal skirt). You can follow the lighting method of your choice. I used “color modulation”, which is normally used for painting tanks. Although unreal, the results are more striking; and personally, I like it.
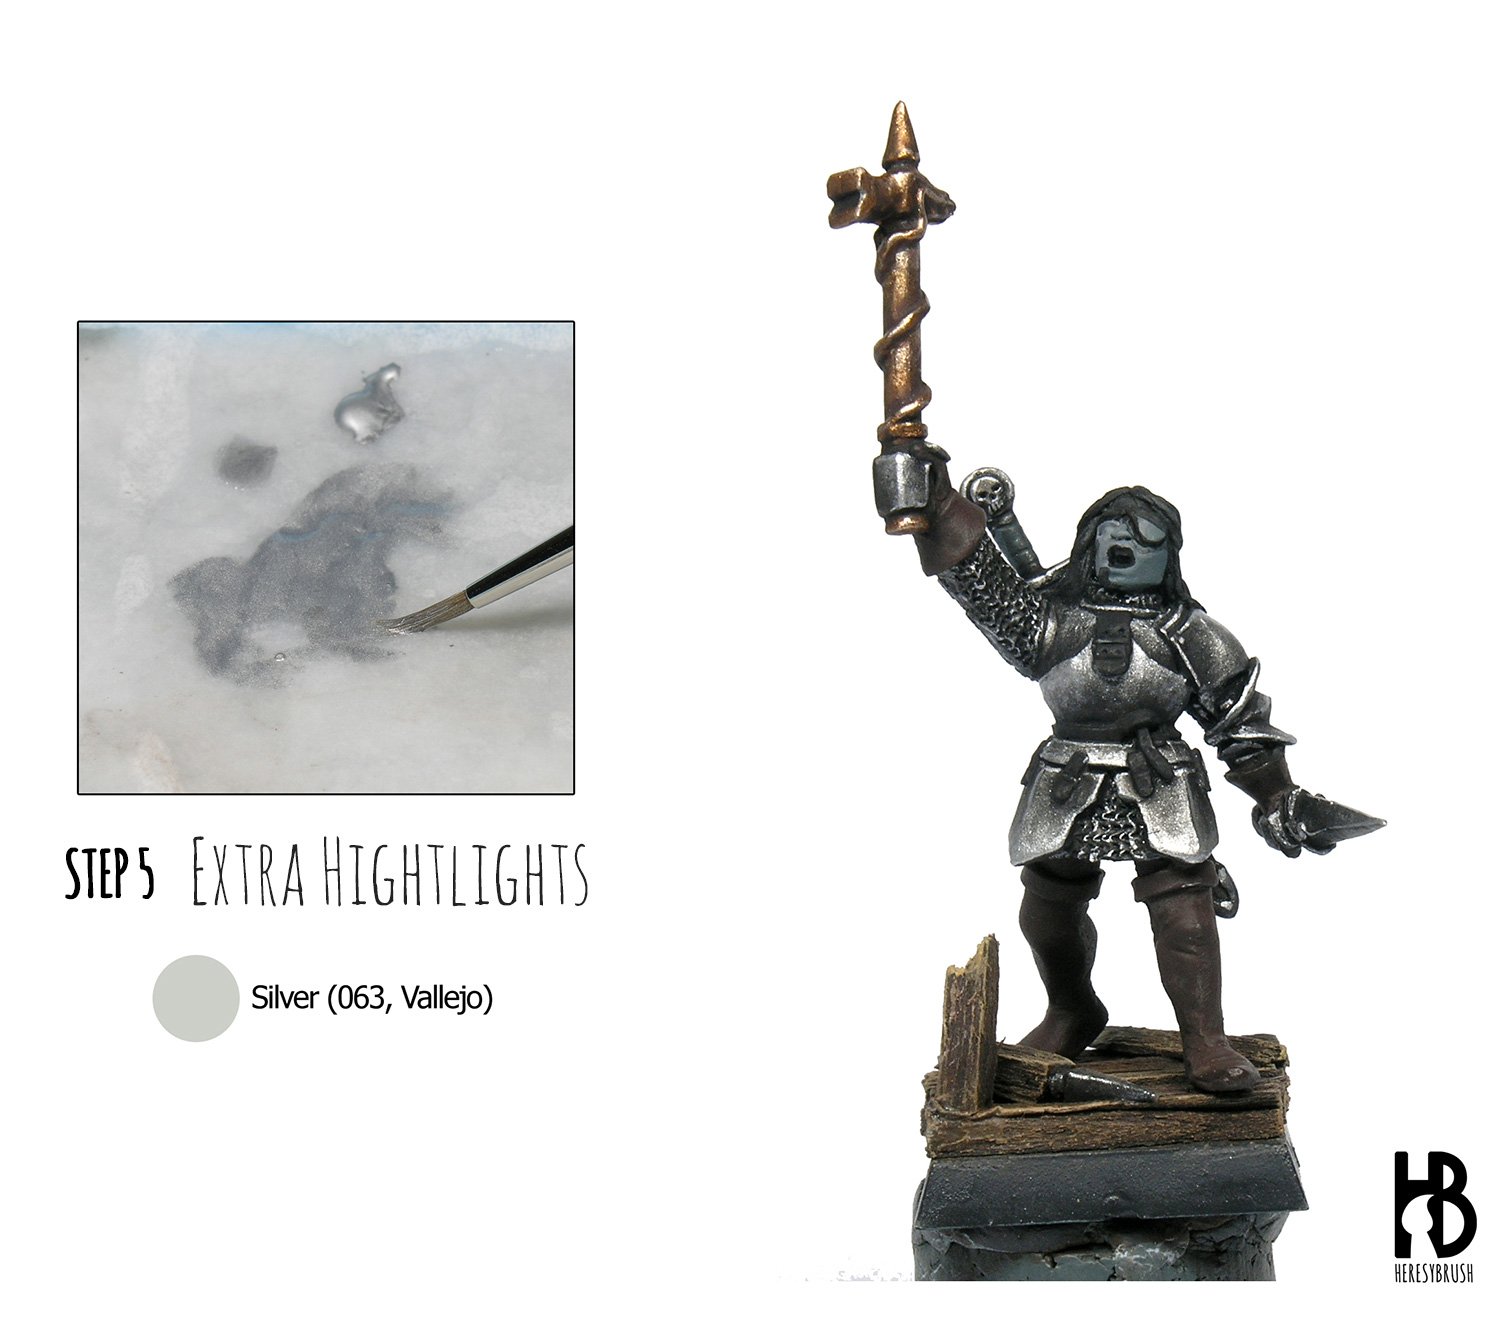 Next step is the exactly opposite: now we will pay attention to the highlights using a light color. I normally use Silver (063, Vallejo) from the range Model Air because it has a very thin pigment or metal flakes. The idea is the same as before. First, we apply a silver profiling on the edges of each piece of the armour (before it was on the recesses, now it is on the edges). If it is possible do not use the tip of the brush. Instead, use the brush bristles horizontally and follow the edge. This will create very thin and straight lines. Second, we can apply glazes again. This time is a silver glaze, which means that the stroke goes from the dark area to the lightest edge (it was the opposite before). You can start the brush stroke from the middle tone, and not necessarily form the darkest one.
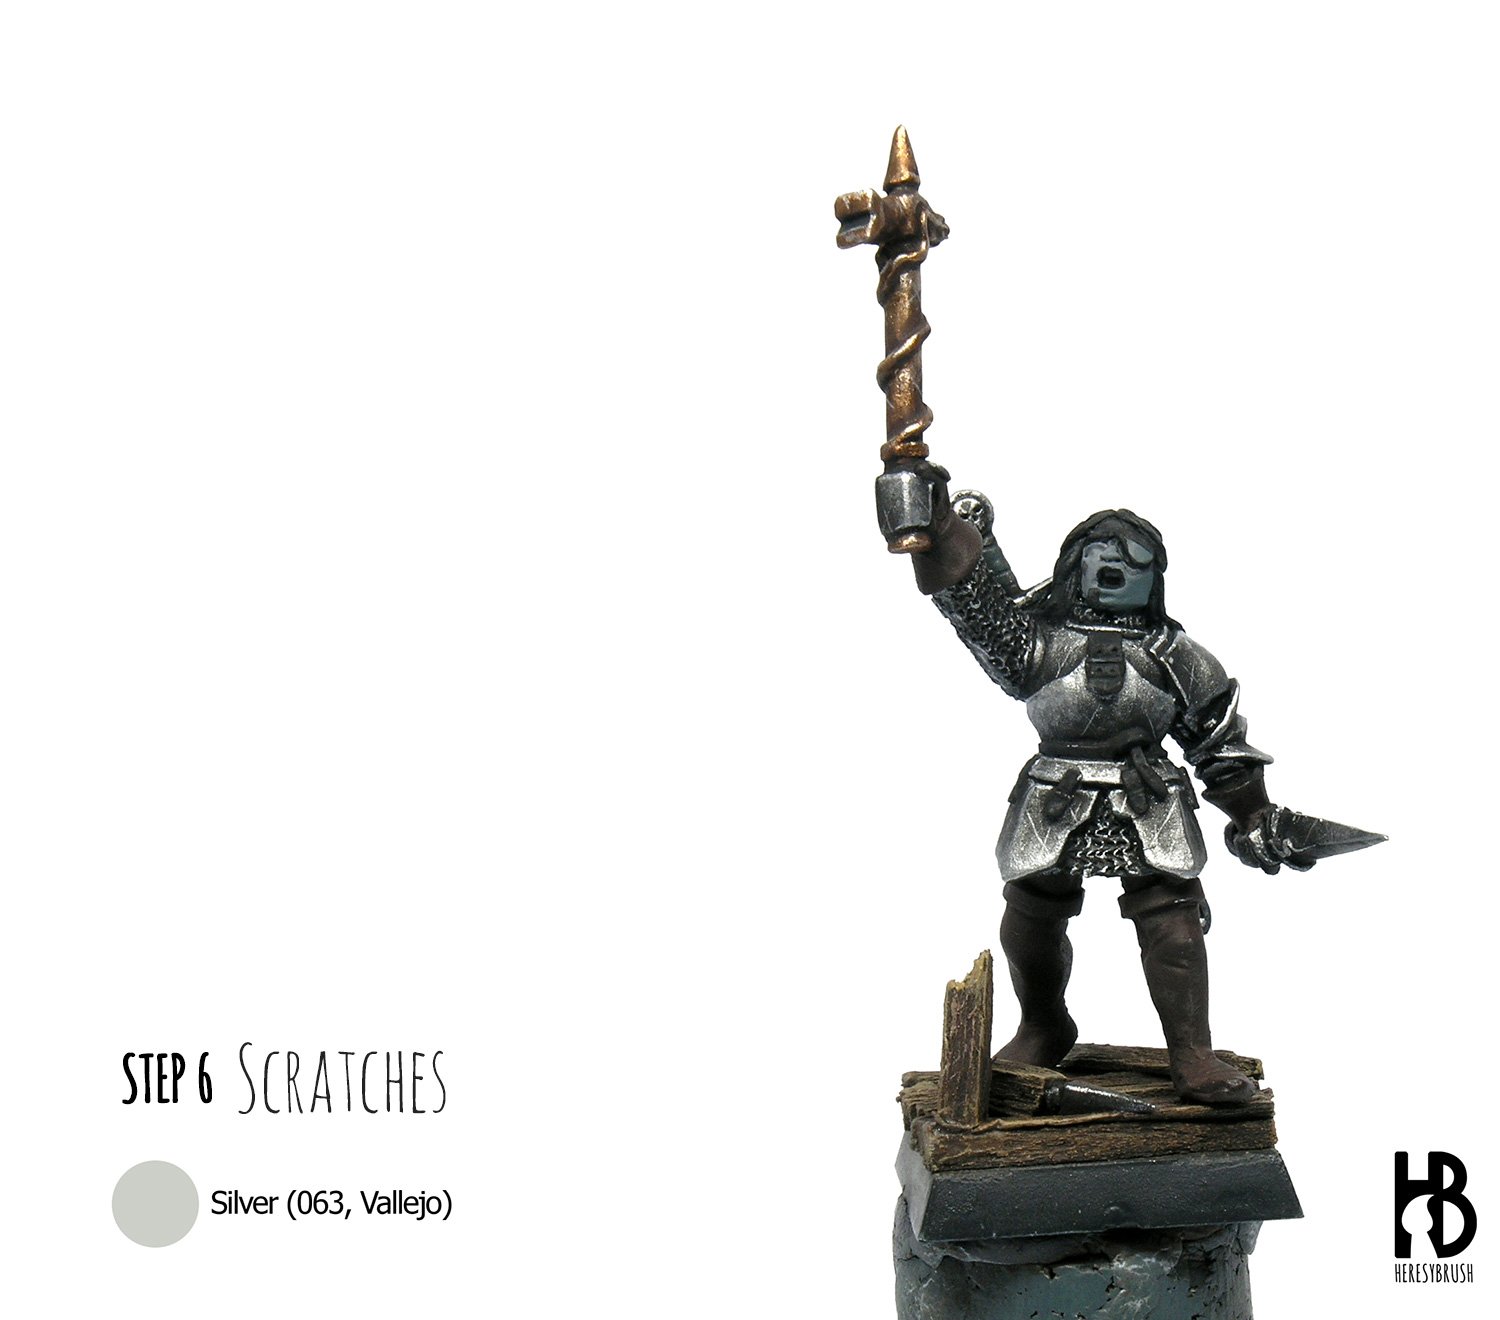
Now it is time for some weathering effects. This is not strictly necessary, but since the lore behind these miniatures is grim and dark, I wanted to simulate some scratches and rust. The first effect are the scratches. Using a thin brush and thinned Silver (063, Vallejo) we apply here and there very thin lines. Just a few. Remember the main rule about weathering: sometimes less is more. And if it is possible, try to paint a continuous line covering several elements of the armour. This tells a story.
We can do exactly the same with the brass war hammer. First using only brass and then by mixing brass and silver in the same proportion.
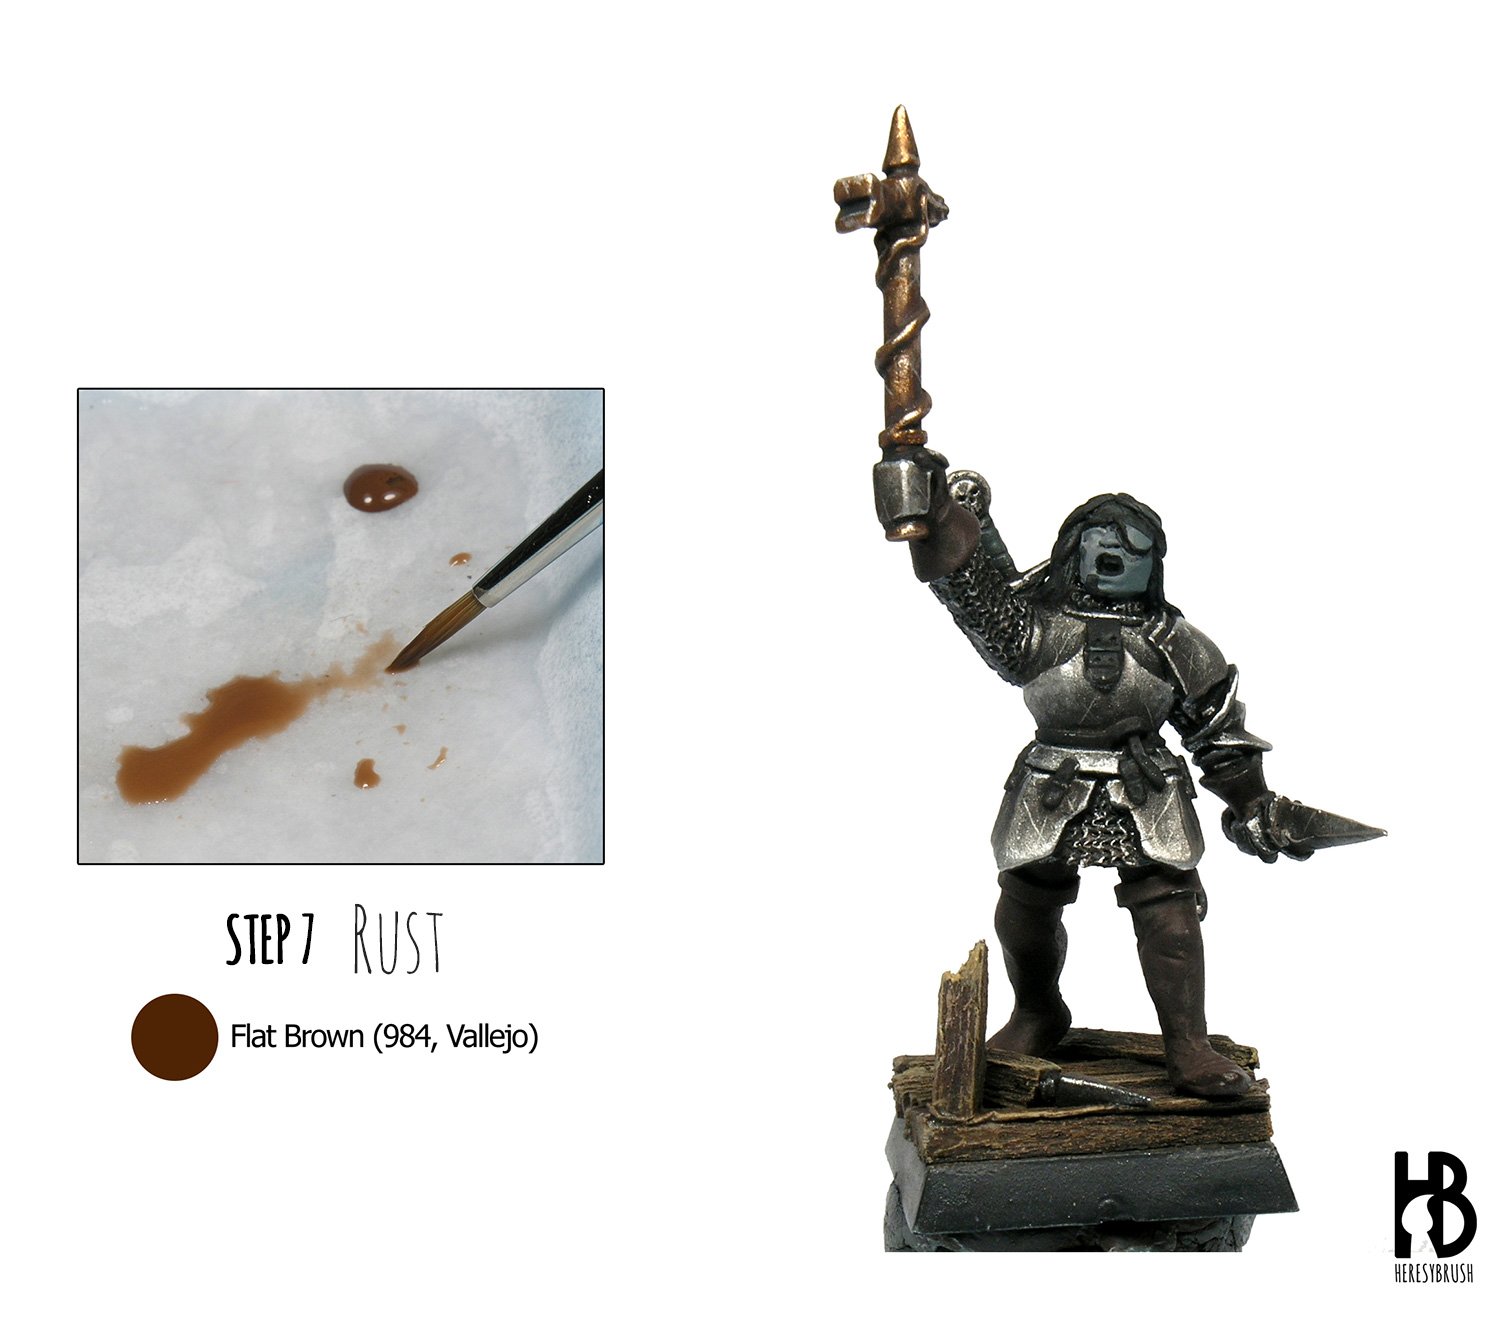 Finally, we can add a layer of rust. For this we need to thin a red brown color, such as Flat Brown (984, Vallejo), with 10 parts of water. This is a filter. We apply this heavily thin layer all around the armour. The porpoise of this very thin layer is to slightly change the color of the surface. But only “slightly”. Therefore, it is important that the paint is properly thinned. It is better to apply a second layer because the first one was not enough rather than to use a paint poorly diluted. We could do the same with a turquoise color to add a rust effect on the bronce hammer.
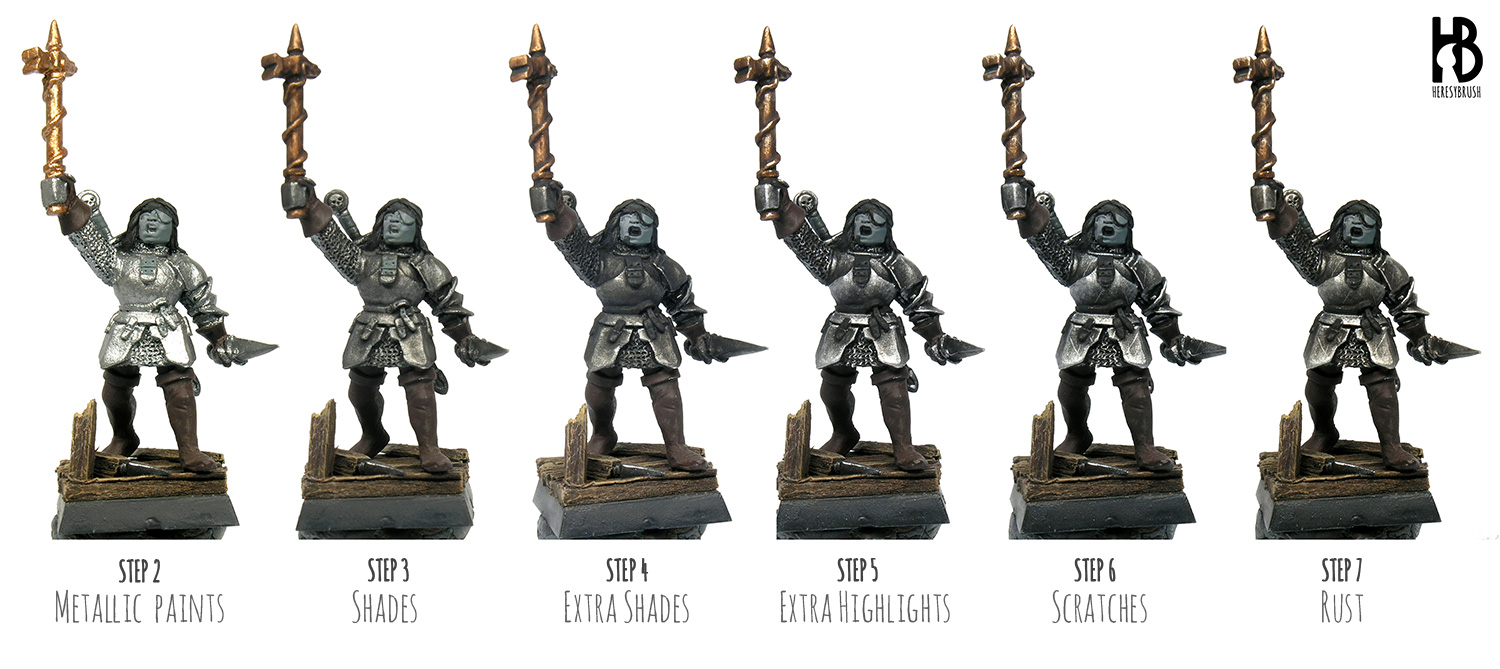
The rust effect is very subtle, as you can see:
This is a summary of all the steps but the first (pimer coat):
And this is all for metals. As you can see, the miniature is still not finished. Next time, we will see how to paint different types of leather: black, dark brown and light brown. Stay tuned!

Really useful thank you!
Not to be rude can you point me in an area of the rust? Its so subtle I can’t see it on the photo 🙁 it’s probably me just being rubbish.
Hi Paul,
Thanks for your message. Not rude at all! 🙂
I acknowledge that the effect is super subtle. In the last picture you can see the comparison before and after the rust effect. On the right, the metal color is a little bit more dark; and more importantly, it acquired a reddish tone. I will try to prepare another pic tonight to show it more clearly.
Great tutorial, thank you!
I would be really interested in how to paint believable wood, like handles of axes or wooden shields. Is that something that you’ve already covered, or if not, you think you could do?
Hi Nick,
Thanks for your message.
I think I have never focus on that (this is the closes thing I did, in Spanish: https://www.heresybrush.com/2009/como-pintar-madera-desgastada-y-oxido).
I will think how to do it with a weapon handle 🙂
Great tutorials and it’s nice to see that you use Vallejo paints quite a lot which is great for me personally to follow along with as I also use Vallejo Model and Game Color paints.
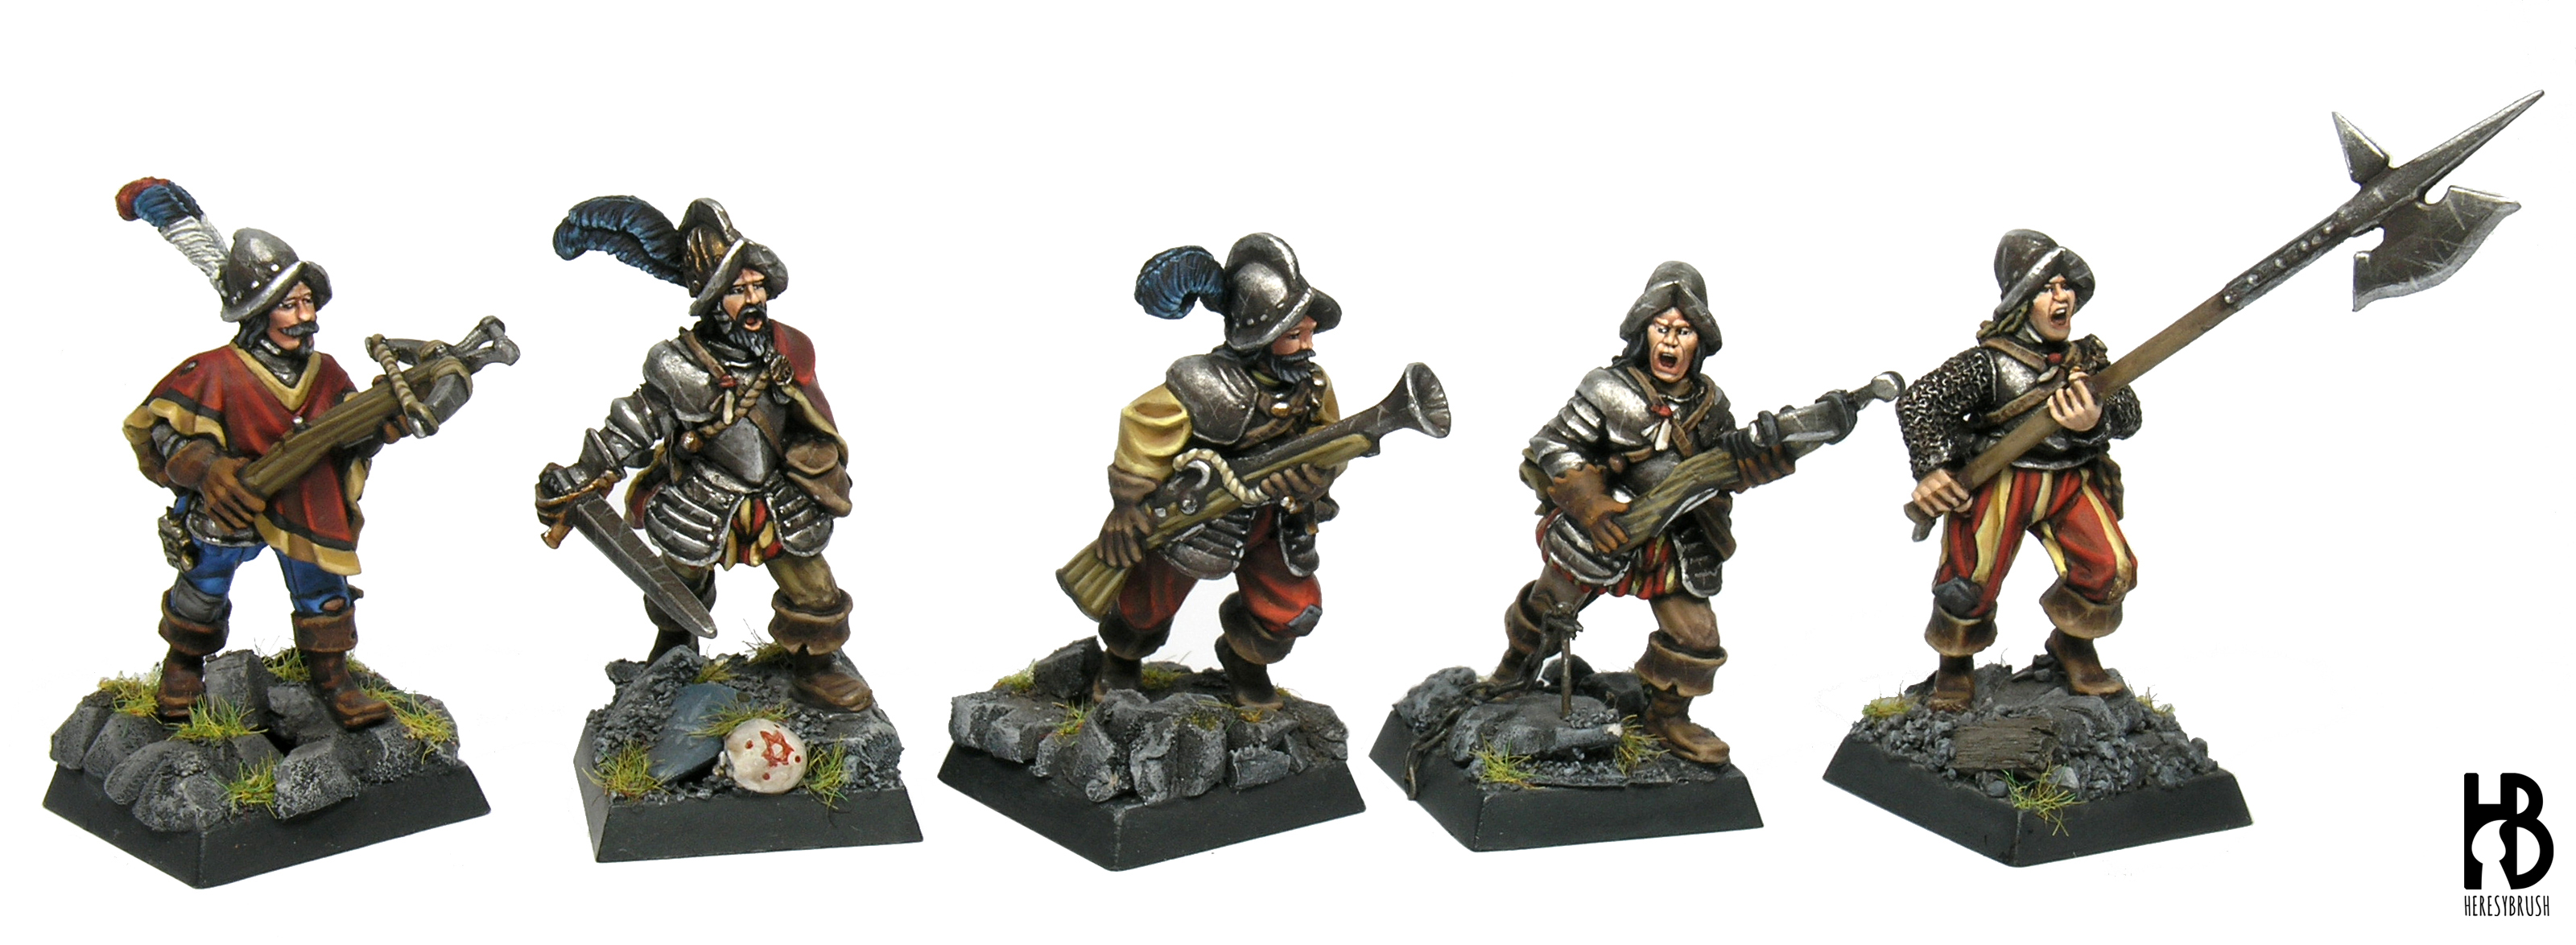
Where did you get the crossbowman miniature? Great tutorial on how to paint metal!!!
Thank you! All these models are originally from Games Workshop. They were part of the mercenaries or Dogs of War army. Crossbowman are a mix of miniatures from Pirazzo´s lost legion and others regiments.
Hello, I just wanted to thank you for this guide. It’s very informative, looks like you spent a lot of time writing it. Thanks again for your help. Warm regards, Alex
Thank you 🙂