After several years of wanting to start painting a Horus Heresy Legion army, I finally had the chance to do it. I chose the Night Lords, a Legion that is perhaps a bit underrepresented compared to others but features a beautiful color scheme and rich lore. I finished painting the first squad and decided to write a tutorial using the last miniature. Instead of the official painting scheme, which is very dark blue often with lightning on the armor, I opted for a desaturated and slightly greenish blue inspired by some great painters such as @loyalistareboring and @Maybug_Games on Instagram.…
How to apply decals on curved surfaces
The easiest way to identify the chapter of our Space Marines is by using decals. These typically go on the shoulder pads, but their curved surface can be challenging for some modelers, as it is tricky to perfectly adapt a decal to a curved or irregular surface. We have previously discussed numerous times how to apply decals, but here we will focus on how to deal with curved surfaces. Here, we used customized decals from Scumb4g Kustoms. Other articles about decals: Decals, transfers and stencils How to apply decals correctly How to apply name tag decals How to create glowing…
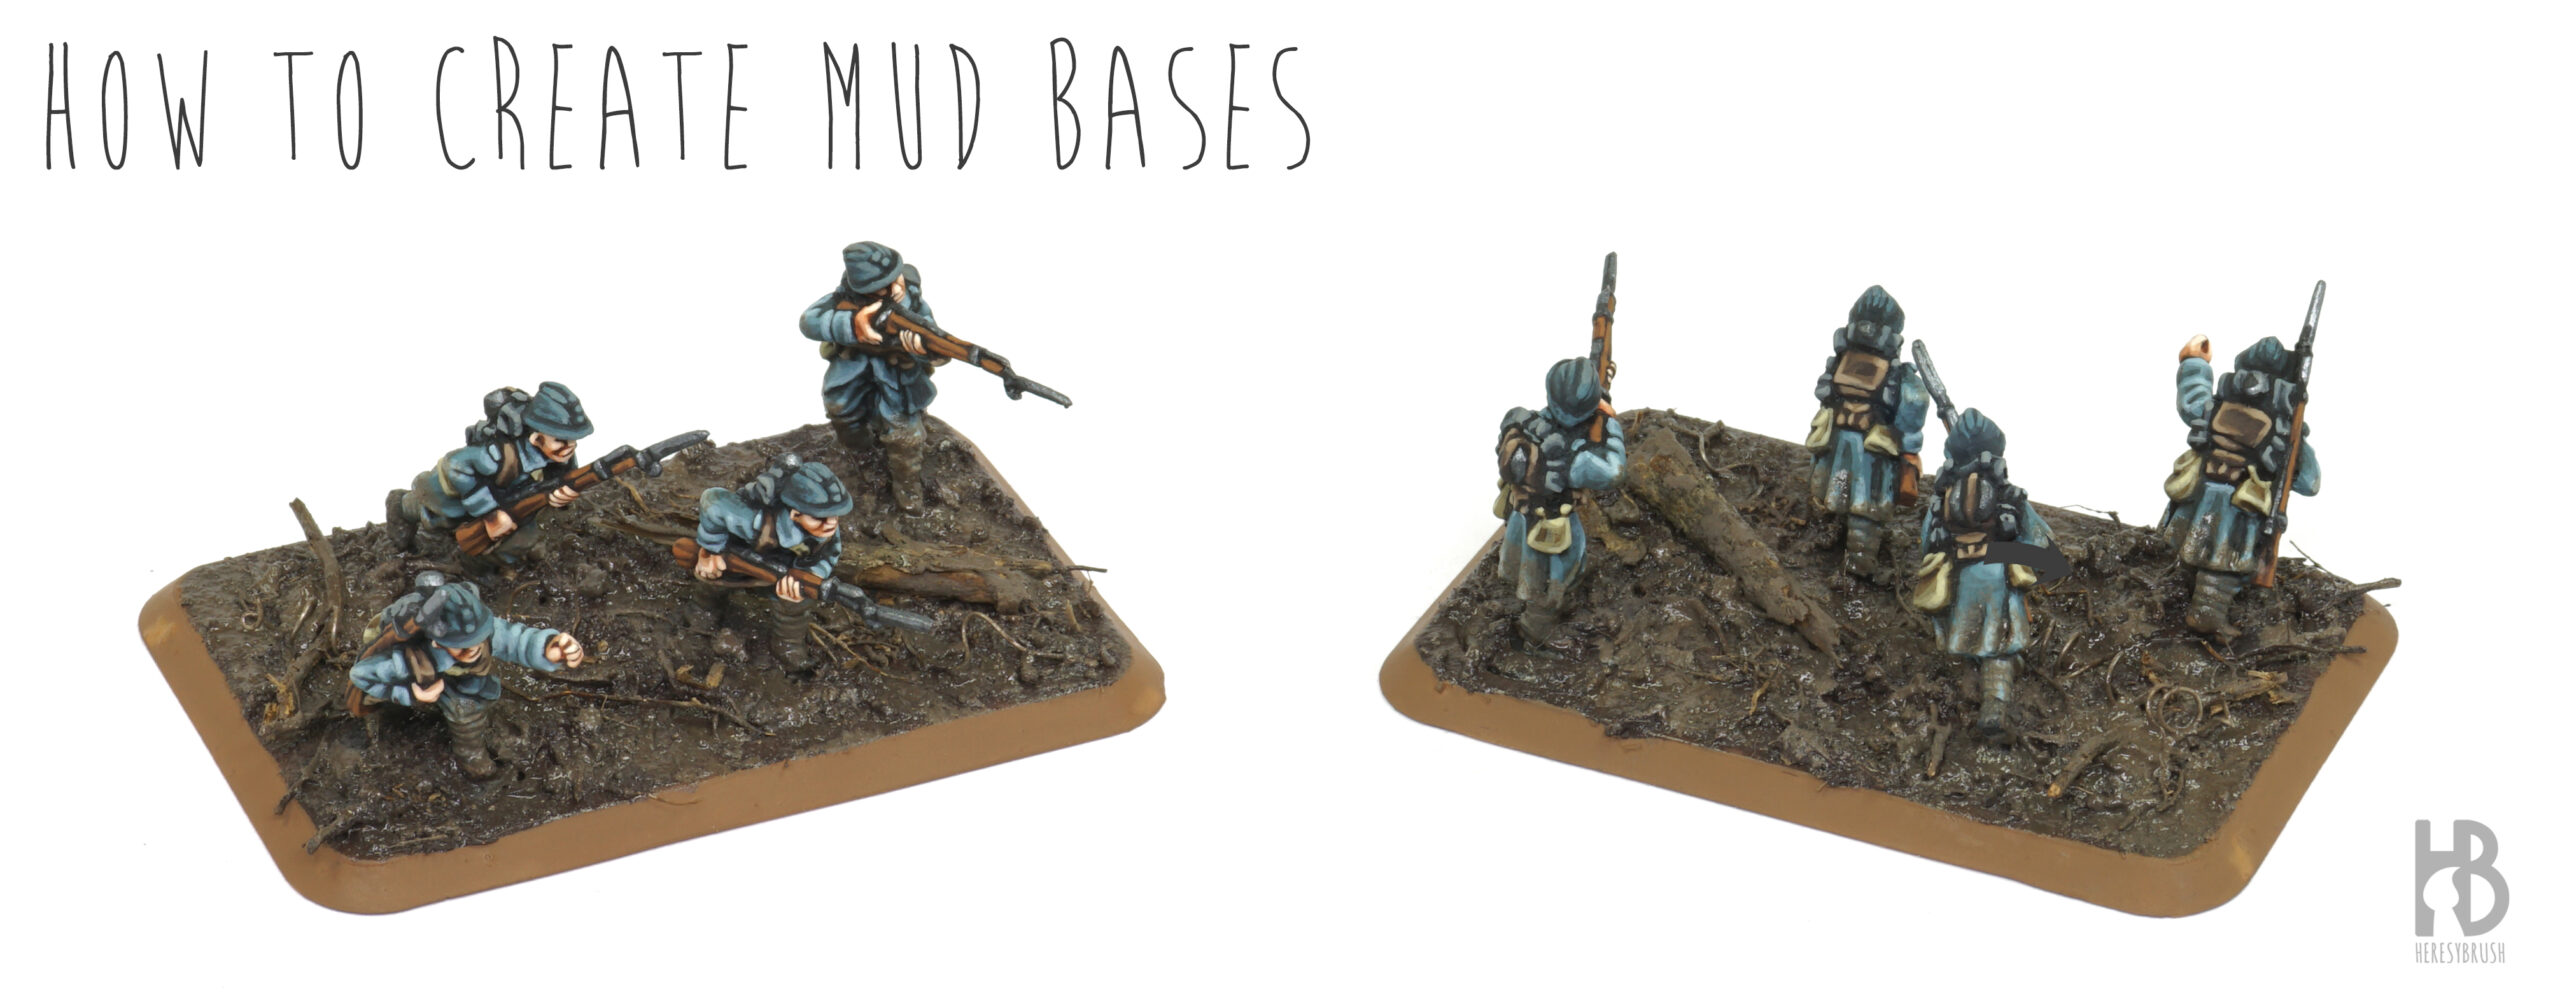
How to create mud bases
This article was originally published on the Battlefront website: here. As wargamers, we frequently opt to paint bases rather than create them. While it is true that we usually incorporate some form of texture, often achieved by adhering sand with glue, the subsequent step typically involves multiple layers of drybrushing painting. However, for the sake of achieving more authentic bases and scenery, it is advisable to create the texture entirely instead of relying on painting. A notable example is mud; painting mud effects can be quite challenging, while creating realistic mud effects becomes remarkably straightforward when employing the right tools…
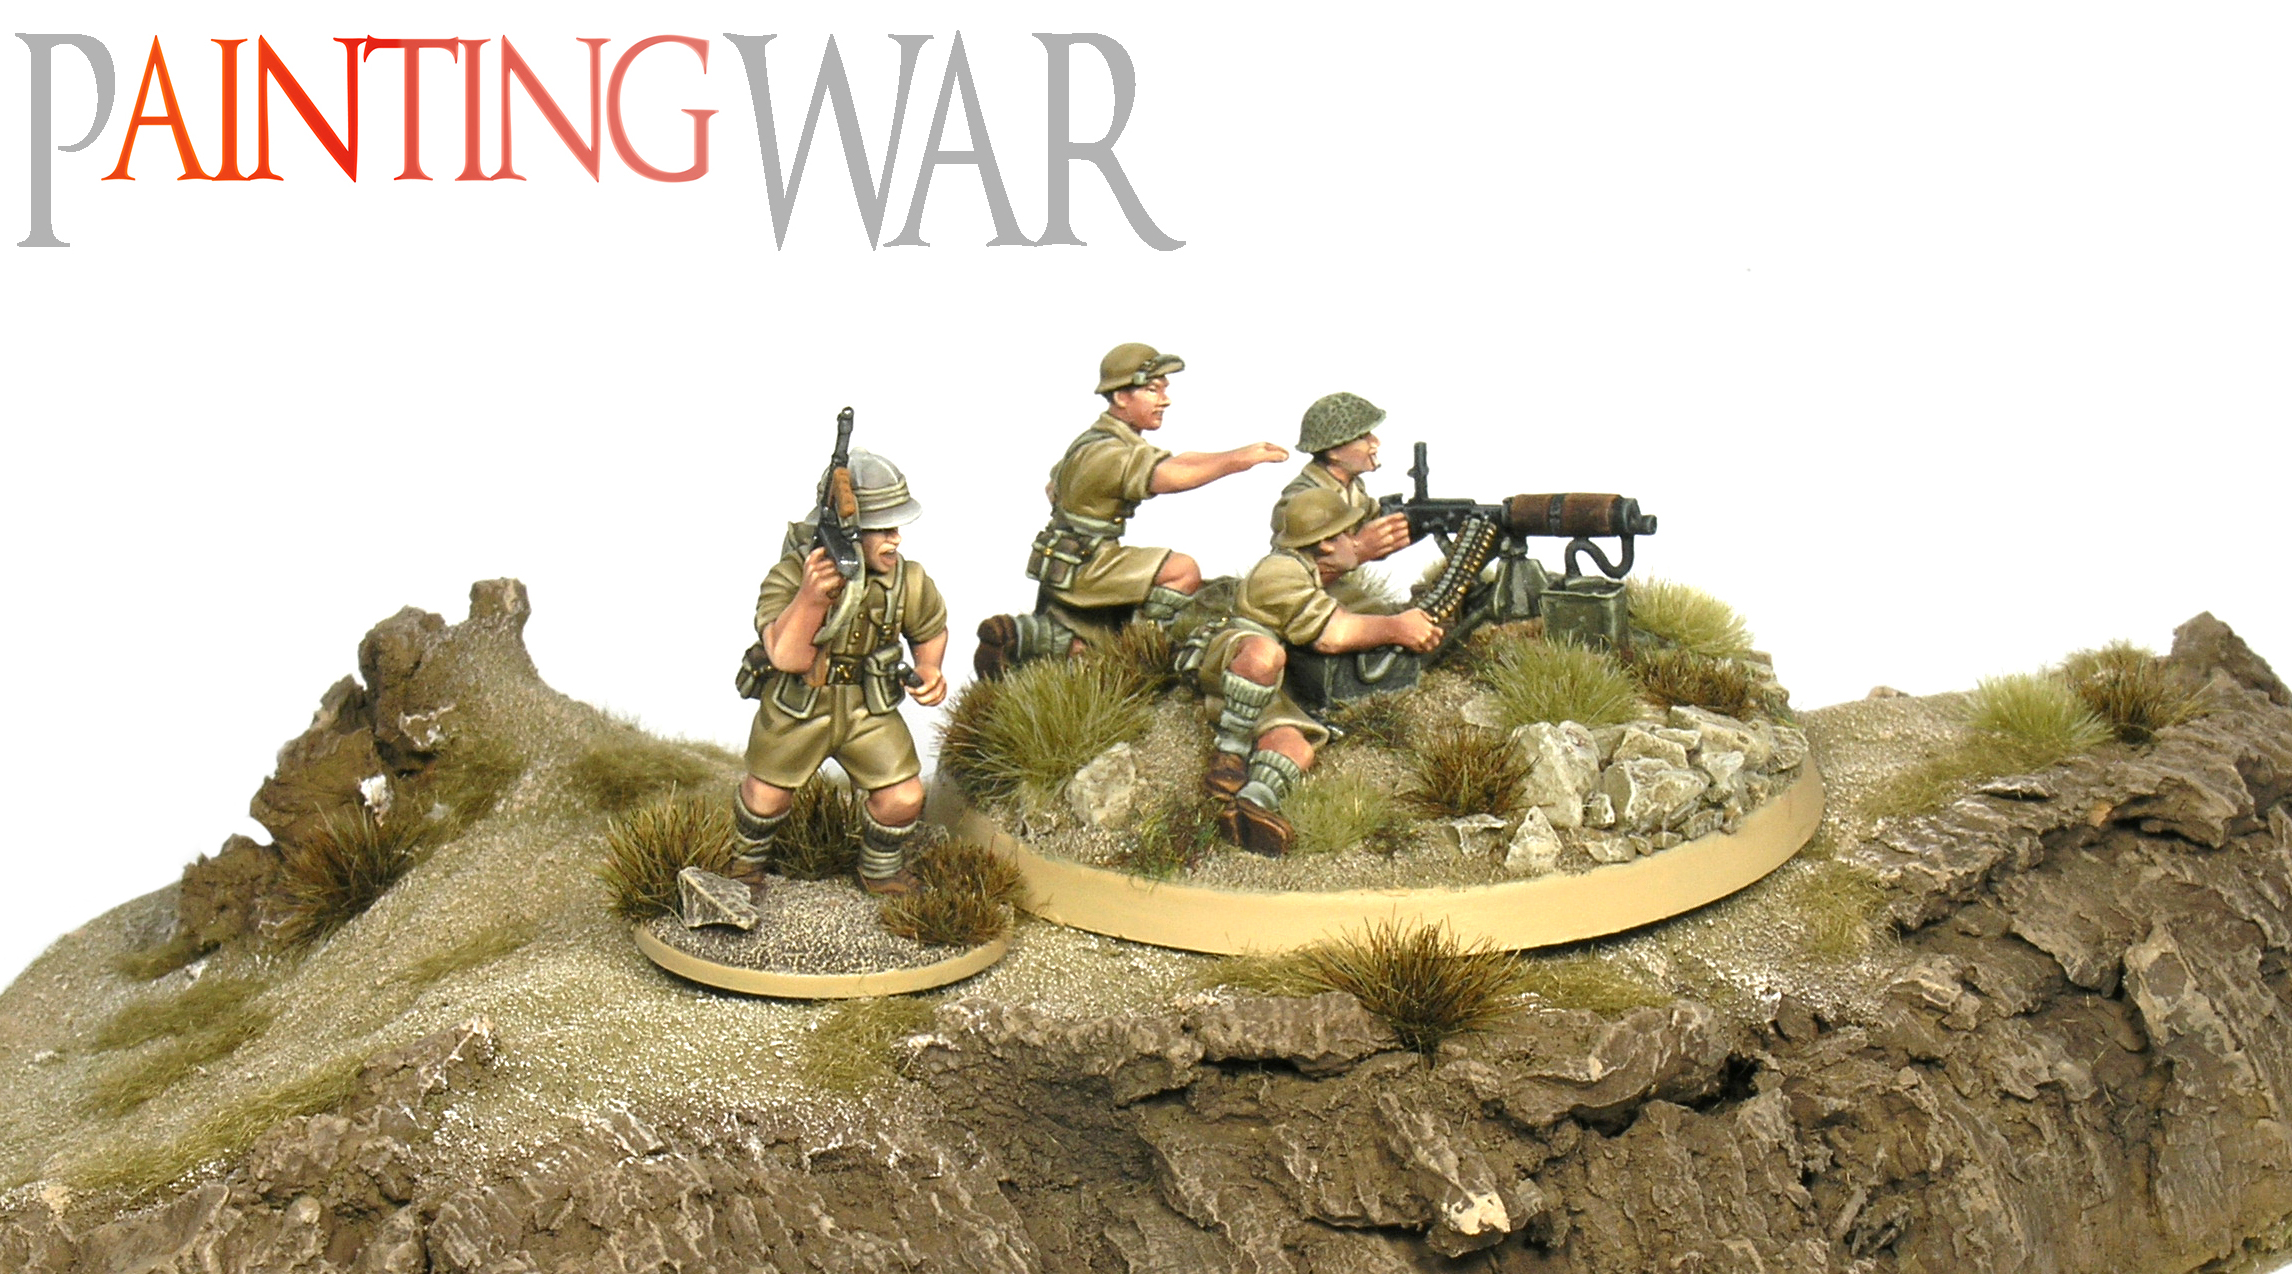
PaintingWar: WWII British and Commonwealth armies
After 10 years since the publication of my very first painting book I am delighted to announce another PaintingWar (PW) publication, made possible by Miniaturama Publishing. This marks my third contribution to the PW series (with the previous two being WWII German army and Spanish Civil War), delving again into one of my favorite topics in historical wargaming: World War II. While my initial PaintingWar issue centered around the German army, this latest book shifts its focus to the British and Commonwealth armies. Using exclusively Warlord Games miniatures in 28mm, and similar to previous PaintingWar publications, this book is divided…
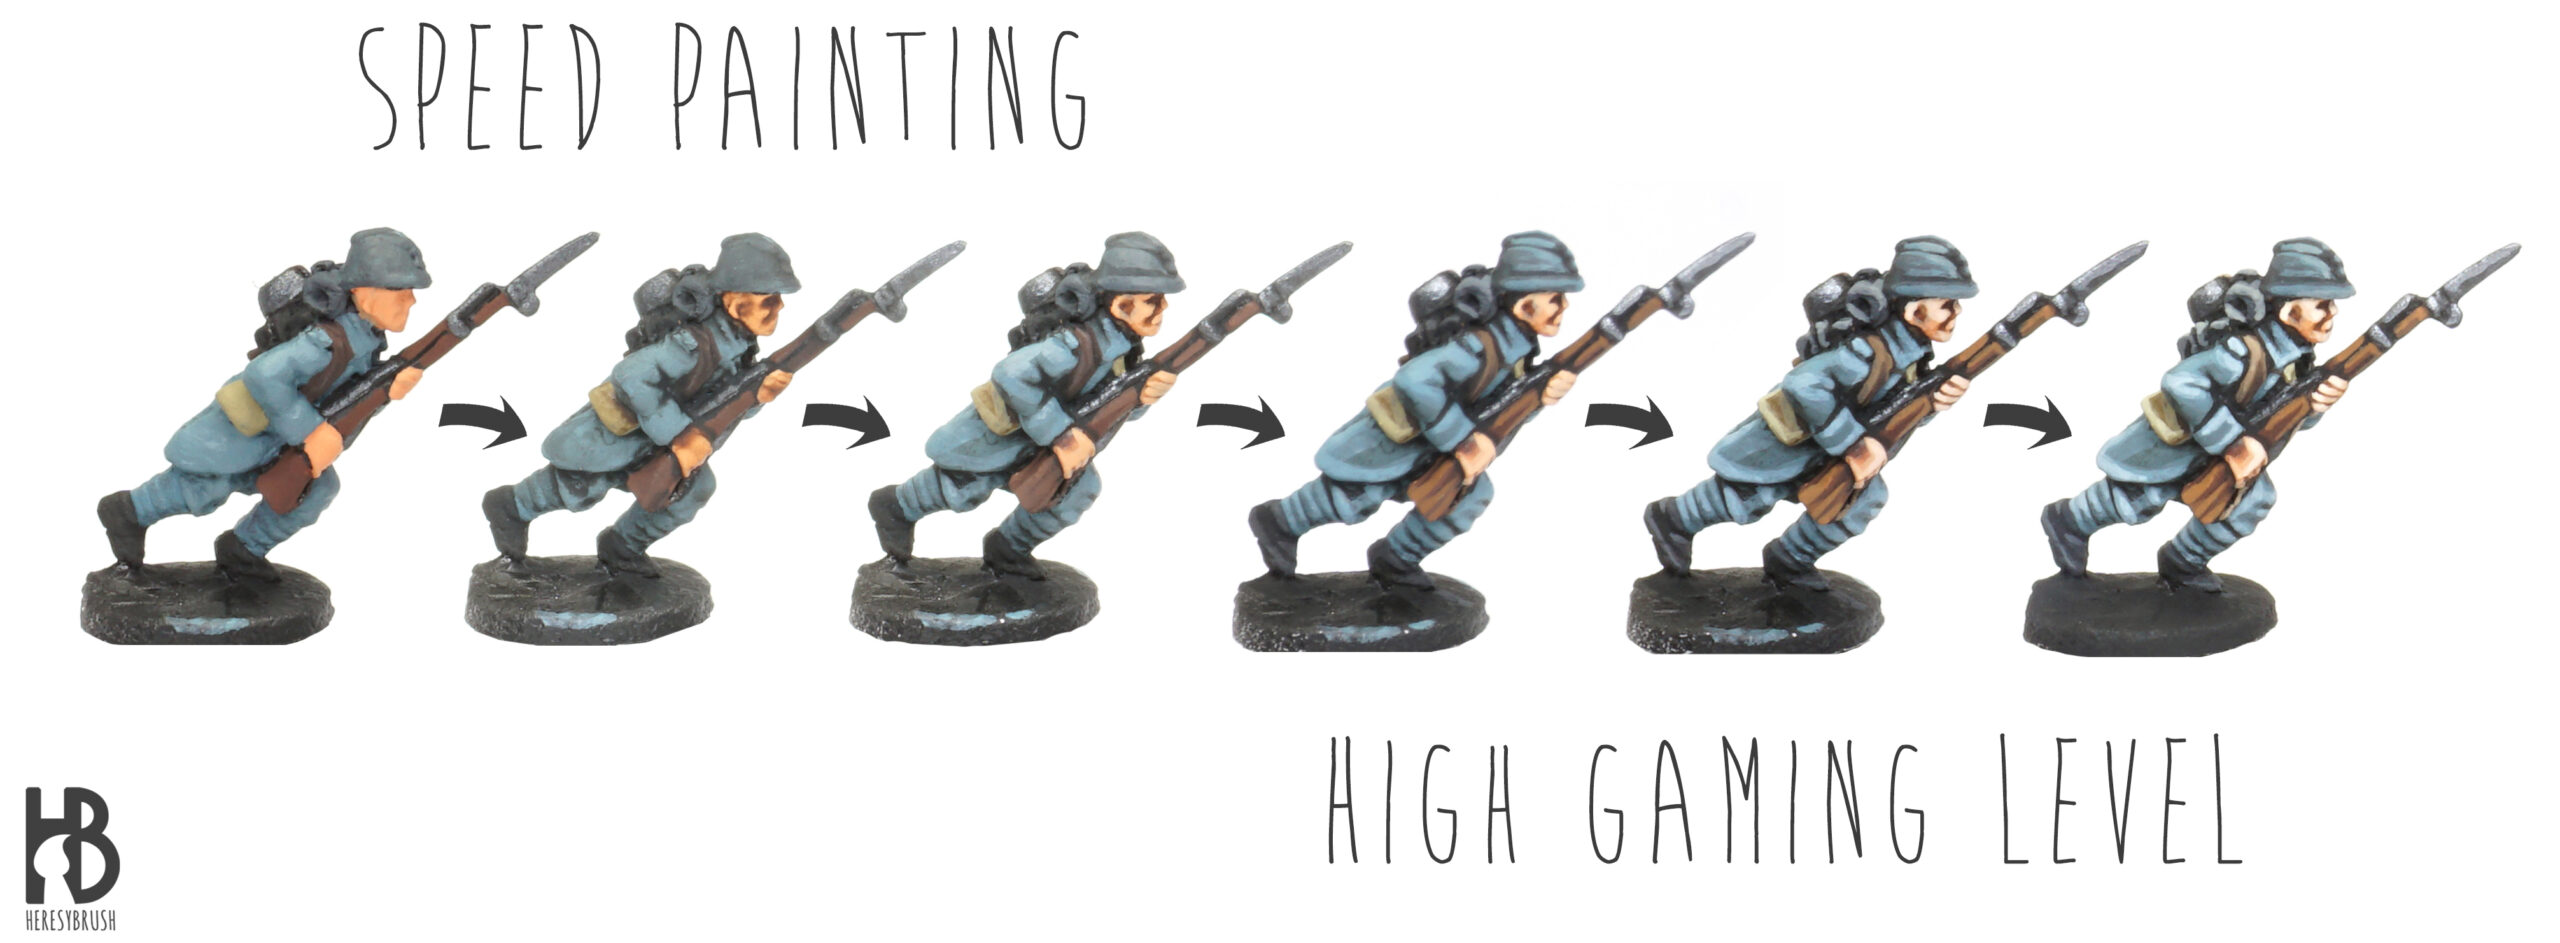
Painting 15mm WWI French Fusiliers: Combining washes and layering
Wargamers frequently find themselves seeking a balance between painting and gaming, which often leads them to prefer fast painting techniques. These methods are typically straightforward and swift, and, importantly, highly effective. However, it is worth noting that the trade-off is often between speed and quality, with quality being inversely proportional to the time invested. In this tutorial, we will explore the fusion of a fast-painting technique that involves washes with a more sophisticated method by incorporating successive layers of highlights. To clarify, we will begin with the conventional ‘base + wash + highlight’ technique and progressively enhance our results…
How to create autumn-themed bases
It has been a bit since my last blog post, but that does not mean I have forgotten about it. I am working on some neat stuff that I hope will be ready to share soon. In the meantime, I have put together a short and simple article explaining how we can create bases using simple materials while still achieving very realistic results. The trick is to utilize natural elements, such as soil and small branches. We save time because we do not need to paint them, plus they look precisely how they are supposed to on our tiny models.…
Improving a 15mm paint job: tanks
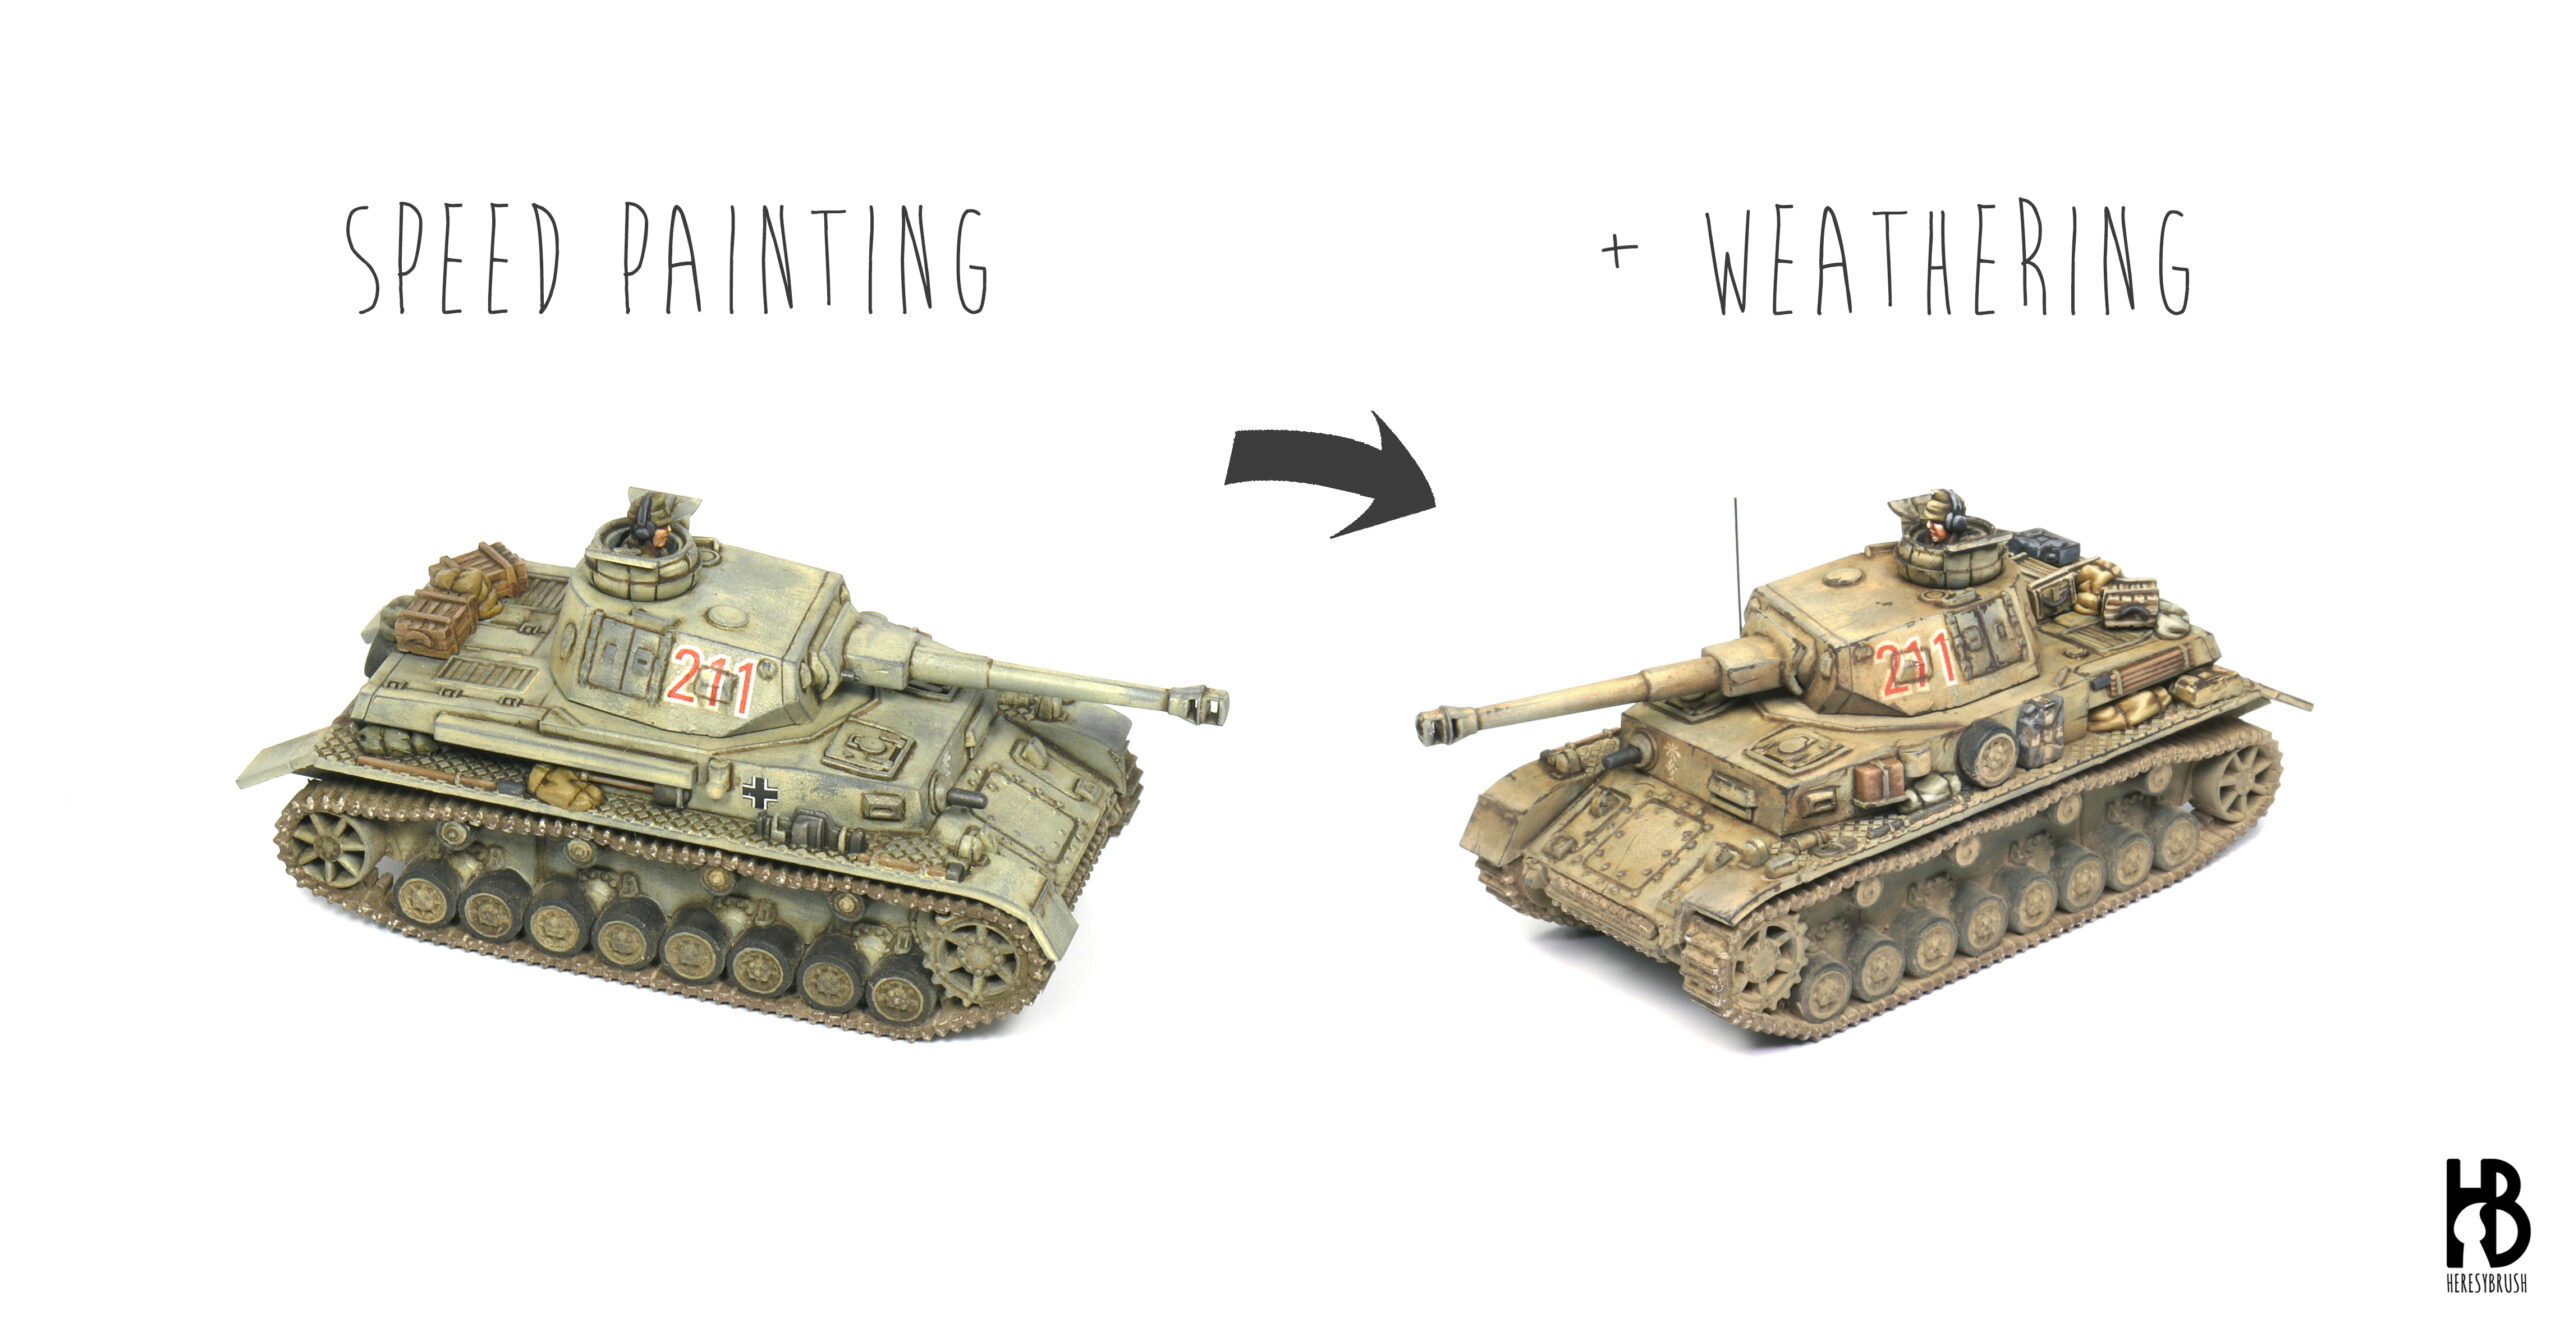
A few months ago, I published a tutorial demonstrating how to improve the painting job on 15mm infantry and guns (here). Following a similar idea, this time we will explore how to do this on 15mm tanks, with a particular emphasis on oil paints. For this purpose, we are showcasing a 1:100 scale DAK Panzer IV from Battlefront Miniatures. Read the full article about this on the Breakthorugh Assault blog. If you are curious about alternative methods for painting DAK camo, you might want to check out this old but still relevant article. How to paint Afrika Korps vehicles. Details…
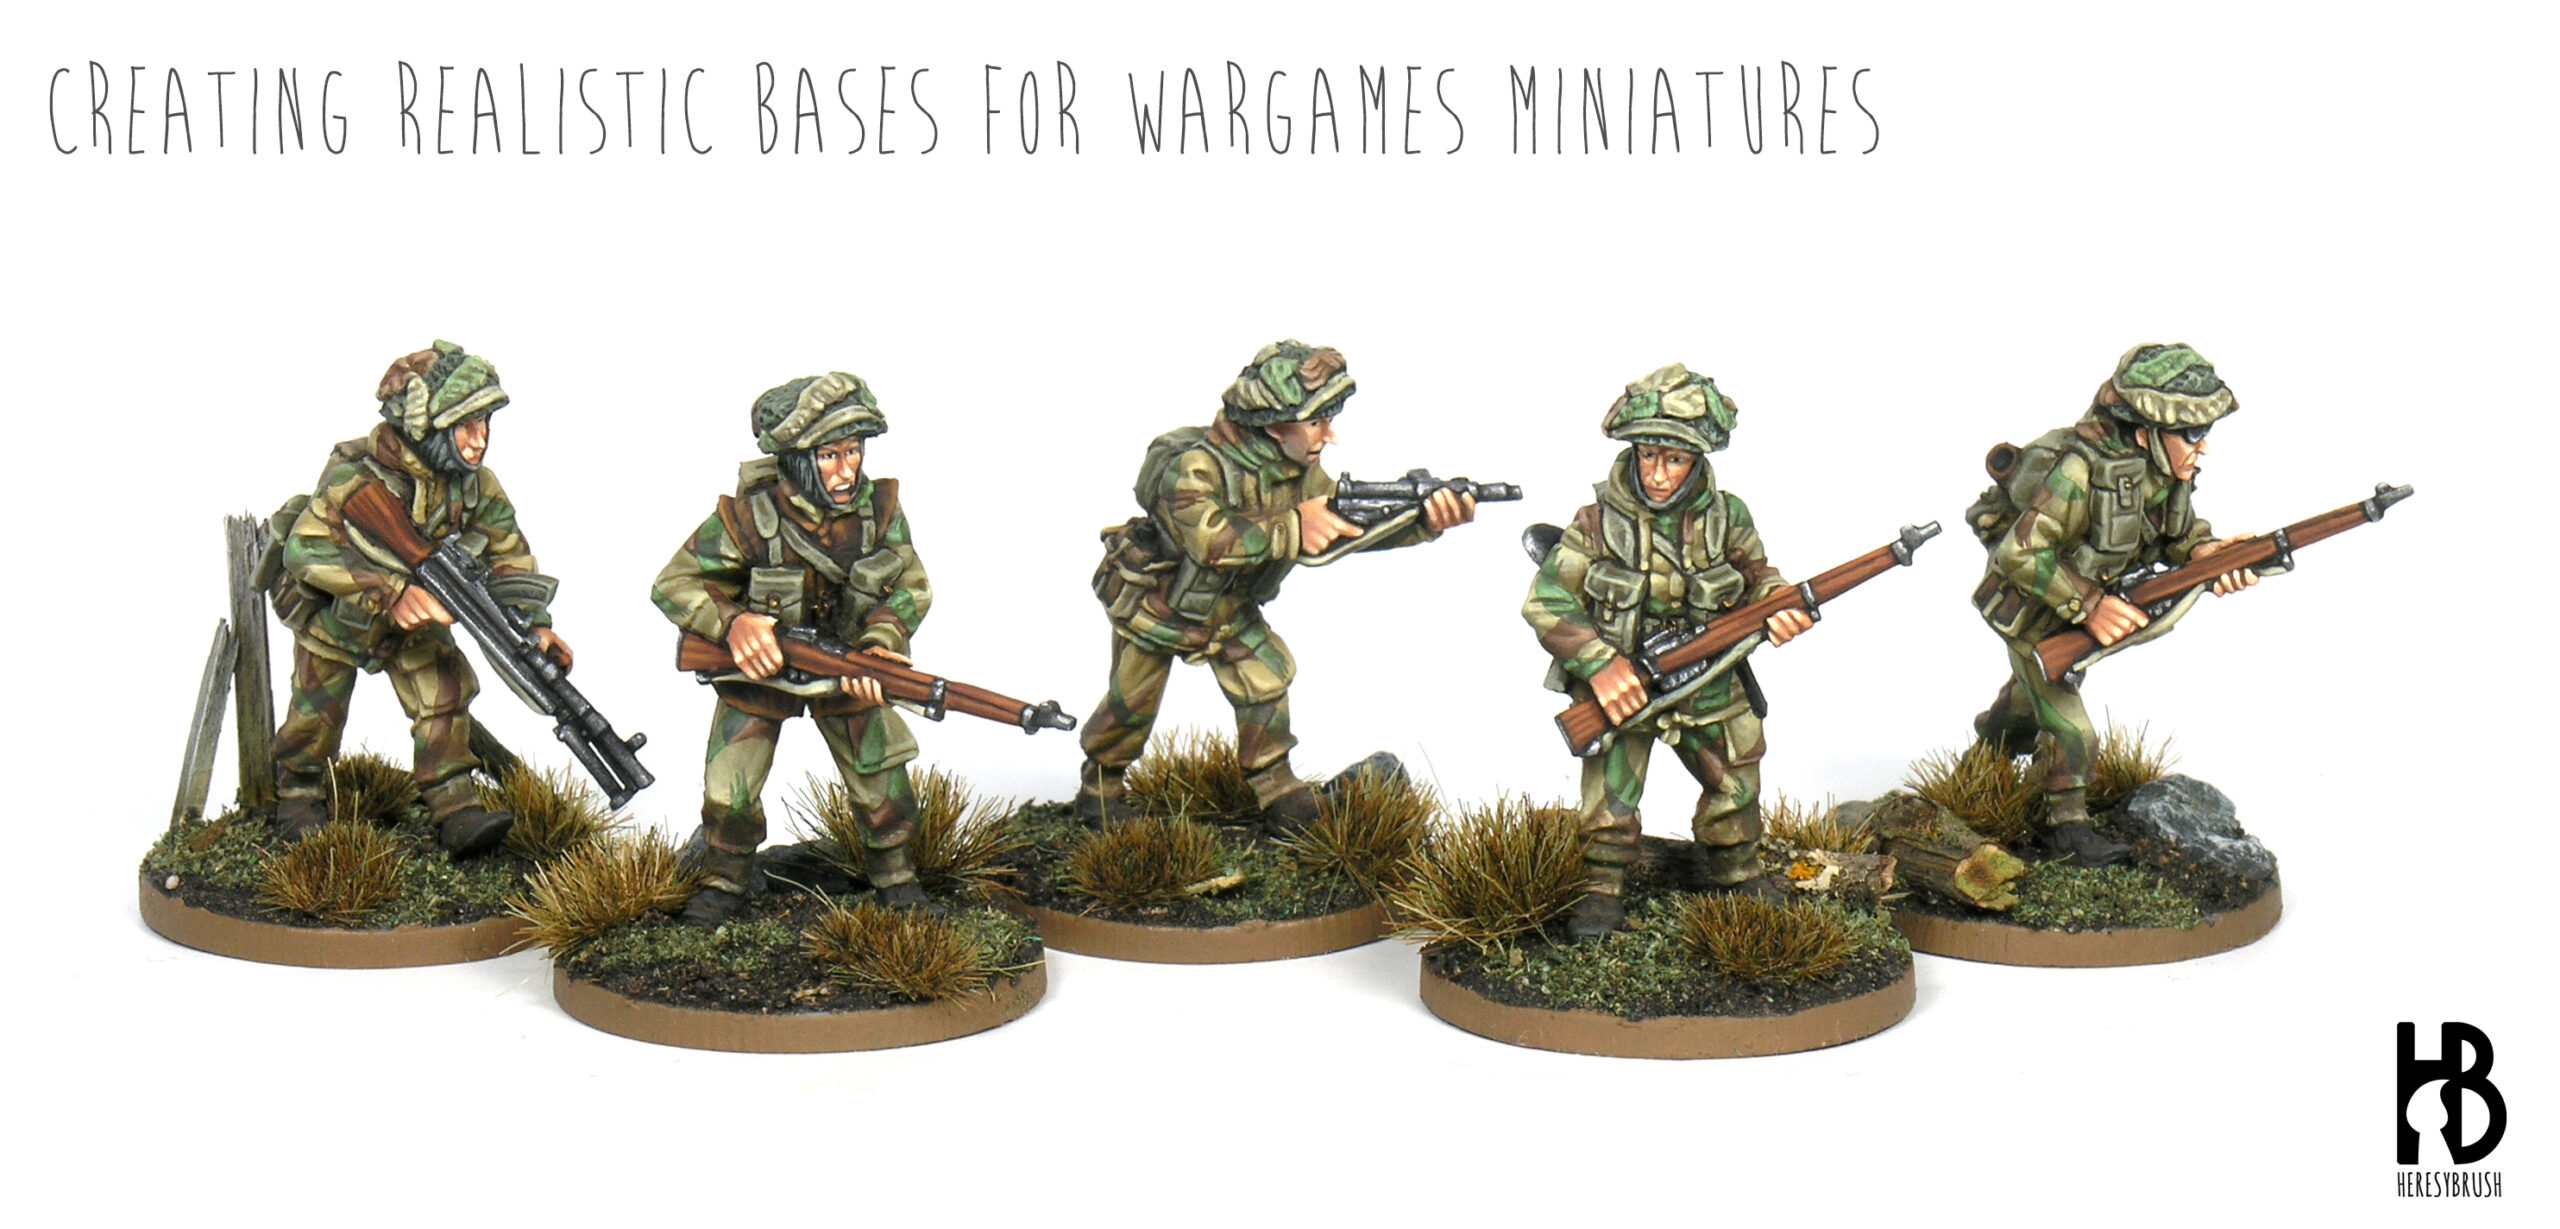
How to create desert bases
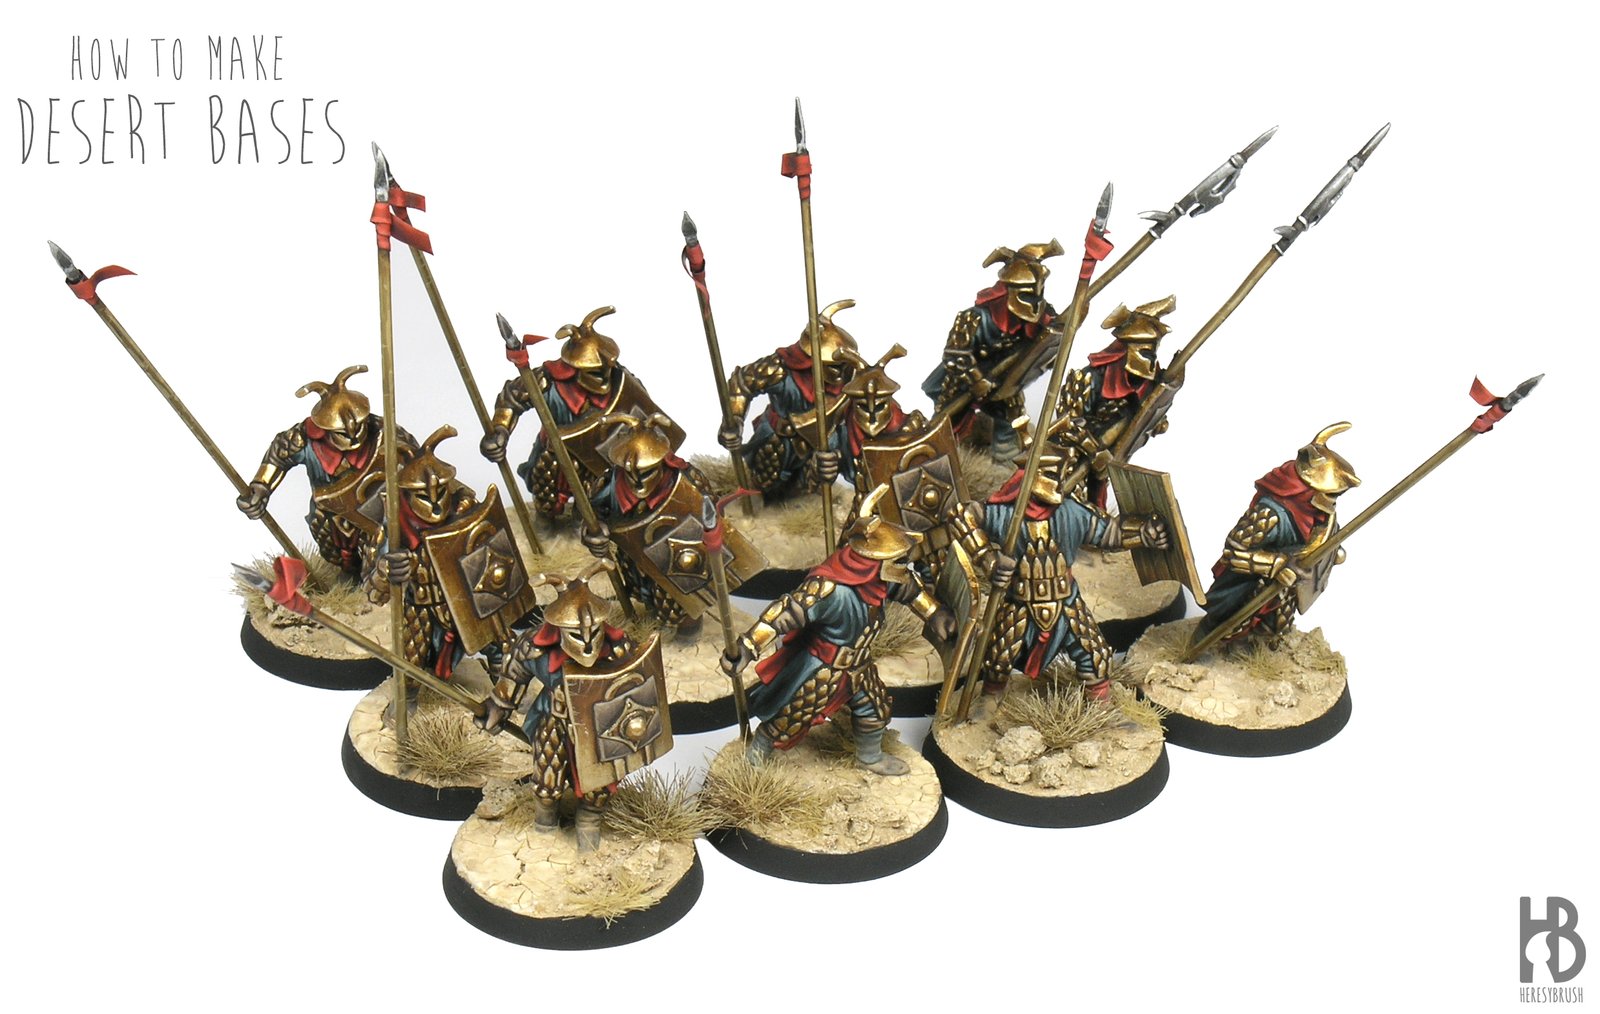
In the previous post we discussed one way to paint true metallic metal gold using as an example model a unit of LOTR Easterling (28mm, Games-Workshop). Now, we will see how to finish these miniatures by making desert bases. According to my experience, one of the most difficult aspects of this hobby for newcomers (and also for veterans!) is how to make the bases. Probably one reason for this is that bases are not painted, but created. That is, we need to generate a texture and add 3D elements such as rocks, plants, debris, etc. Luckily, the market is full…
True Metallic Metal (TMM): gold
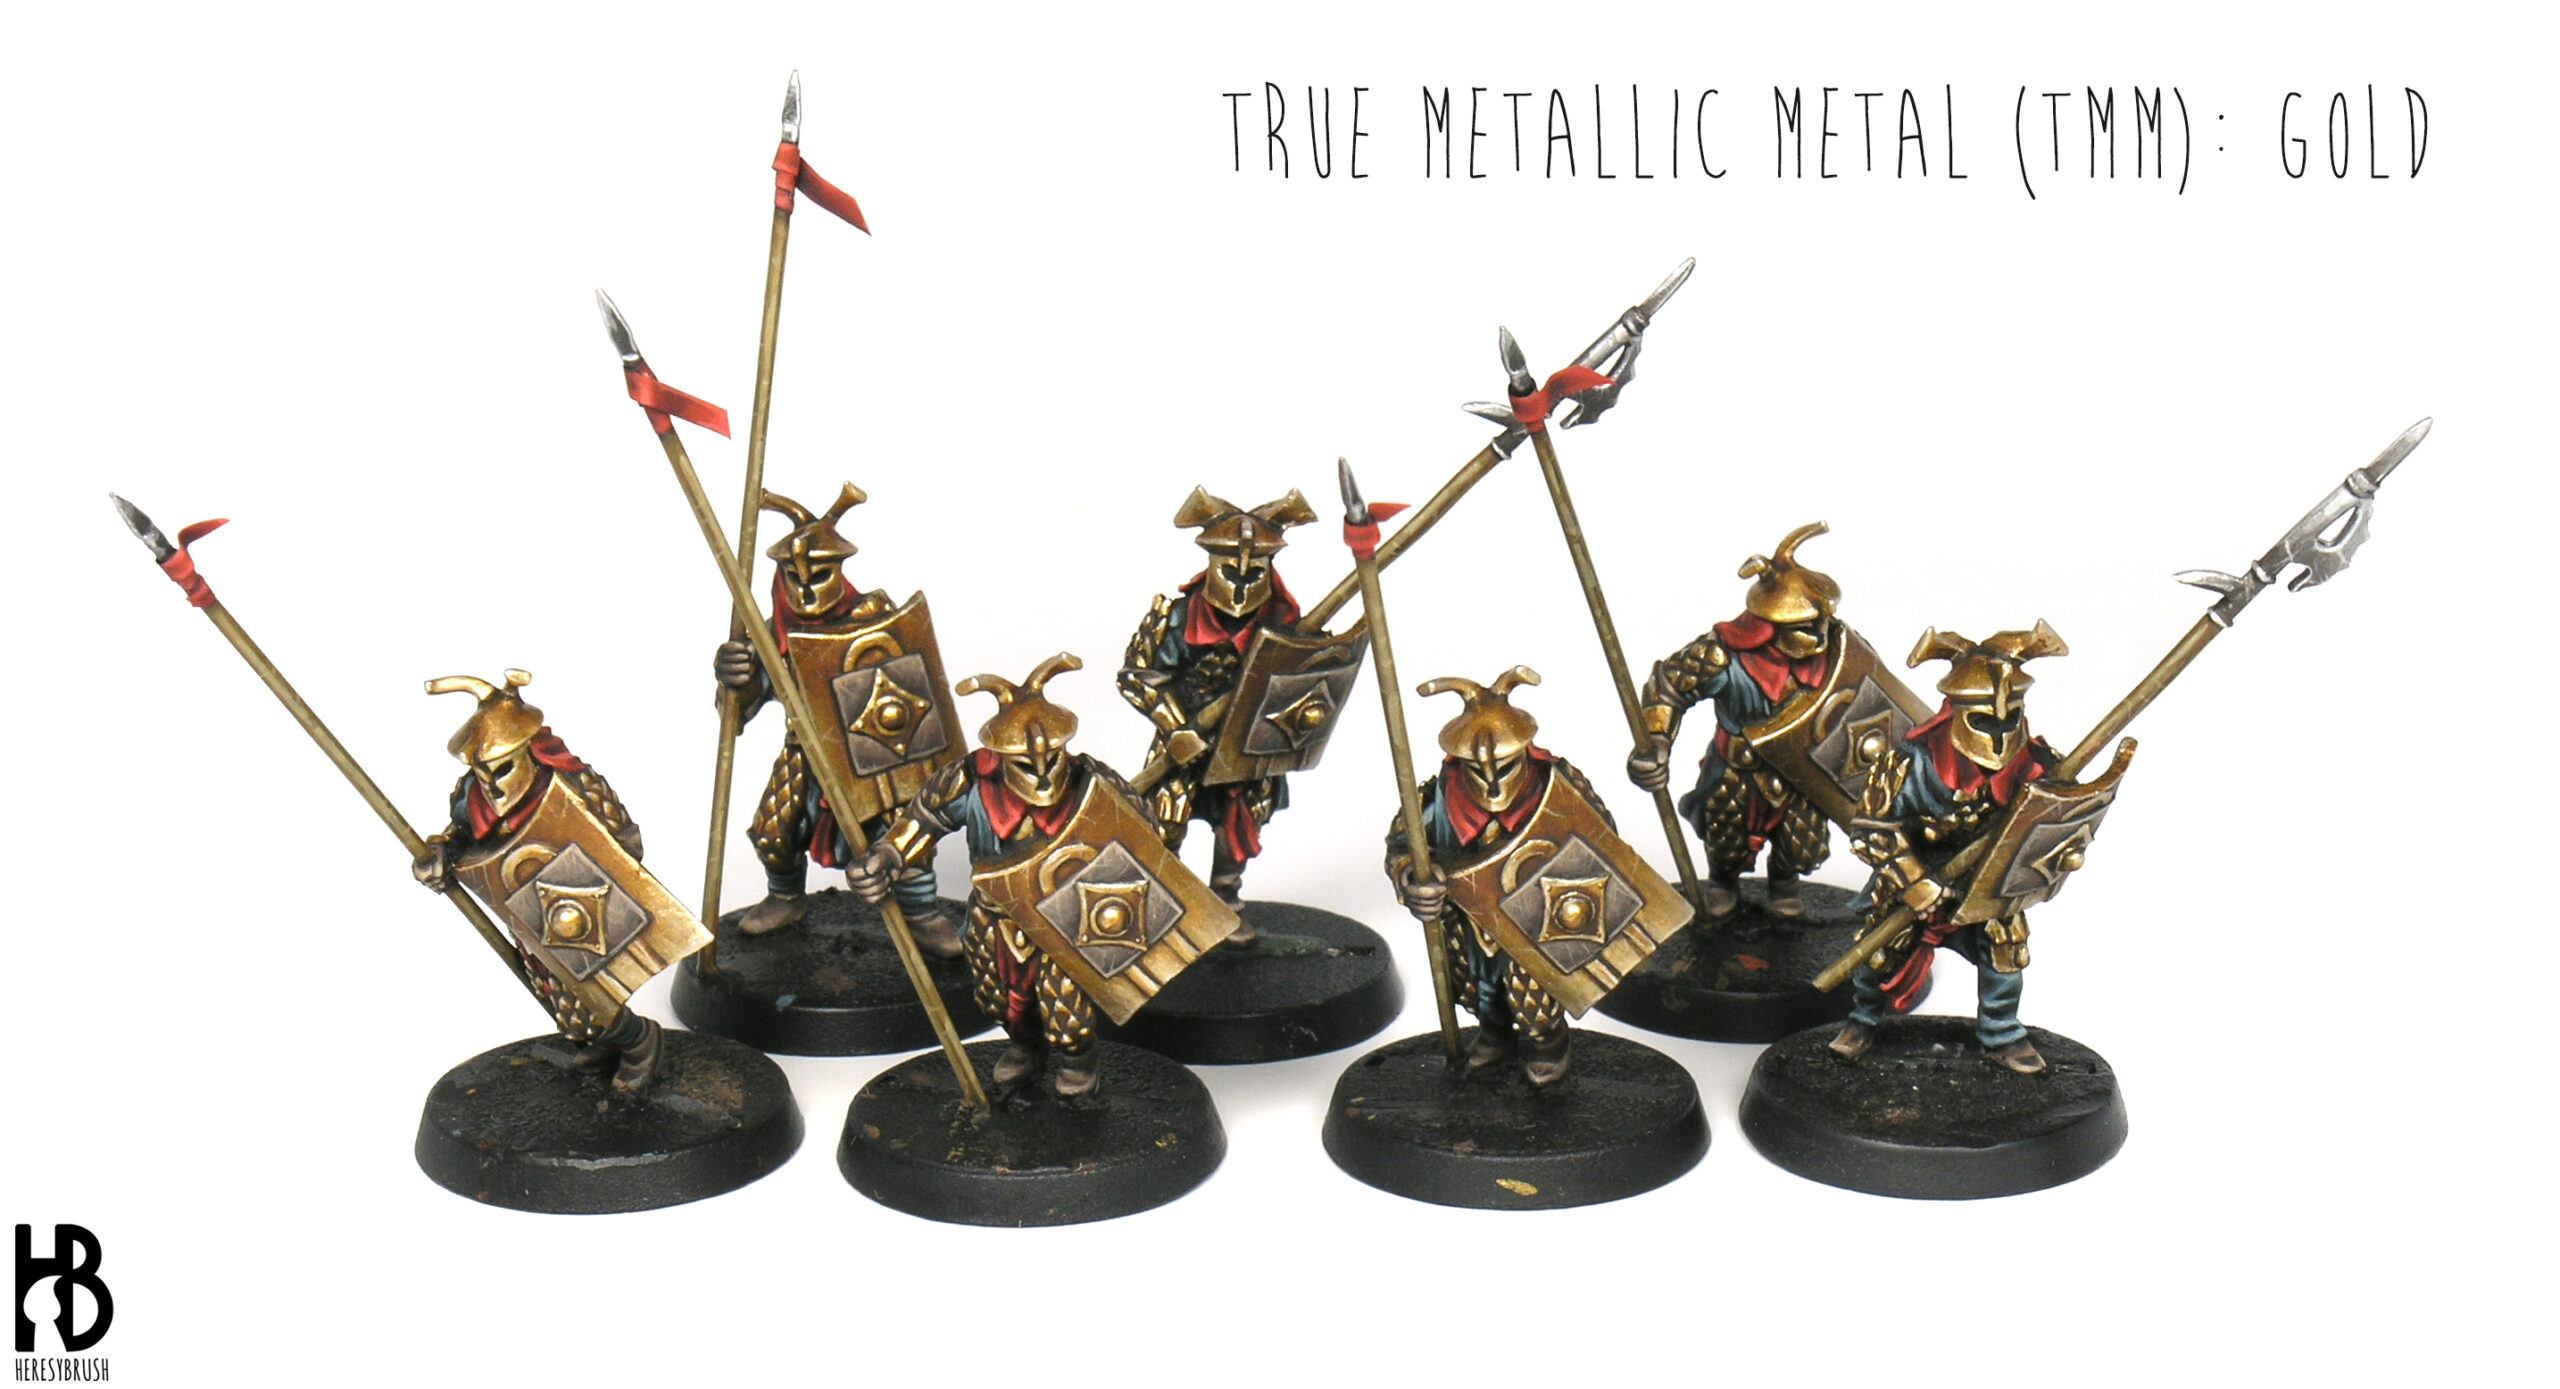
I previously wrote a short tutorial describing how to paint TMM steel (you can read it here). And it was about time to write a similar post about how to paint TMM gold, taking advantage of a bunch of Easterling warriors (Games-Workshop, 28mm) I am painting right now. I am also expanding the tutorial to explain how to paint the red and marine blue clothes. The bases are unfinished, but I am planning to prepare another tutorial explaining this part. I would like to clarify that this is my own interpretation of this technique, meaning that is not the only…
Improving a 15mm paint job: guns and crew
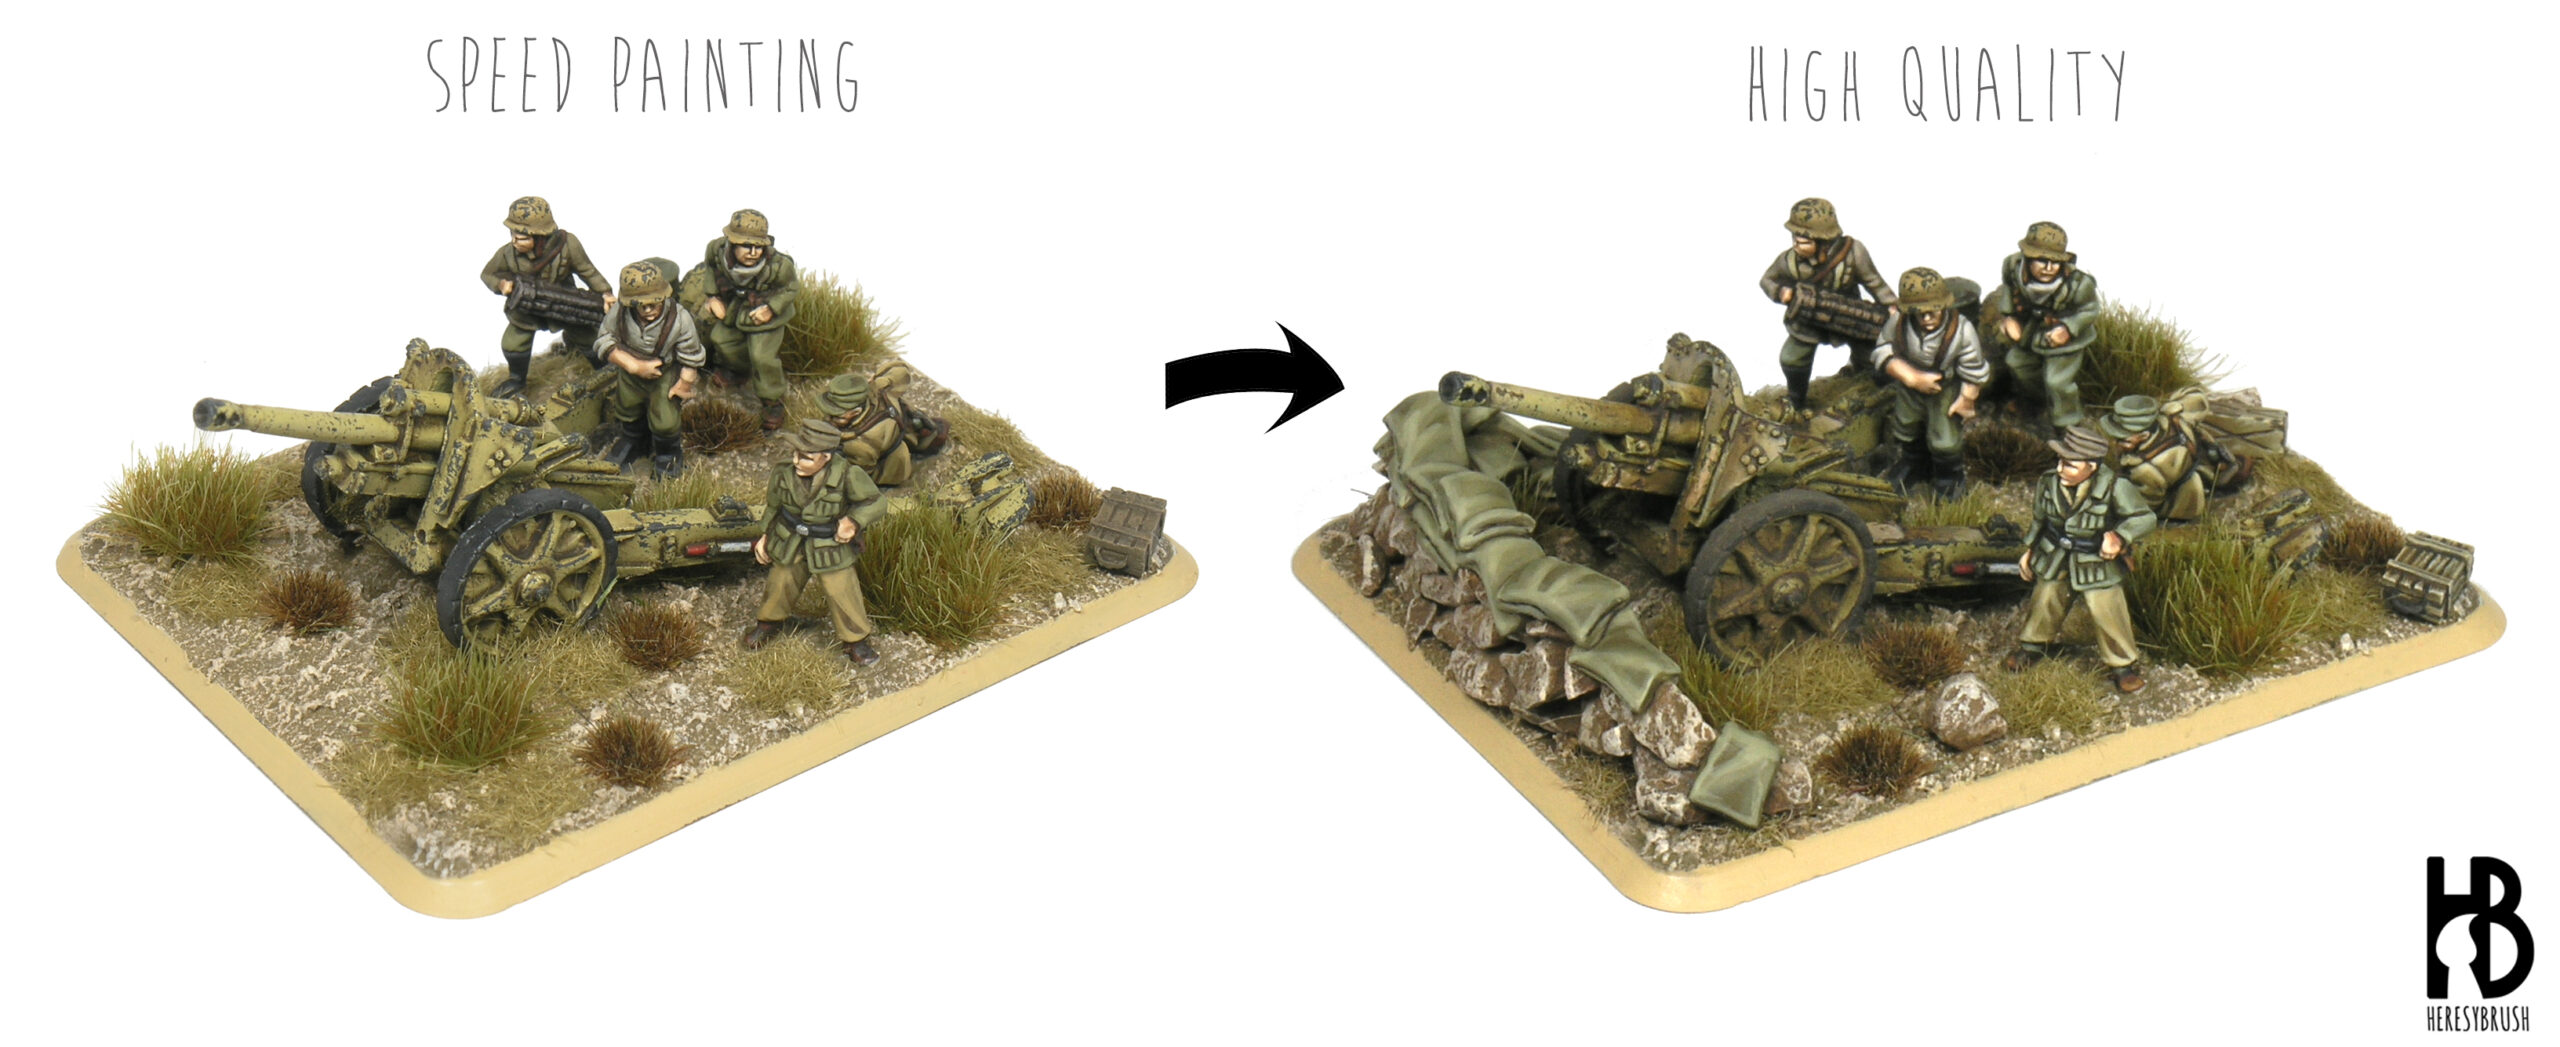
Most popular painting techniques for wargames fall in the category of fast painting methods that aim for the so-called “tabletop quality”. The idea is to have ready a unit or an army as soon as possible, with each miniature painted with the right colors and a bit of contrast between shades and highlights. These quick methods are perfect for wargamers since they do not require much time, allowing the players to spend more time in the battlefield. But, sometimes we have some extra time that we can use to push forward the quality of our miniatures for wargames. I would…


