 The easiest way to identify the chapter of our Space Marines is by using decals. These typically go on the shoulder pads, but their curved surface can be challenging for some modelers, as it is tricky to perfectly adapt a decal to a curved or irregular surface. We have previously discussed numerous times how to apply decals, but here we will focus on how to deal with curved surfaces. Here, we used customized decals from Scumb4g Kustoms.
Other articles about decals:
- Decals, transfers and stencils
- How to apply decals correctly
- How to apply name tag decals
- How to create glowing runes using decals
Step 1 – Basic paintjob and sealing with glossy varnish

We begin by painting the basic colors of the miniature, including shadows and highlights if desired. Once the paint is dry, we seal the area where we want to apply the decal with a coat of glossy varnish. This varnish creates a smooth surface, helping the decal adhere better and preventing air bubbles from forming underneath.
Step 2 – Preparing the decal
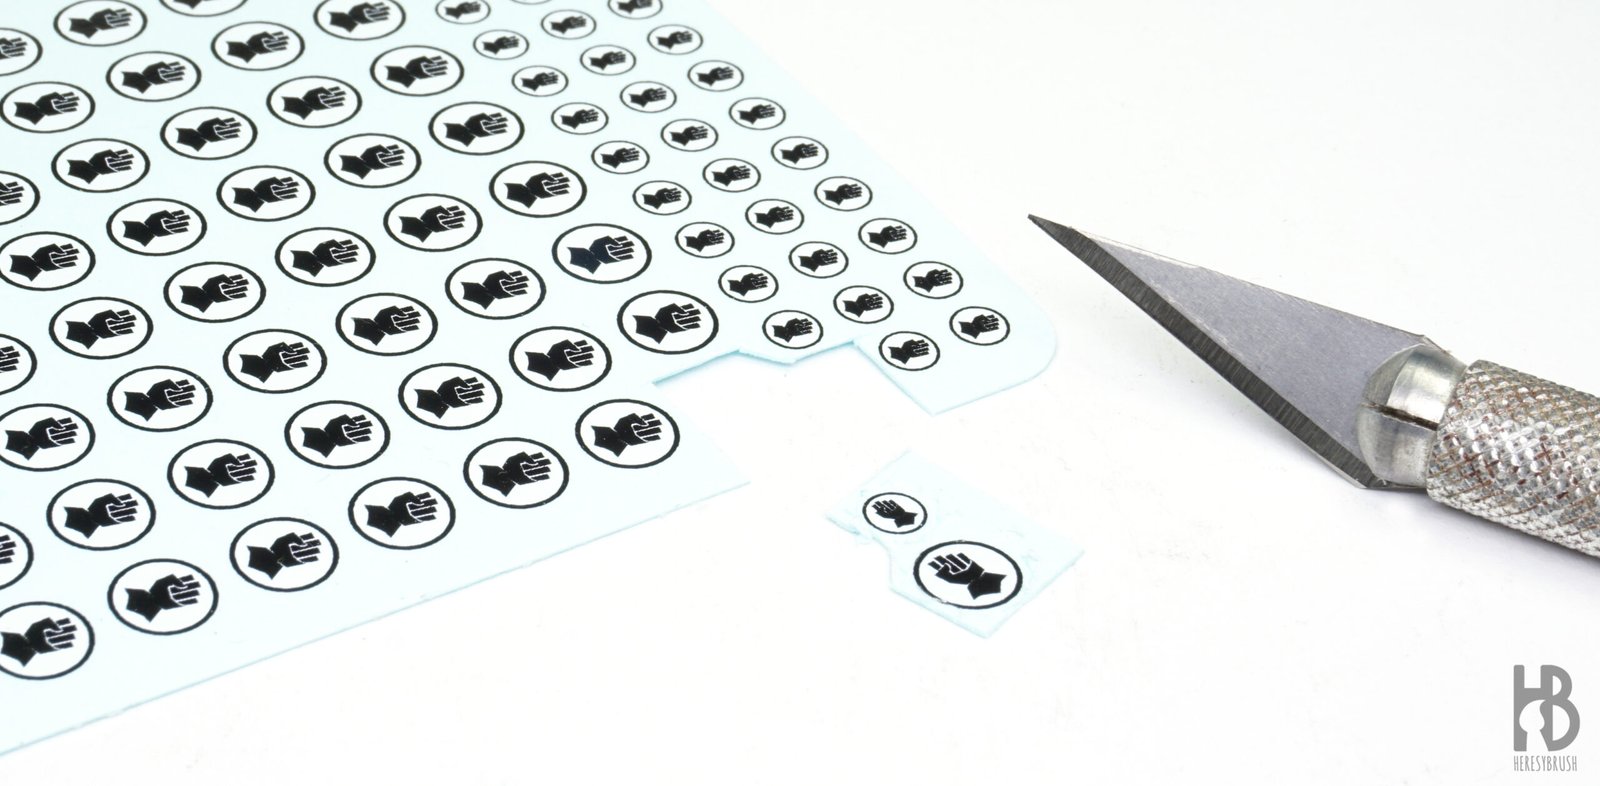

We cut the decal from the paper sheet using a sharp knife, aiming to reduce the transparent part as much as possible. Then, we soak the decal in water for a few minutes. Here, we used customized decals from Scumb4g Kustoms.
Step 3 – Apply the decal onto the surface
 Carefully slide the decal off the backing paper and onto the prepared surface of the miniature. Use a small brush or tweezers to help position the decal precisely where you want it. Do not worry if the decal is not perfectly adapted yet.
Step 4 – Fix the decal in place

Once the decal is positioned correctly, apply a decal setting solution over it, such as Ultra Decal Set from AMMO. This solution helps the decal adhere more firmly, preventing it from moving. Allow the solution to dry completely.
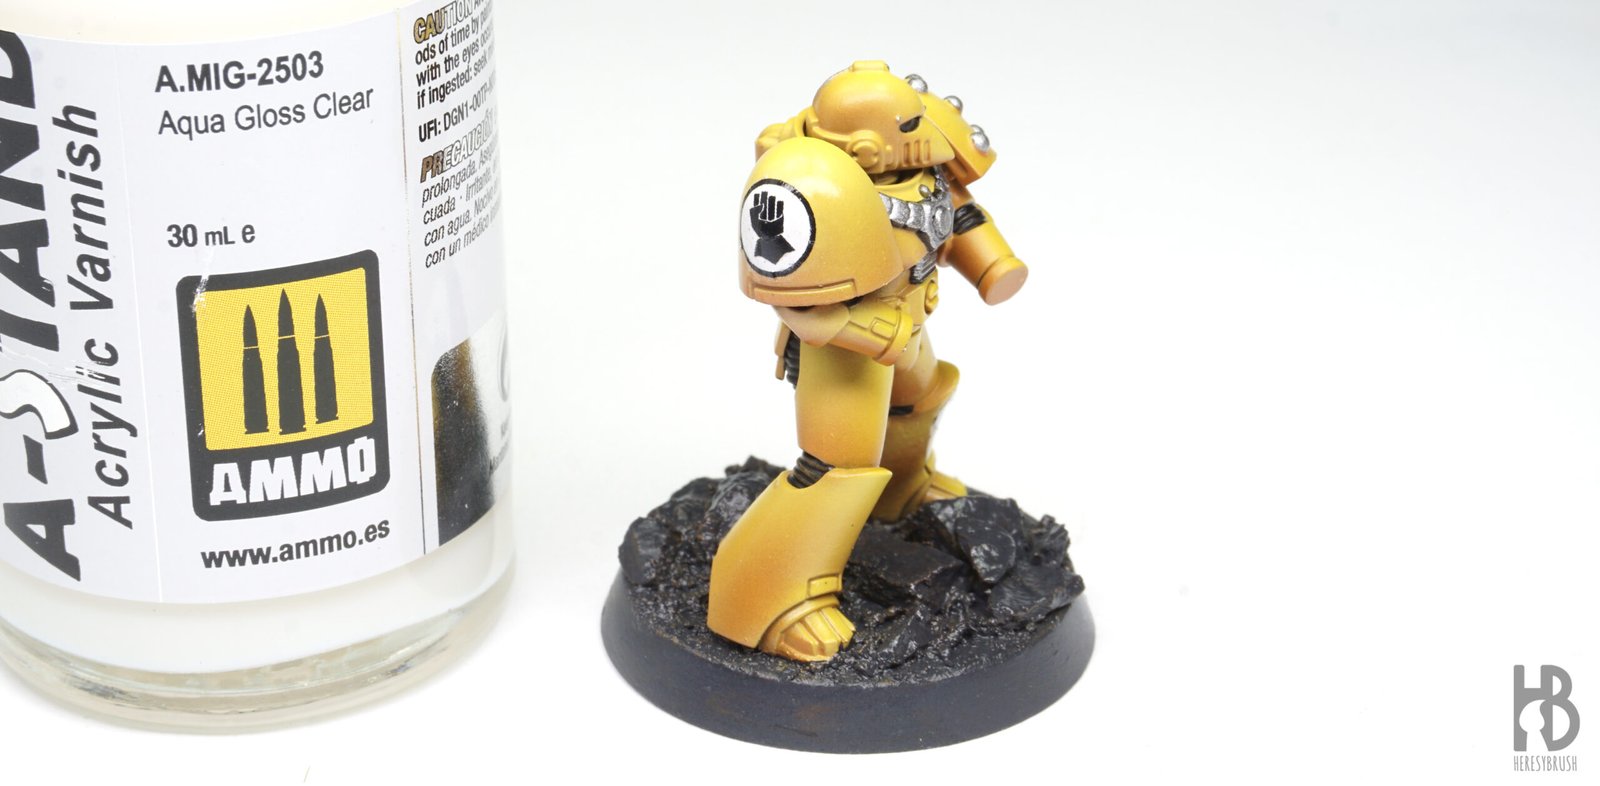
Step 5 – Adapt the decal to the surface

We use another solution, Decal Fix from AMMO, to conform the decal to the surface details and ensure it adheres firmly. Apply a bit of this solution with a brush, and after a couple of minutes, gently press the decal with the brush to remove air bubbles and ensure a snug fit.
 We must repeat this process several times, adding more Decal Fix and gently pressing with a brush, until we achieve a complete and perfect adaptation to the curved surface. It is crucial to handle the brush with care to avoid accidentally damaging the decals softened by the Decal Fix solution. Once we are satisfied, allow the solution to dry completely.
Step 6 – Seal with glossy varnish
Finally, we protect the decal and integrate it completely onto the surface by applying a new layer of glossy varnish. In this case, we apply a general layer of glossy varnish over the whole miniature, as this will facilitate the next step, the application of a wash. Later, we can eliminate the glossy effect by simply applying another layer of matte or ultra-matte varnish. We avoid applying matte varnish directly after the decal is adapted, as this can result in artifacts like icing effects on the decal. Therefore, we complete the application of the decals with a layer of glossy varnish, and only then can we apply matte varnish.
Step 7 – Finish the miniature
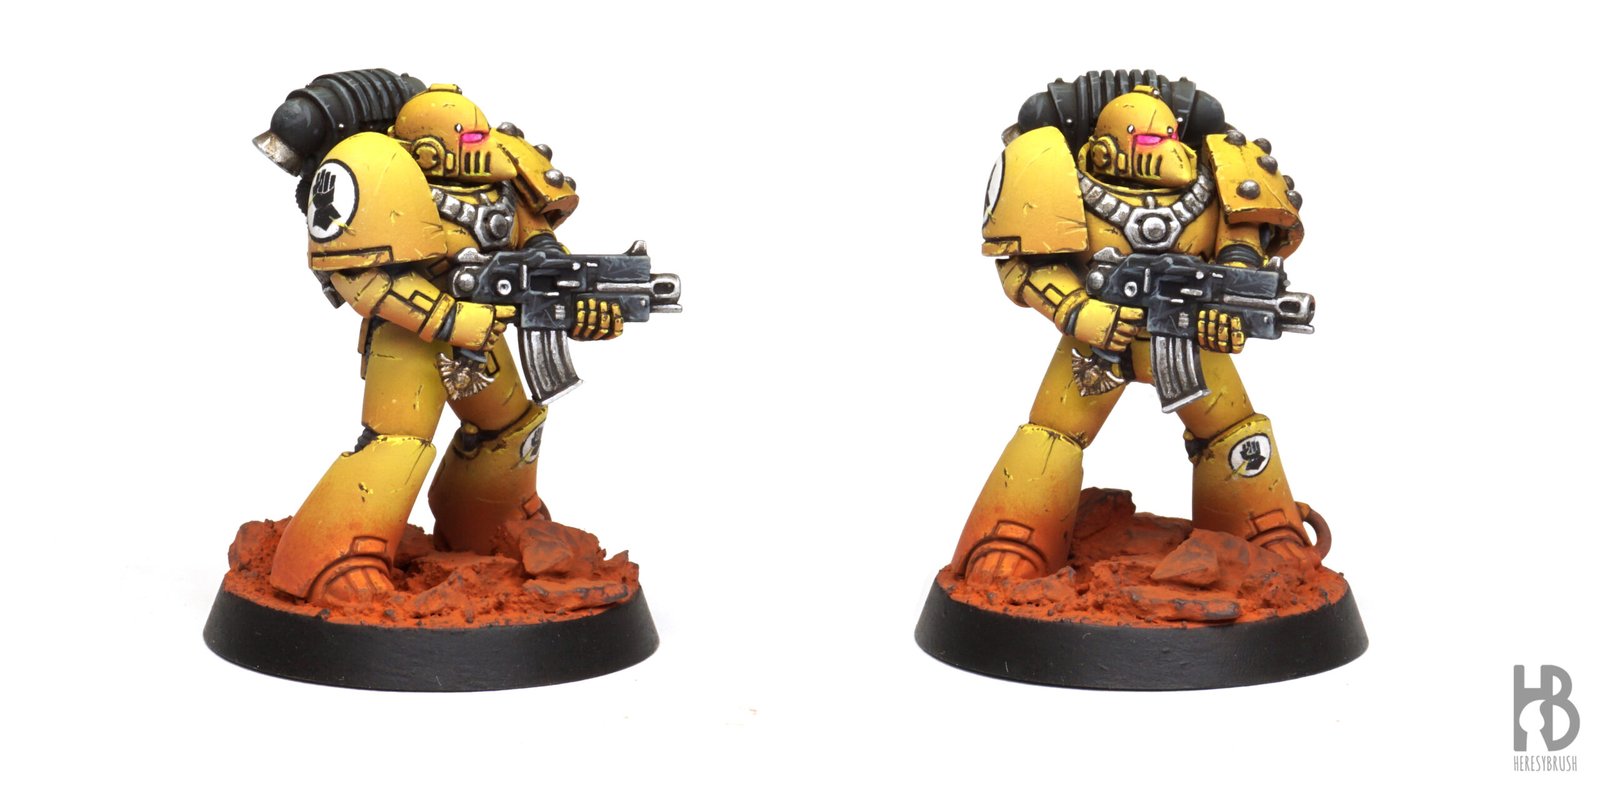
Decals are usually applied before any weathering effects so that they can be seamlessly integrated.