 In this tutorial, we will explore how to create glowing runes using decals and fluorescent paints. While I primarily applied these techniques to scenery elements, they can also be used on miniatures. We will require white rune decals, such as those available from Scumb4g Kustoms.
Step 1 – Basic paintjob

Firstly, we paint the scenery element or miniature completely. The glowing effect is created at the very end of the painting process. For the crypt, I employed straightforward techniques. I painted the rock using the airbrush and drybrush techniques. For the rusted metal elements, I utilized the U-Rust set from AMMO to achieve realistic rust effects. I have explained how to use it here and here.
Step 2 – White OSL

Before applying the fluorescent paint to create the glowing effect, we use white paint as a base. This provides a better foundation for the fluorescent paint, making the glow more vivid when applied on top. To do this, we airbrush white paint onto the areas where we want to create the glow effect. Our goal is to create a more opaque center, representing the source of the light, and blend the edges seamlessly. For this, it is easier to thin down the paint to apply very thin layers of paint. This will also help to create smoother transitions.
Step 3 – Fluor OSL
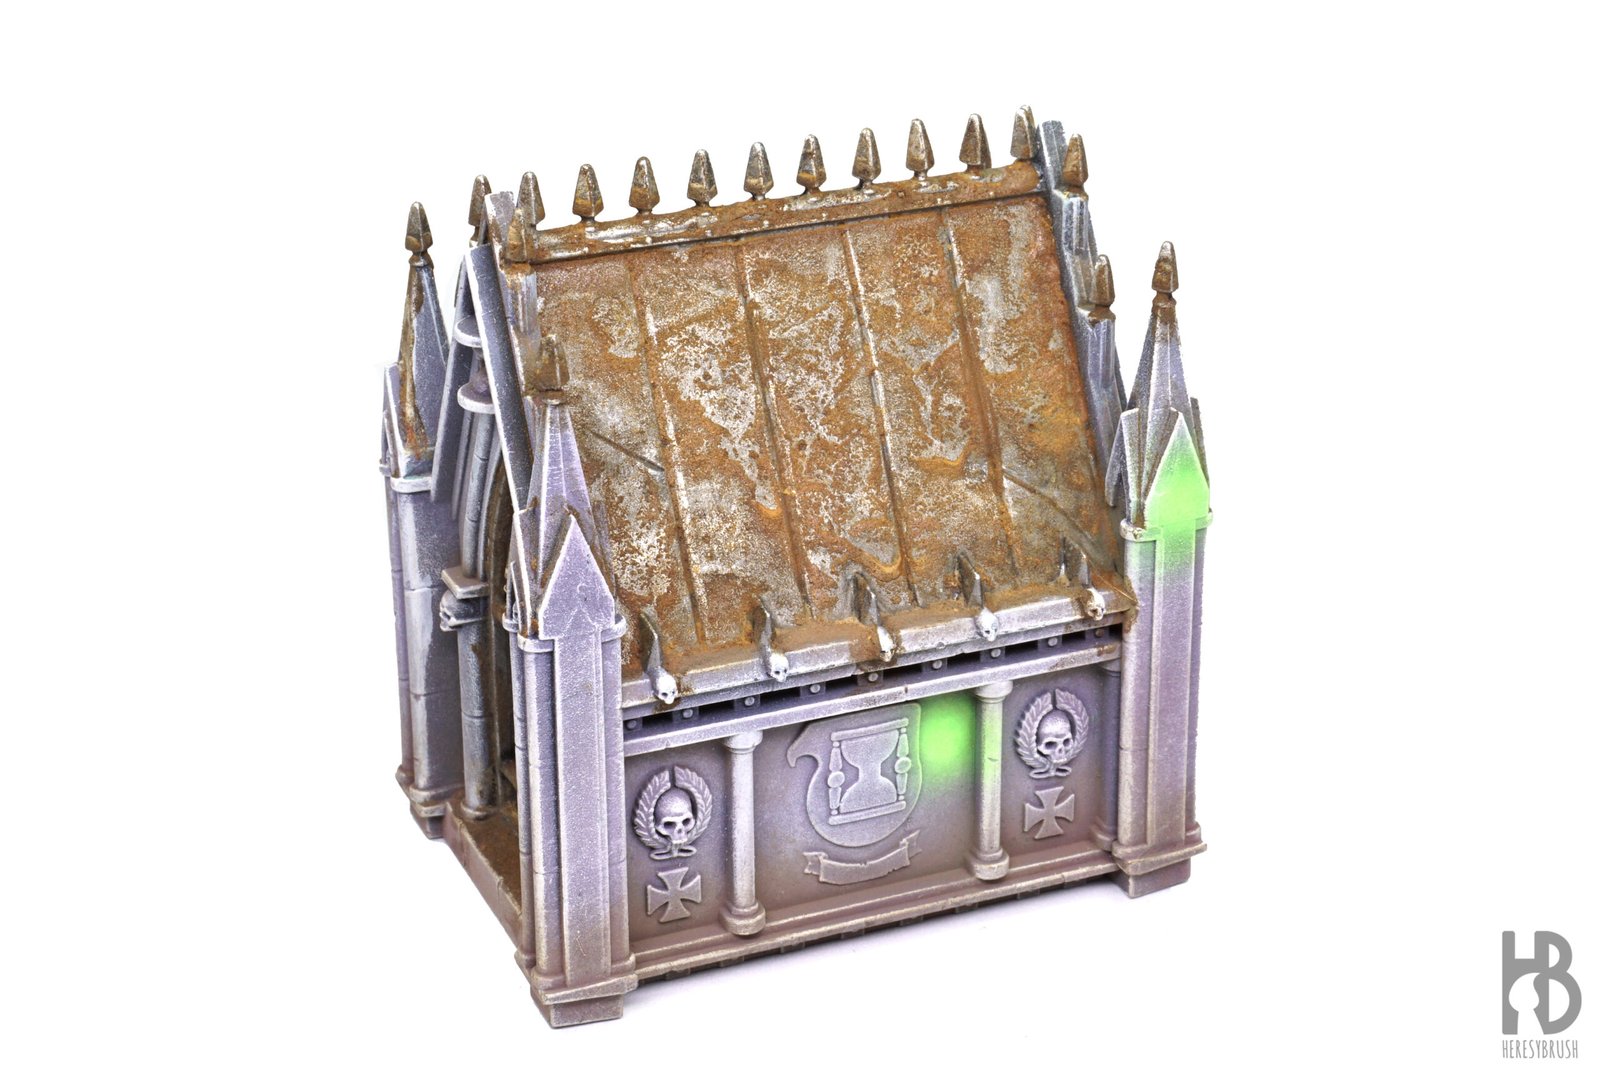
Now, we apply the fluorescent paint of our choice using the airbrush, diluted with 50% acrylic thinner. We apply several very thin layers to gradually build up the desired intensity for the effect. We cover both the white spot and the surrounding areas. When the paint falls on top of the white base, it becomes brighter, enhancing the glowing effect.
Step 4 – Prepare the surface

As we have discussed multiple times (here and here), before applying decals, it’s essential to apply a layer of glossy varnish using the airbrush. This will create a polished and even surface, facilitating the application of the decals.
Step 5 – Cut and soak decals


As usual when working with water-based decals, we start by cutting the desired decals and then soaking them in water for a few minutes until the decal separates from the paper. I used white runes or cuneiform marks from Scumb4g Kustoms.
Step 6 – Set and fix the decals

We fix the decals in their place and adjust them to any irregularities on the surface using the appropriate products, such as Ultra Decal Set and Decal Fix from AMMO. We apply several layers of Decal Fix to achieve a perfect adaptation, ensuring to wait for each layer to dry before applying the next. Every now and then, we gently press the decals with a brush to adapt them completely to the surface.
Step 7 – Seal with glossy varnish
 For a perfect integration of the decal onto the surface, we apply a new layer of glossy varnish once the previous step is completely dry.
Step 8 – Matt varnish

To complete the job, we apply a new layer of matte or ultra-matte varnish using the airbrush.
Finished crypts:


