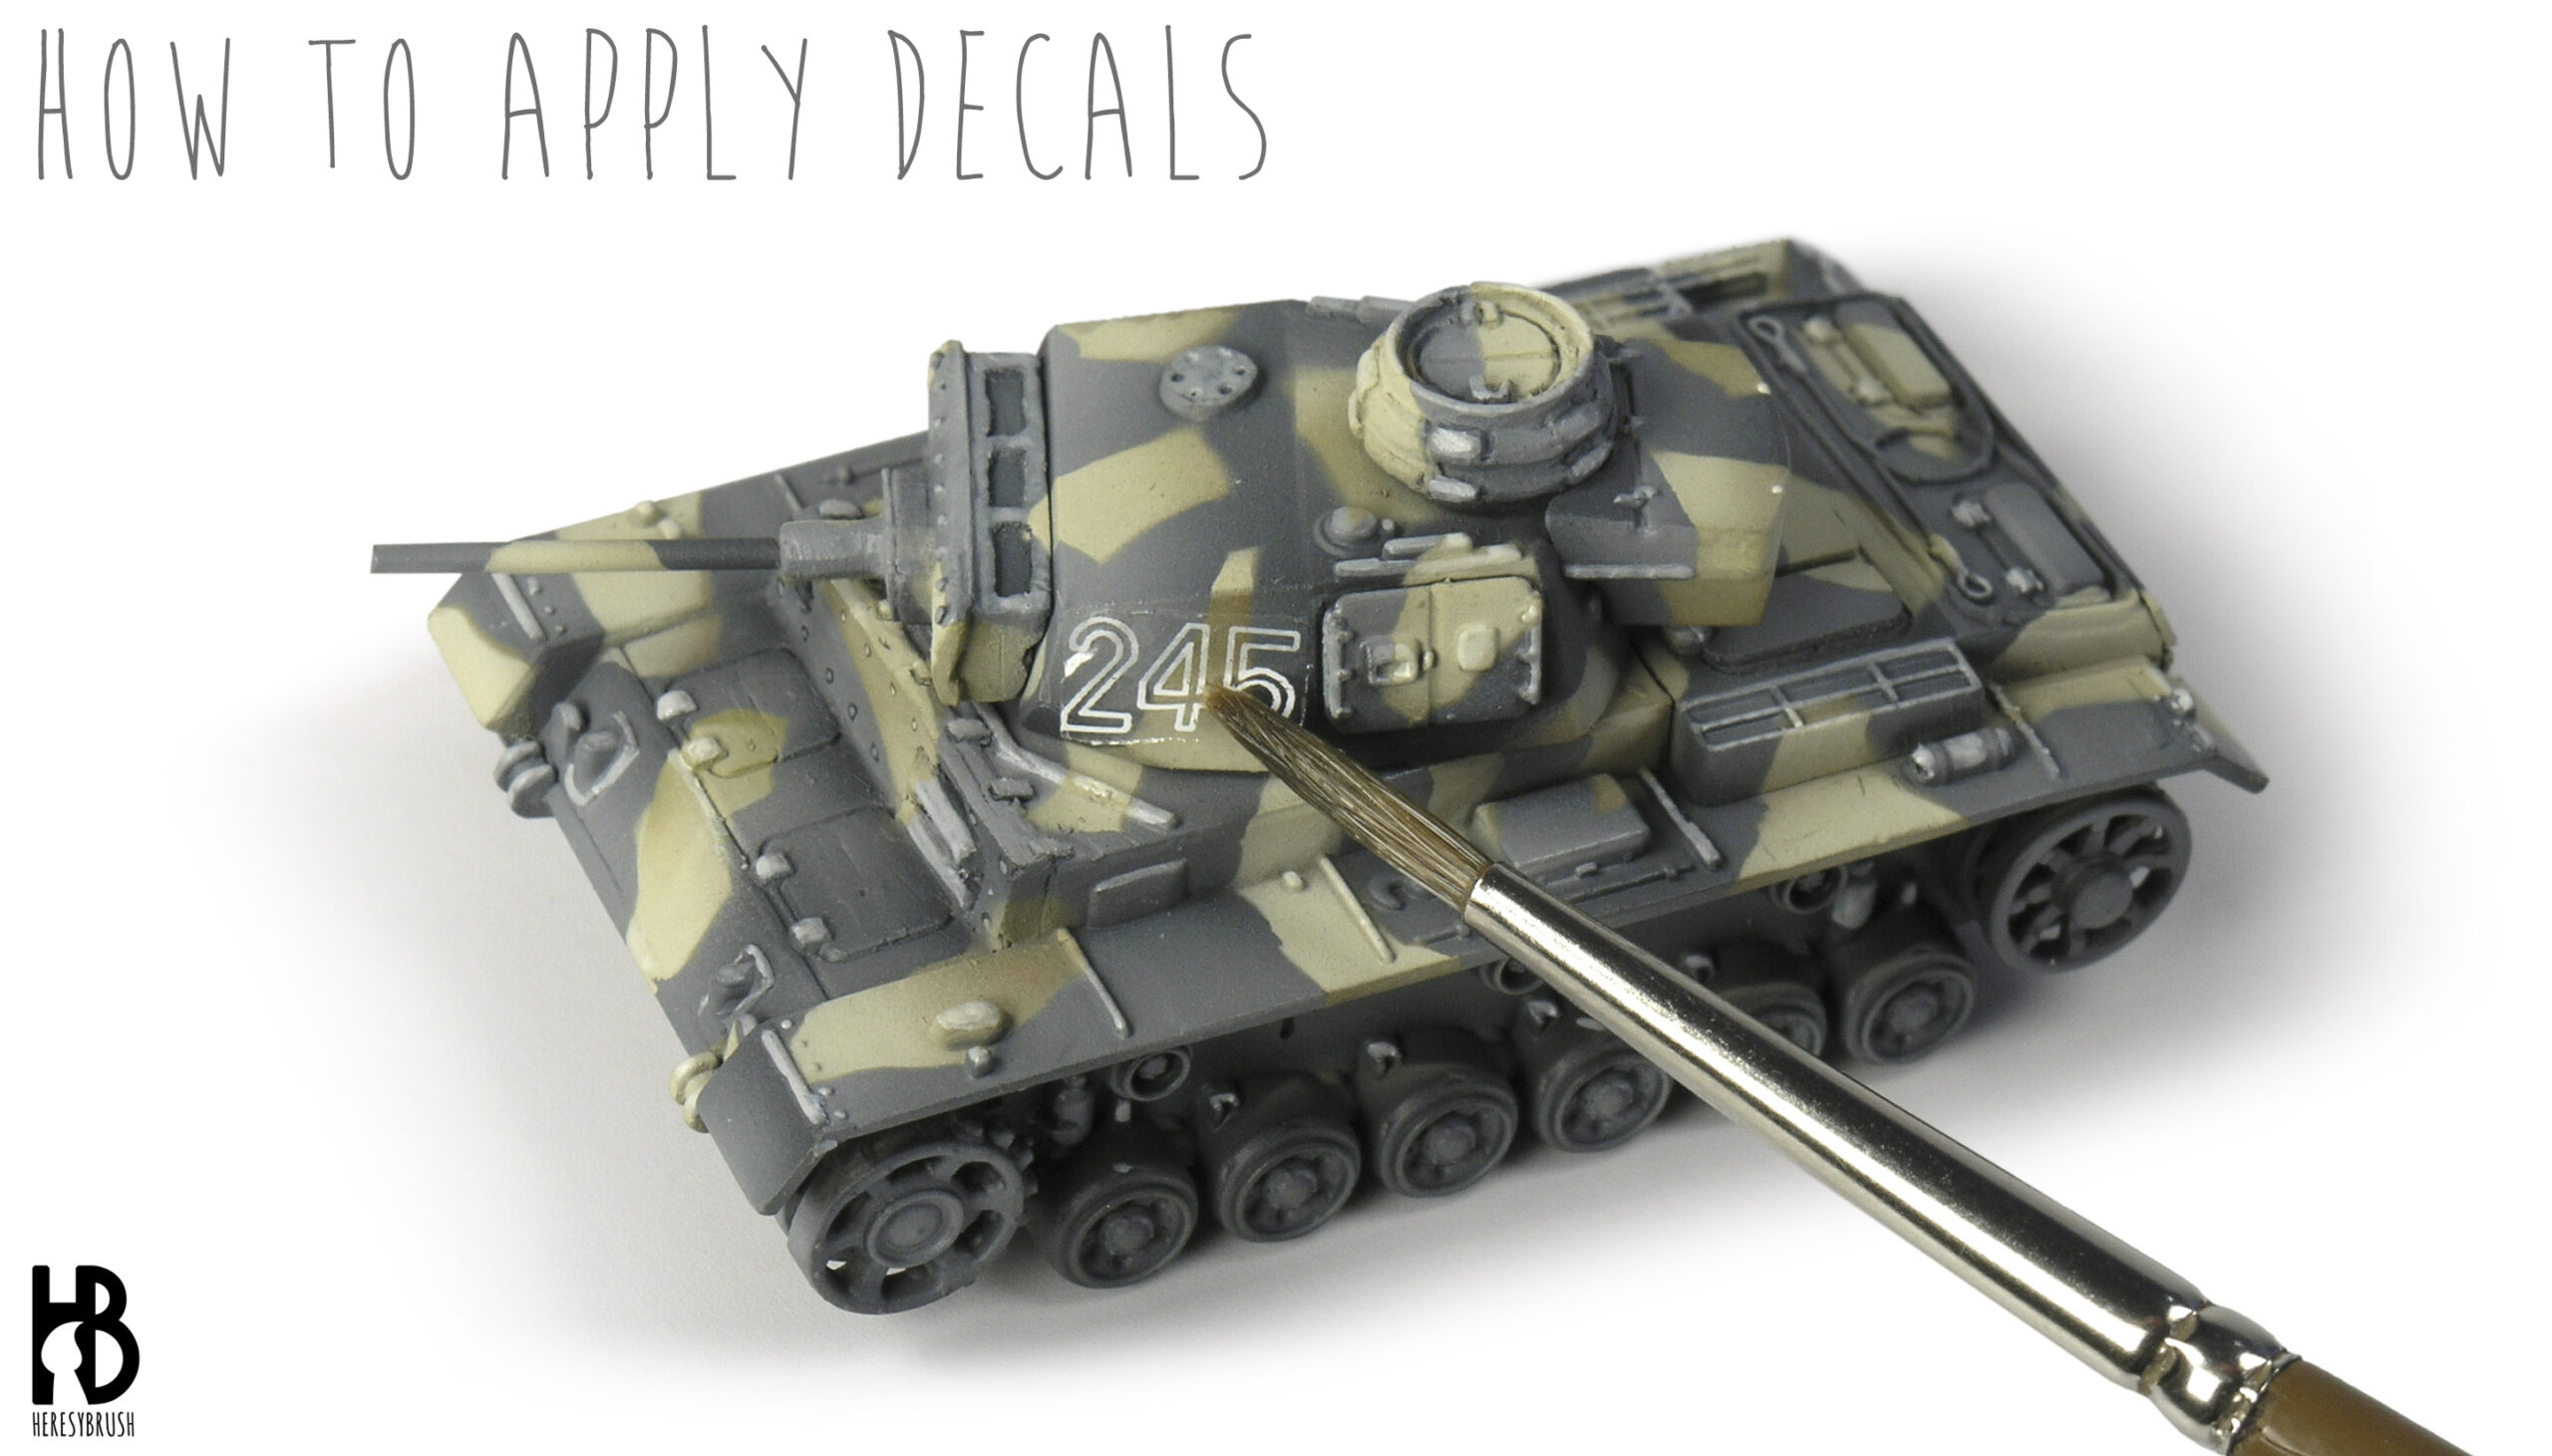
I continue updating old post in my blog. This time we will discuss how to apply decals on our scale models. Originally published on 16th of August of 2010. Updated on 21st of January of 2022.
Decals are a very useful, quick and easy option to add the national and tactic symbols to our scale models and tiny miniatures. However, sometimes the result is spoiled for different reasons: inappropriate adaptation of the decal on irregular surfaces, an unrealistic glossy effect, or even worst, the transparent areas of the decal become greyish (this is called icing). In this article will learn how to avoid these problems. If you want to know more about decals, transfers and stencils, you can check this other post.
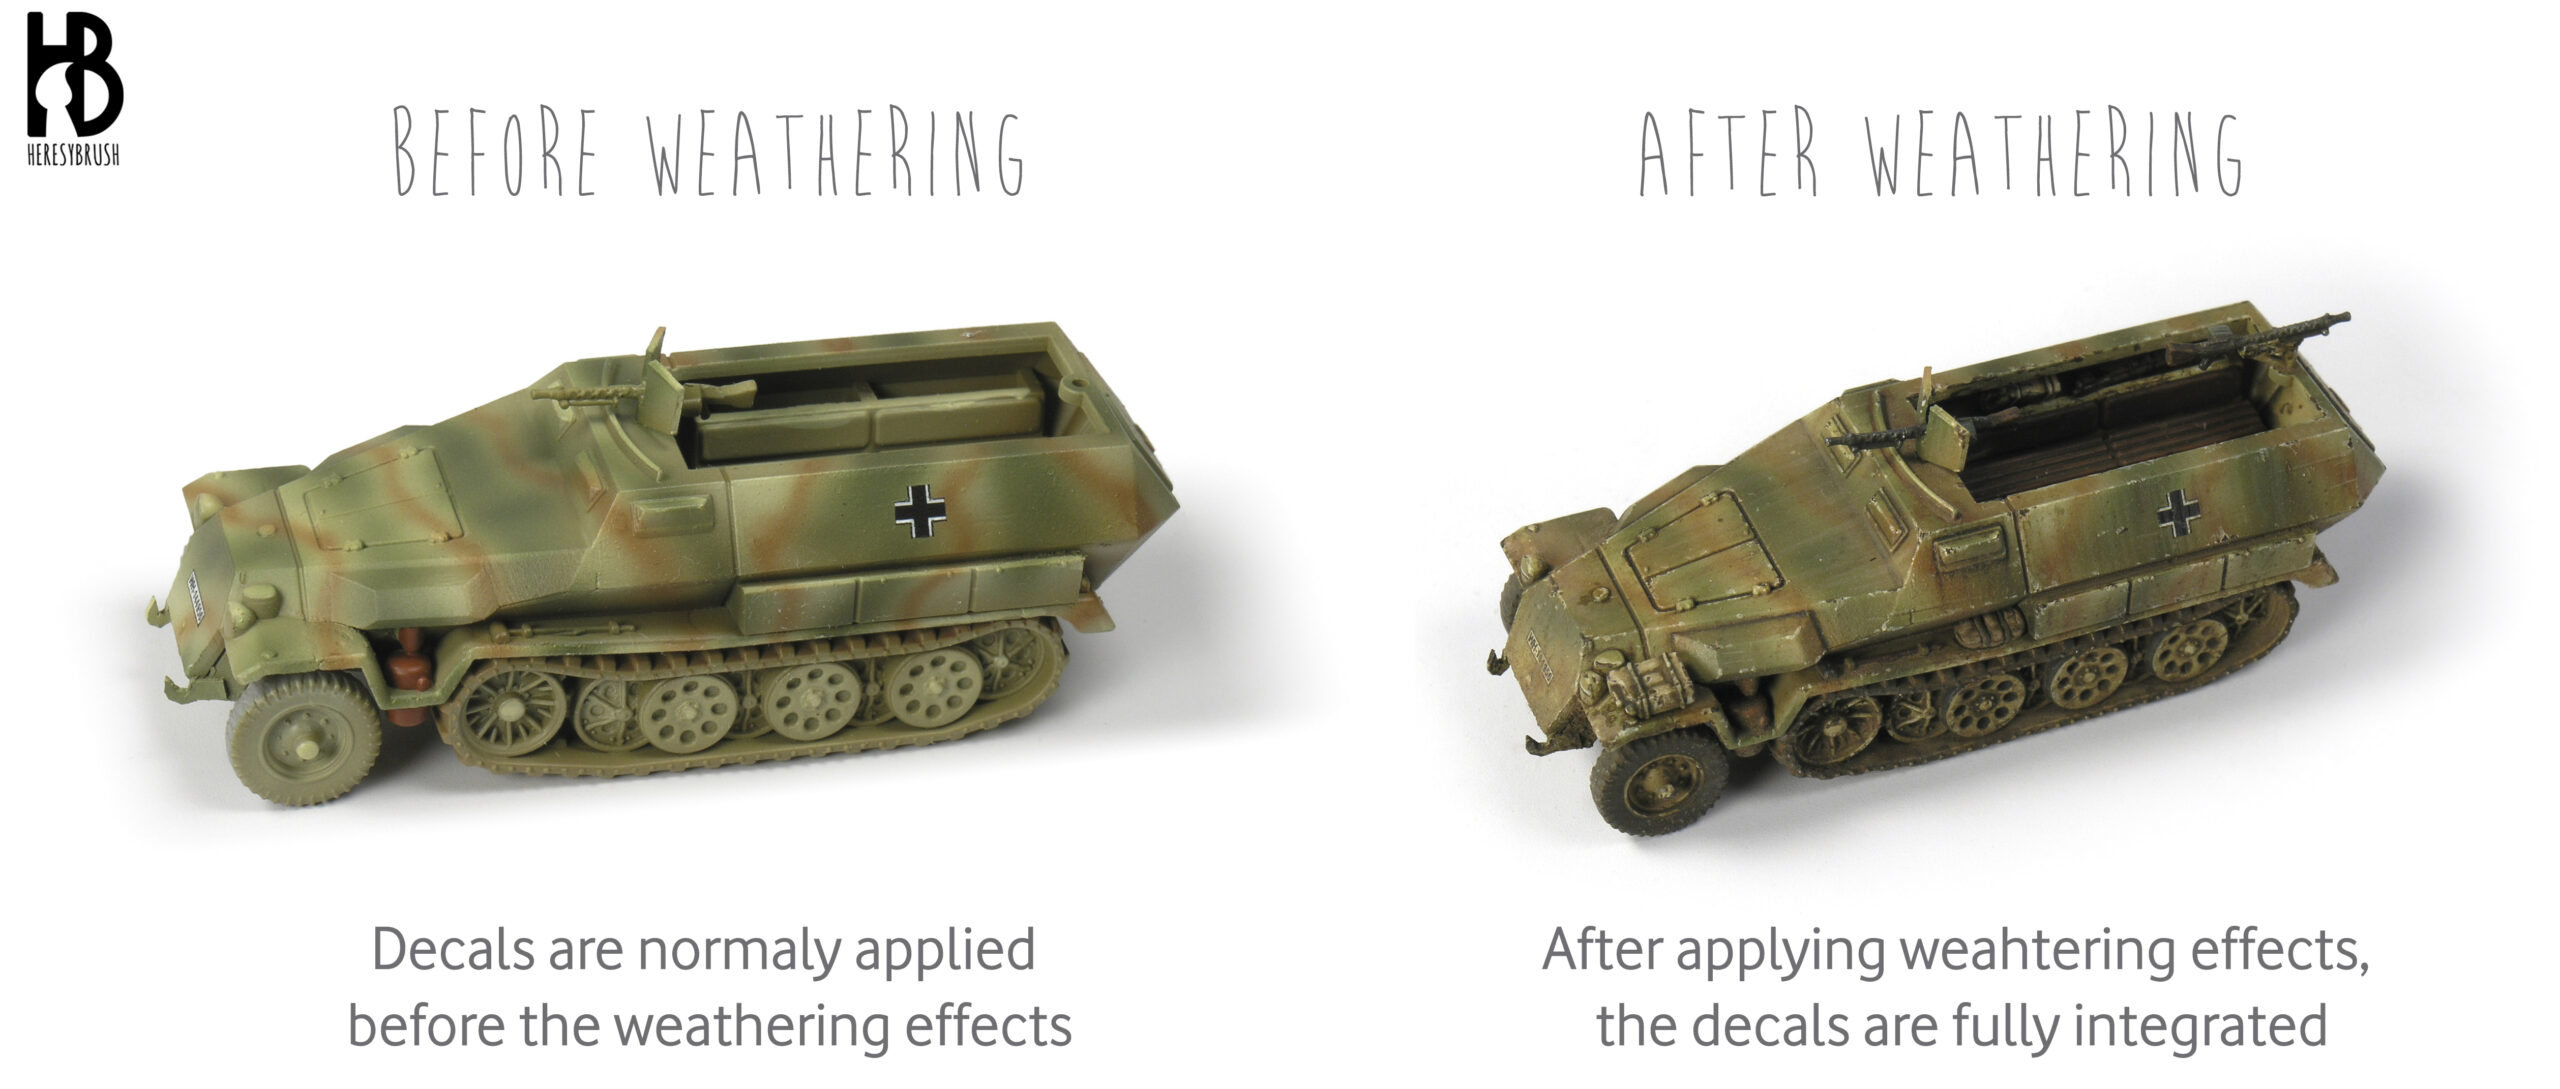
A recurrent question I have seen in many forums and groups is “When should we apply the decals, after or before applying the weathering effects?“. In my opinion, the right moment is after painting the basic colors of the tank -normally done with acrylics- and just before starting with the weathering effects -normally done with enamels or oils-. If we apply the weathering effects after applying the decals, the later will be fully integrated in the model as they are treated in the same way as the rest of the vehicle.
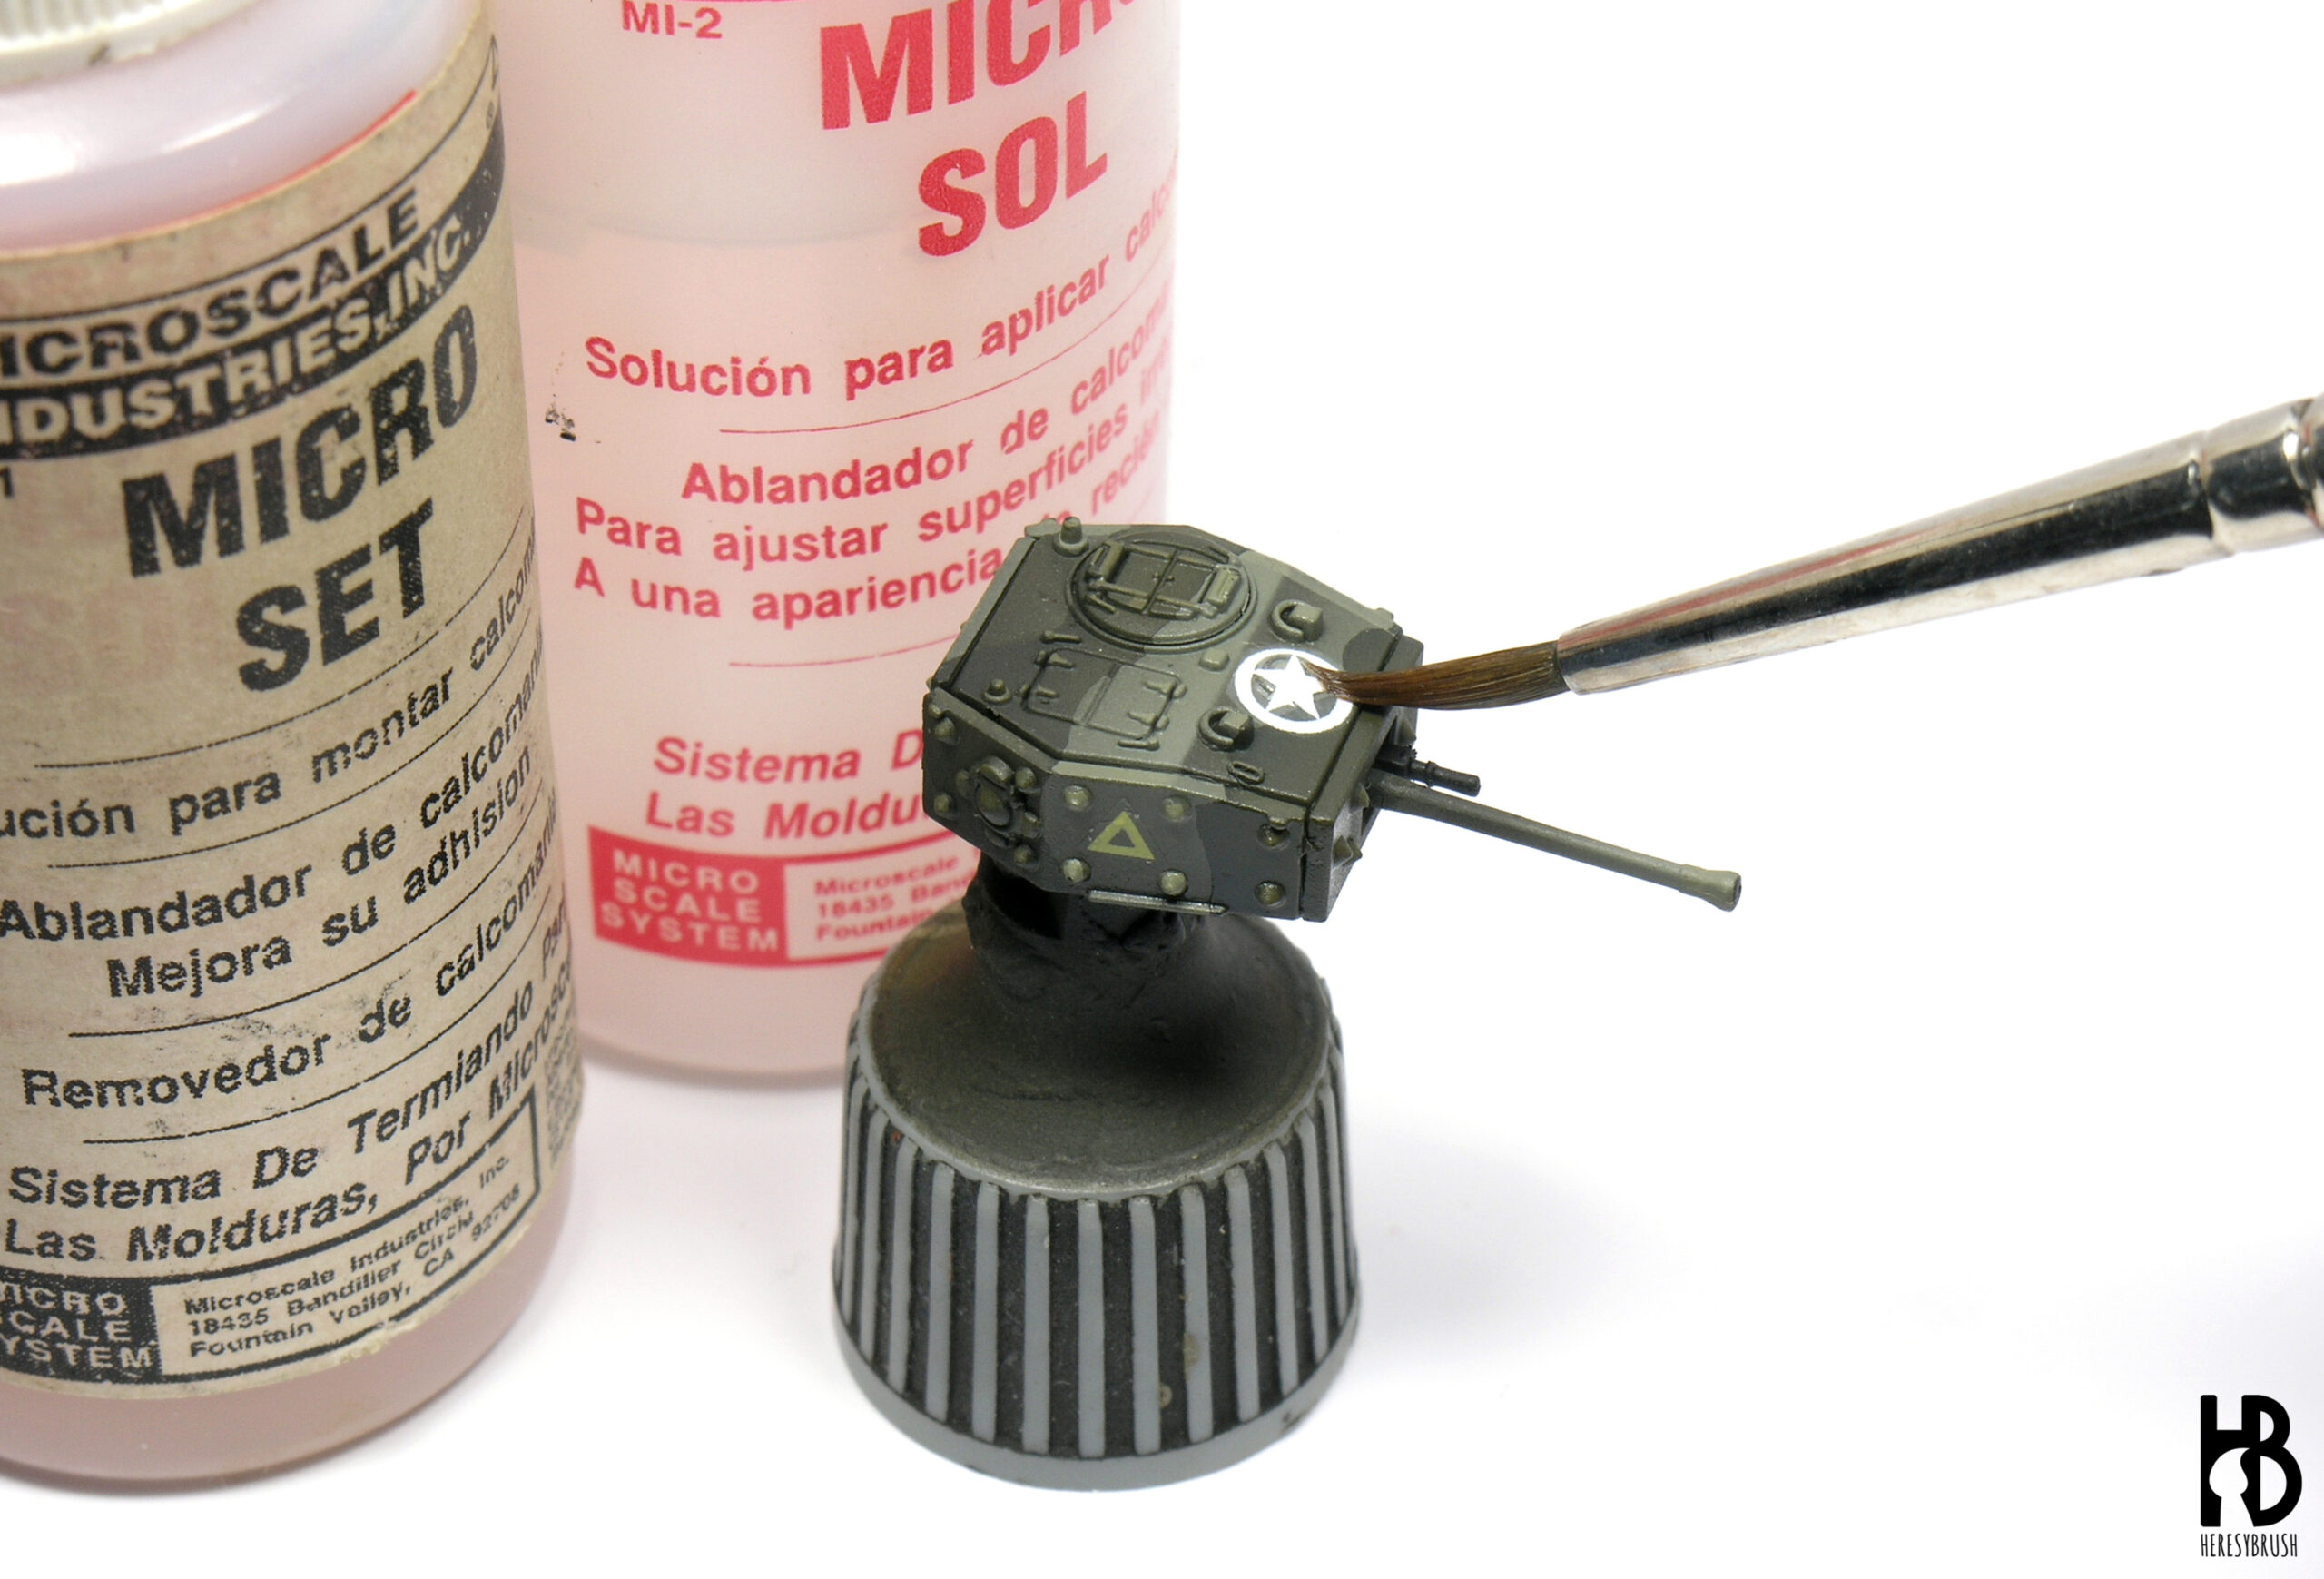
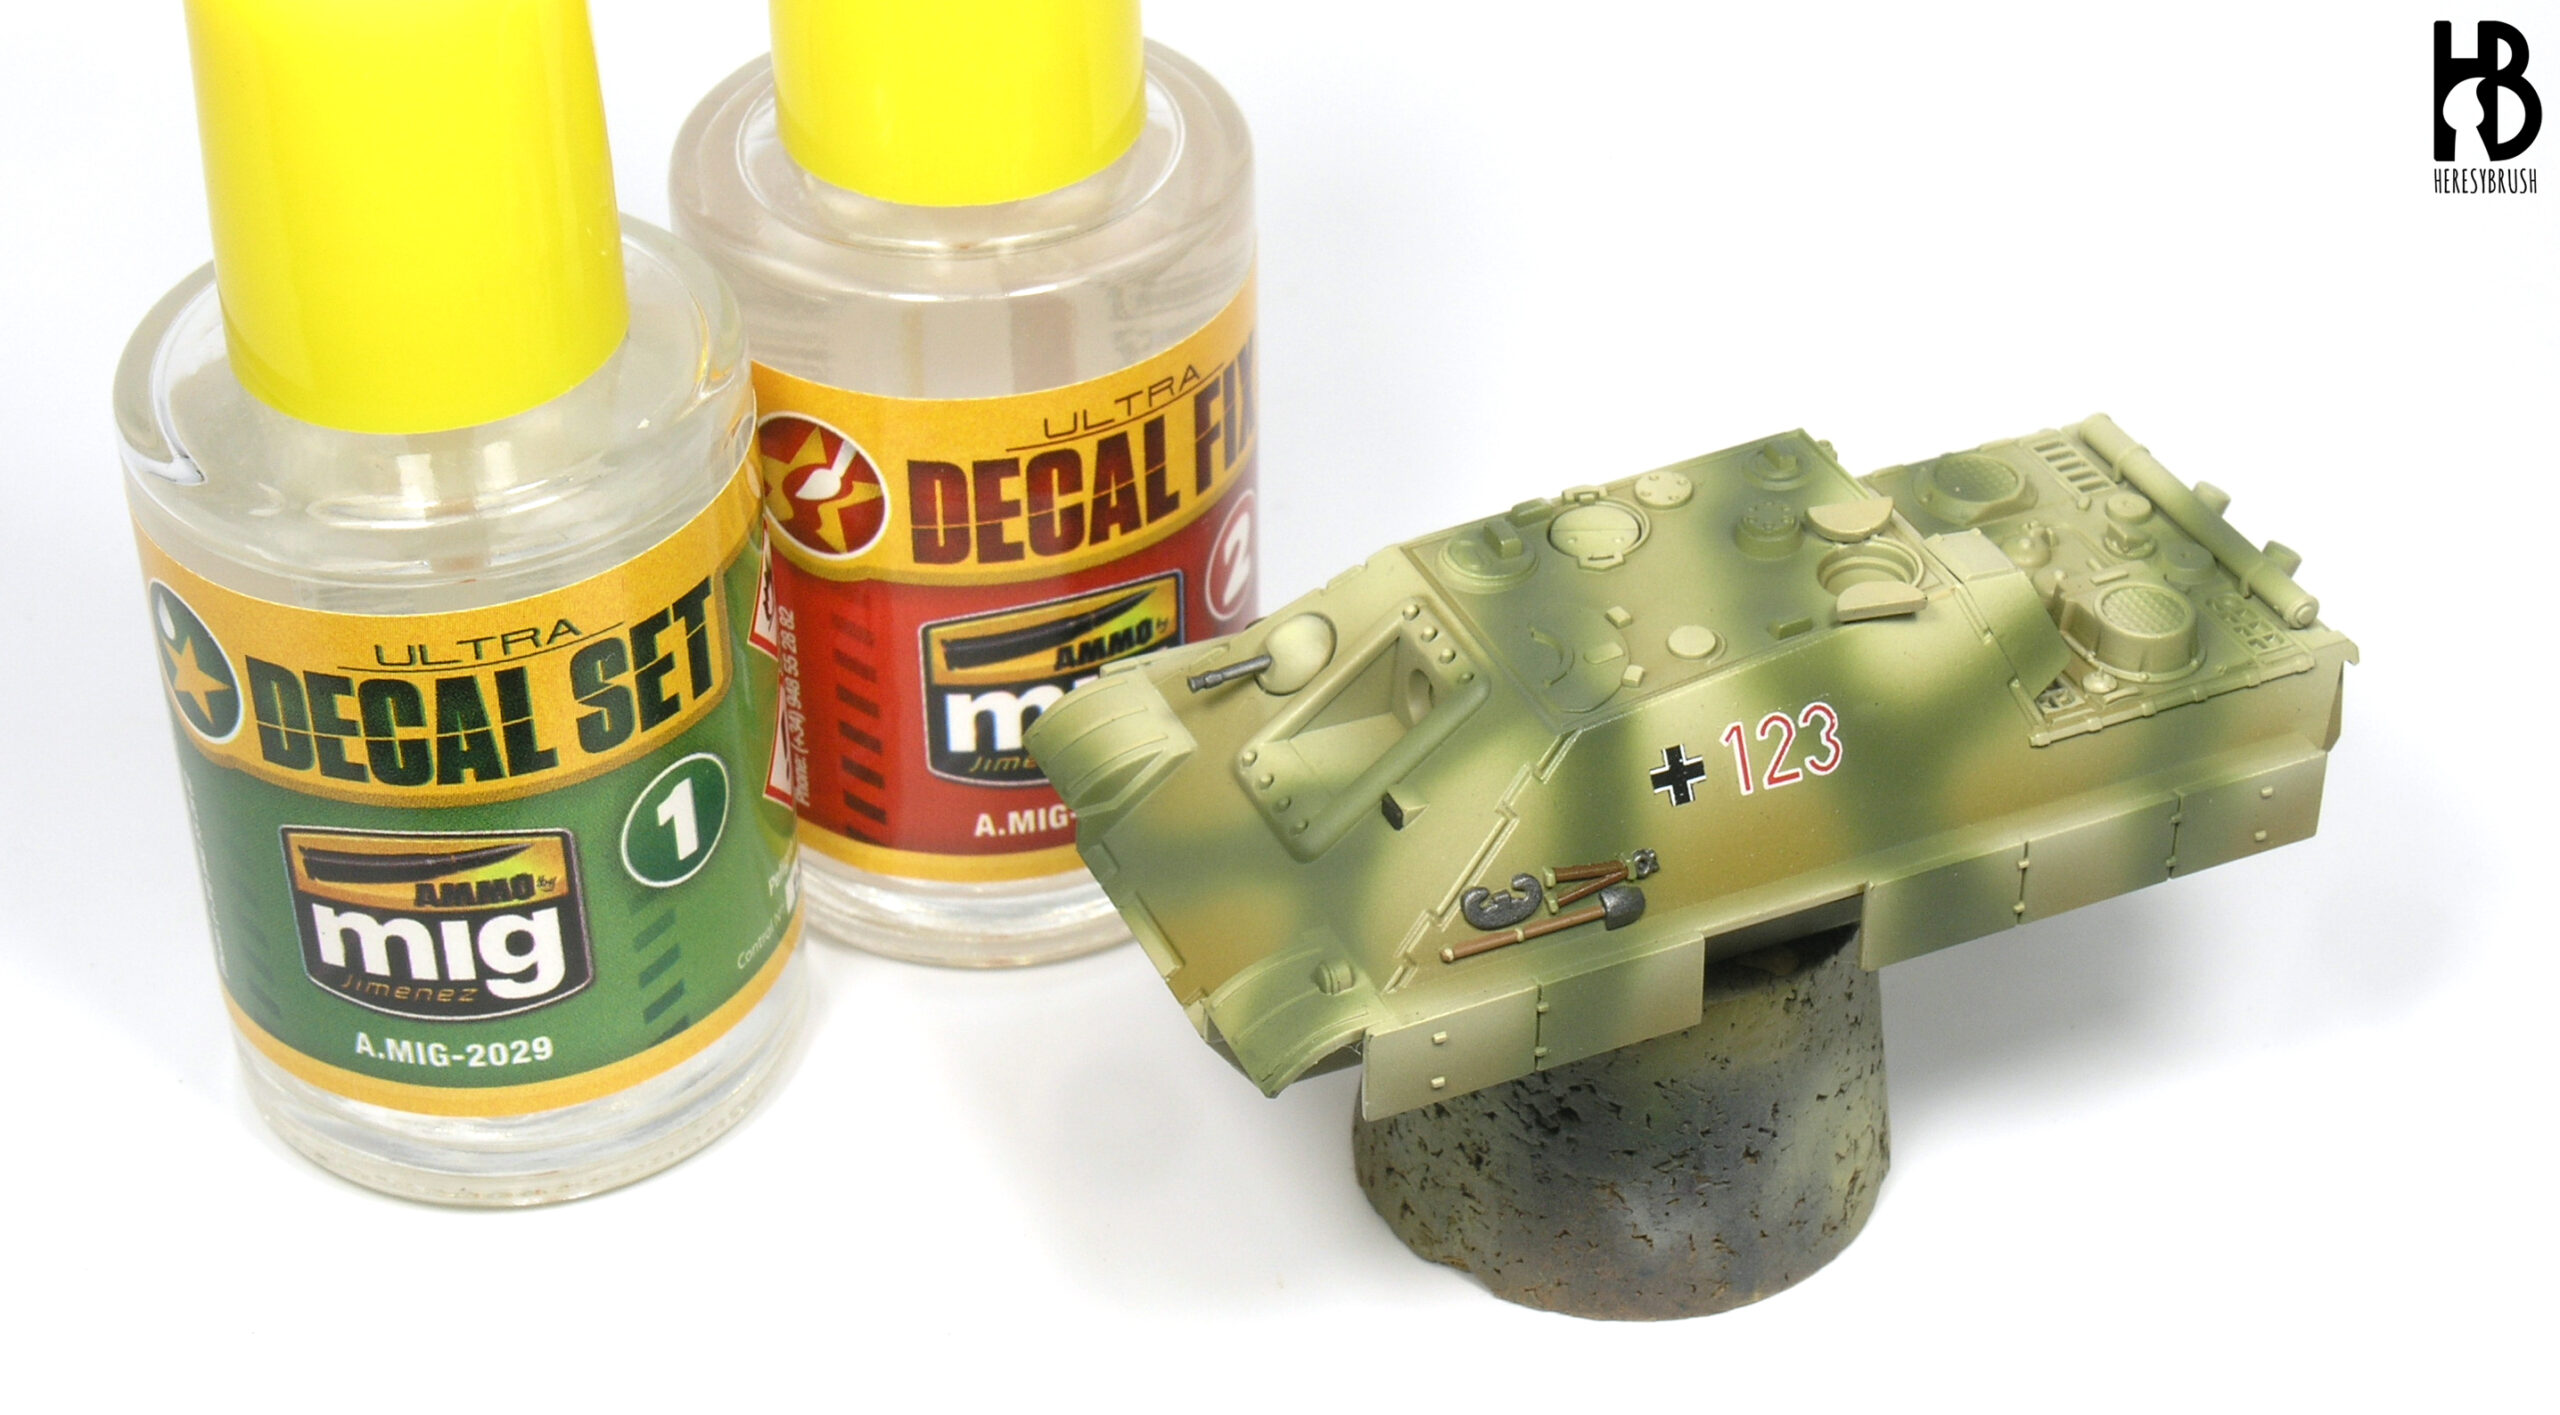
To correctly apply decals we need two different types of varnish, glossy and satin, and two specific products to fix and adapt the decal, such as Ultra Decal Set and Ultra Decal Fix by AMMO (which recently have replaced MICRO SOL and MICRO SET from Microscale Industries on my painting table). The product to adapt the decal is specially important in those cases where the surface is not even and/or is rich in details such as rivets or hatches. Furthermore, we need a modelling knife to cut the decals, a reservoir with water and a cloth or paper towel.
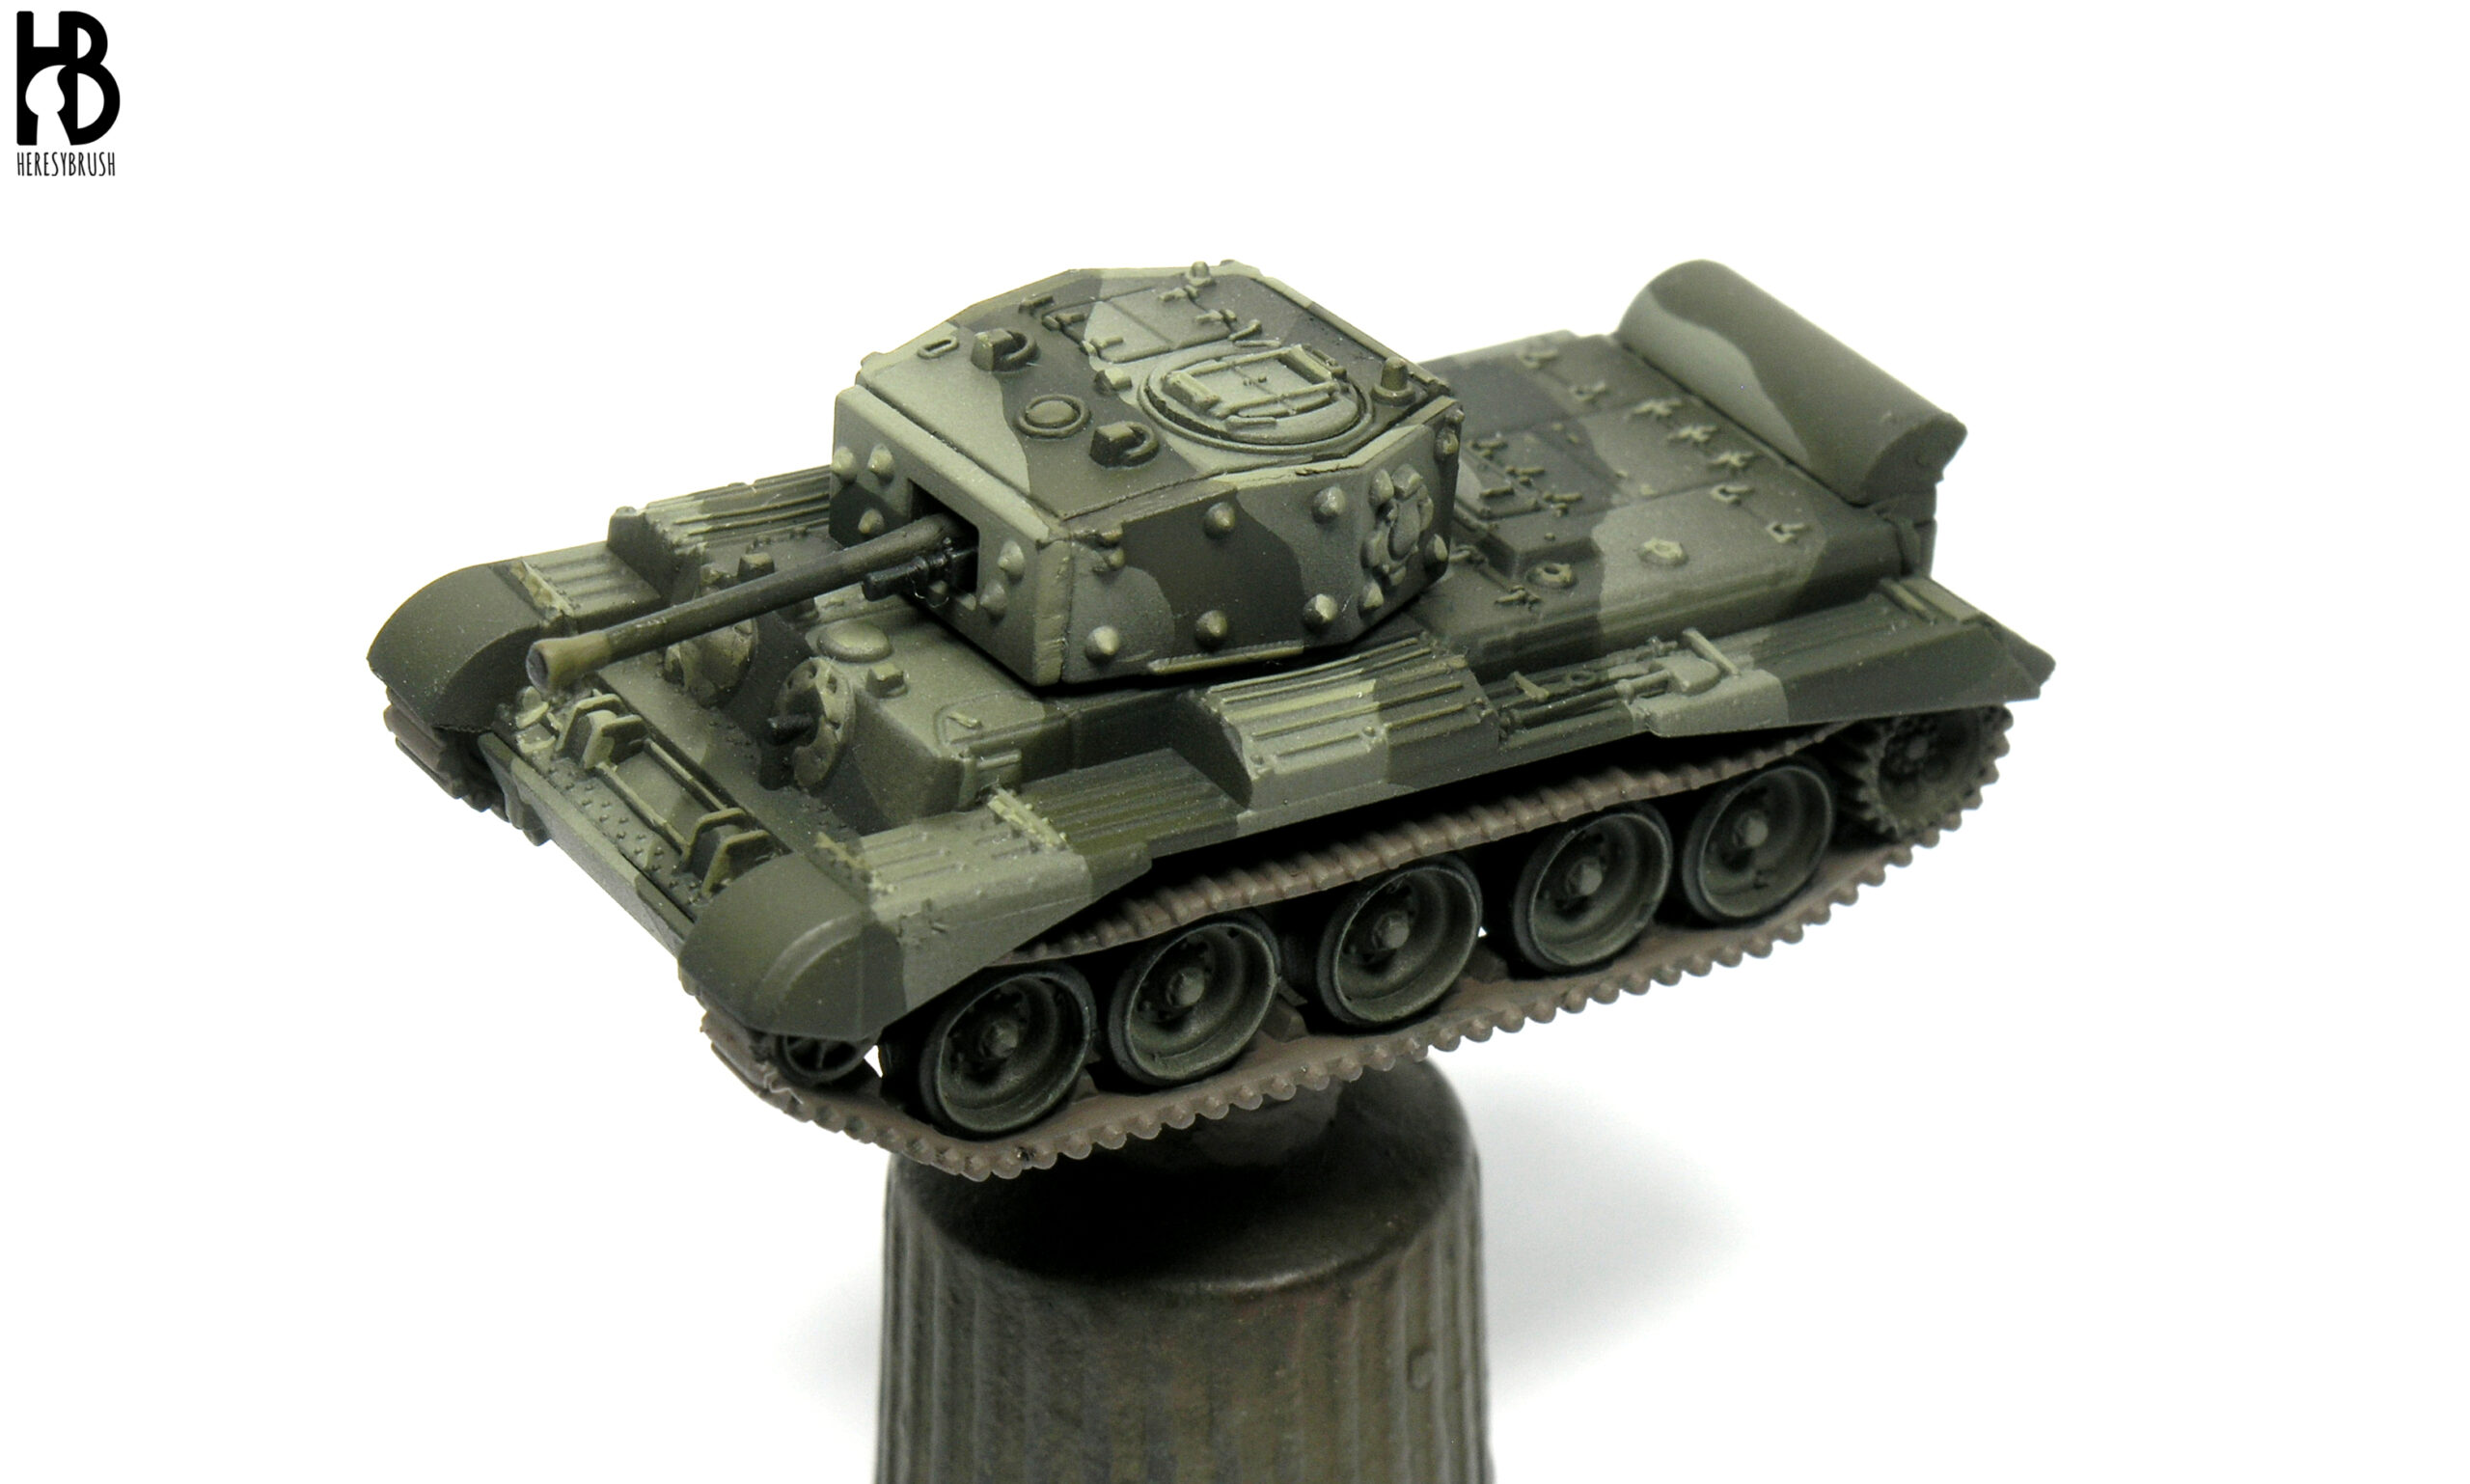
First, we paint the basic colors of the tank following our favorite lighting style or system. Here, I applied a color modulation on both colors of the camouflage. If you want to know more about lighting systems you can check this article. And if you want to know how to do a hard-edge camouflage like this, you have this tutorial. At this moment we also paint the tracks and tires with the corresponding colors, and we could even paint the accessories such as the tools.
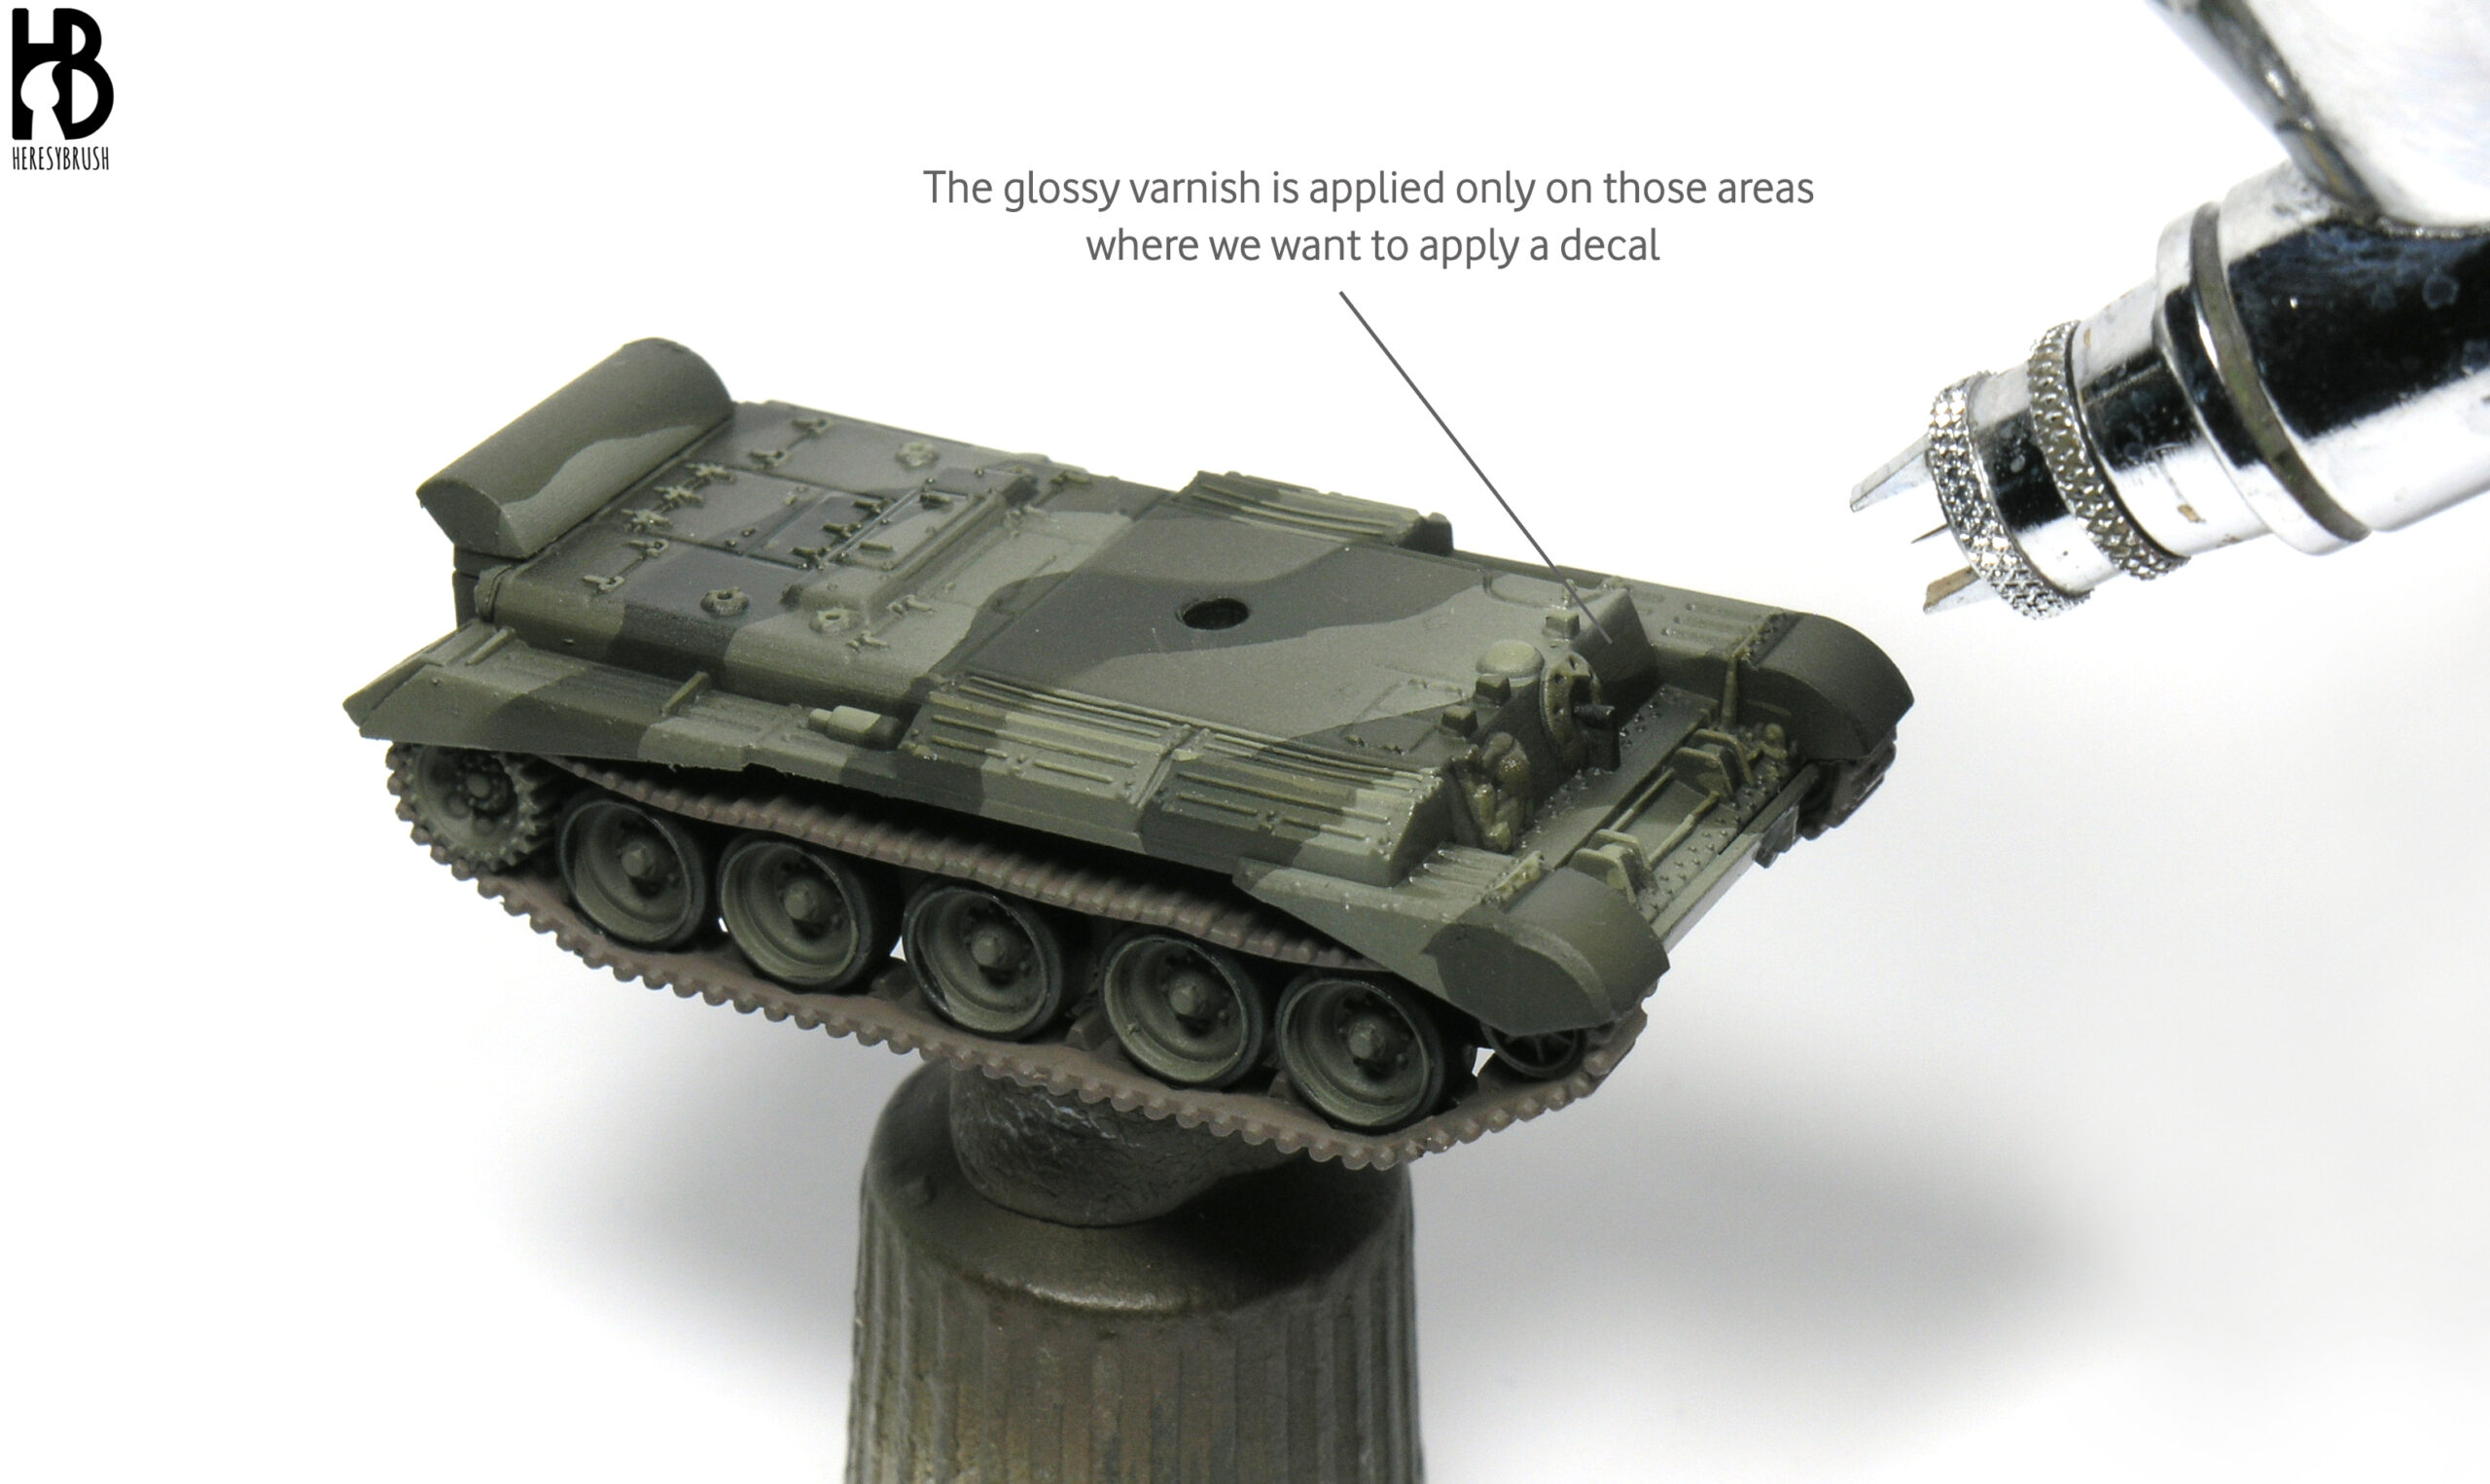
Next, we apply a thin layer of glossy varnish over those areas where we want to apply the decal. We do not need to varnish the whole tank. The idea is to create an even surface, completely flat and polished (that is why it reflects light). This will facilitate the application of de decal and partly prevent the undesired icing or grayish effect that sometimes appears in the transparent parts of the decal. This effect emerges when the decal is not properly adapted onto the surface, leaving air bags between the surface and the decal. If possible, we will apply the varnish with an airbrush to create a very thin and homogeneous layer. Alternatively we can use a spray, although then we will varnish the whole tank.
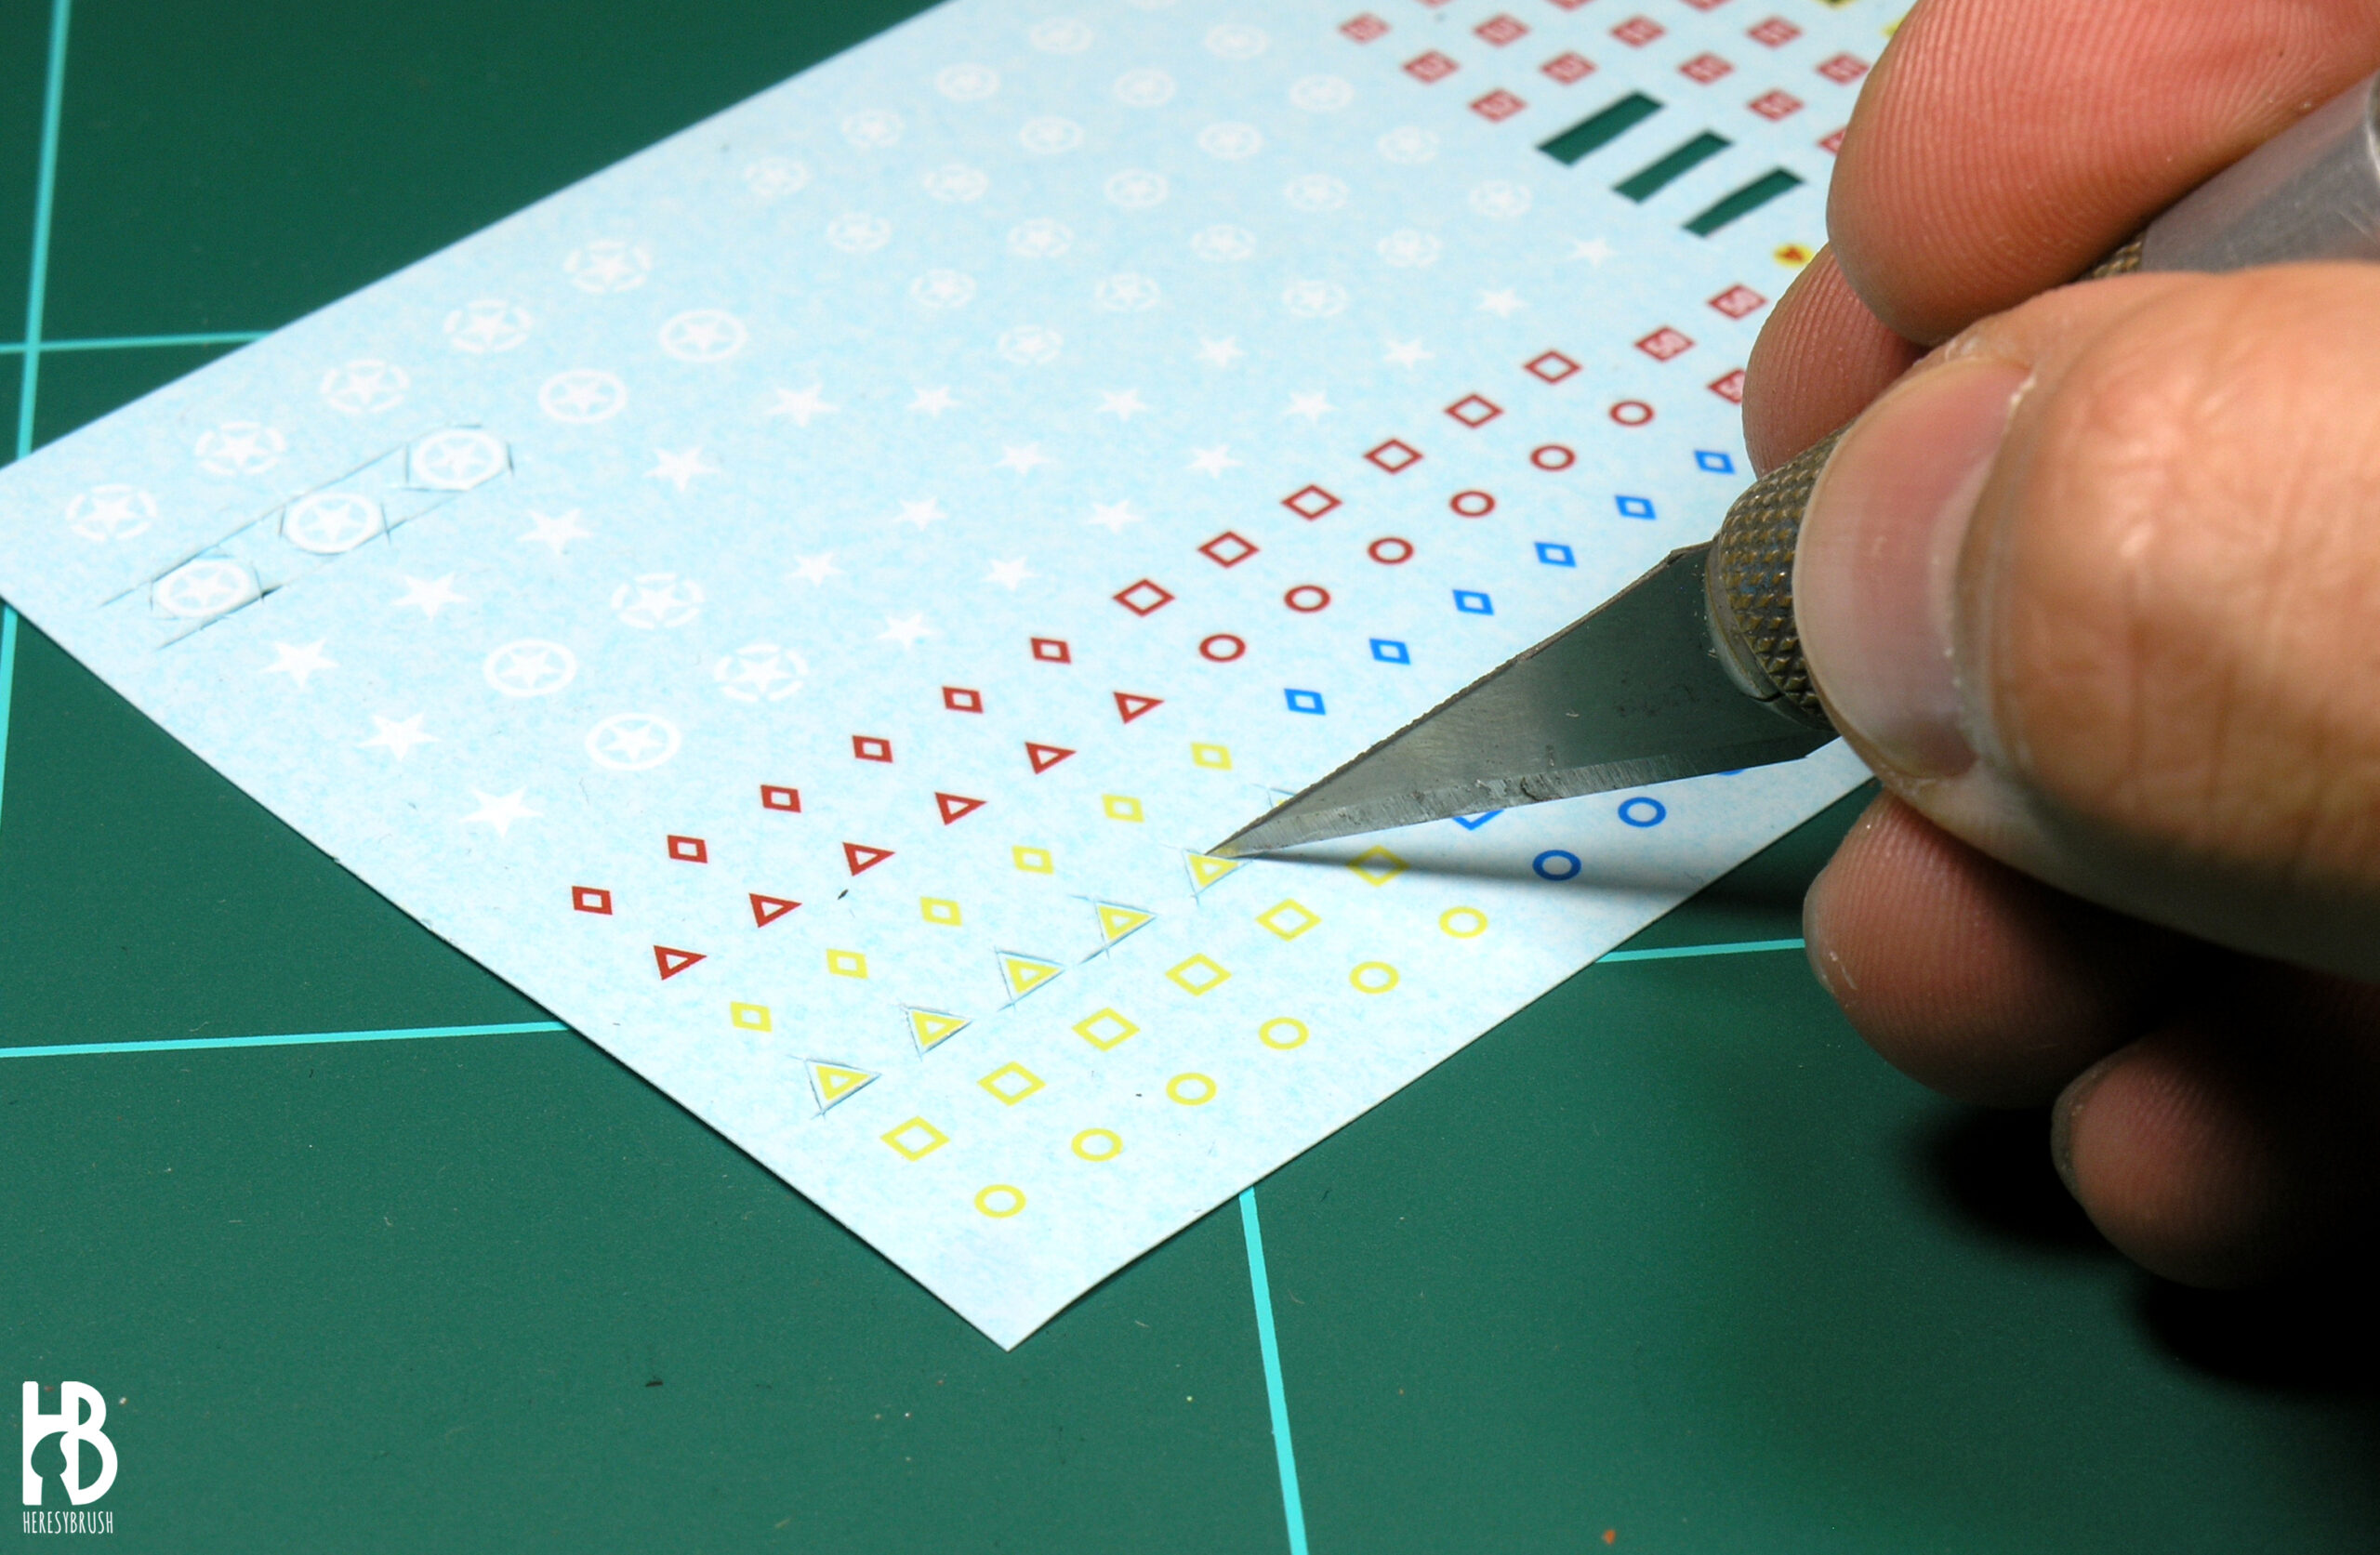
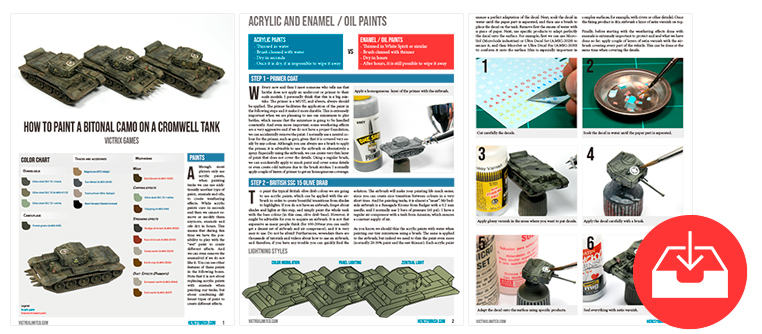
Sometimes decals are pre-cut on the deal sheet, making our life much easier. But this is uncommon and more often we need to carefully cut them using a sharp modelling knife. We should try to adjust the cut so that we do not take much of the transparent part, although this will depend on the symbol. For example, we can accurately cut the edges of an American 5-point start, but whether the start is surrounded by a circle we cannot remove the inner transparent part.
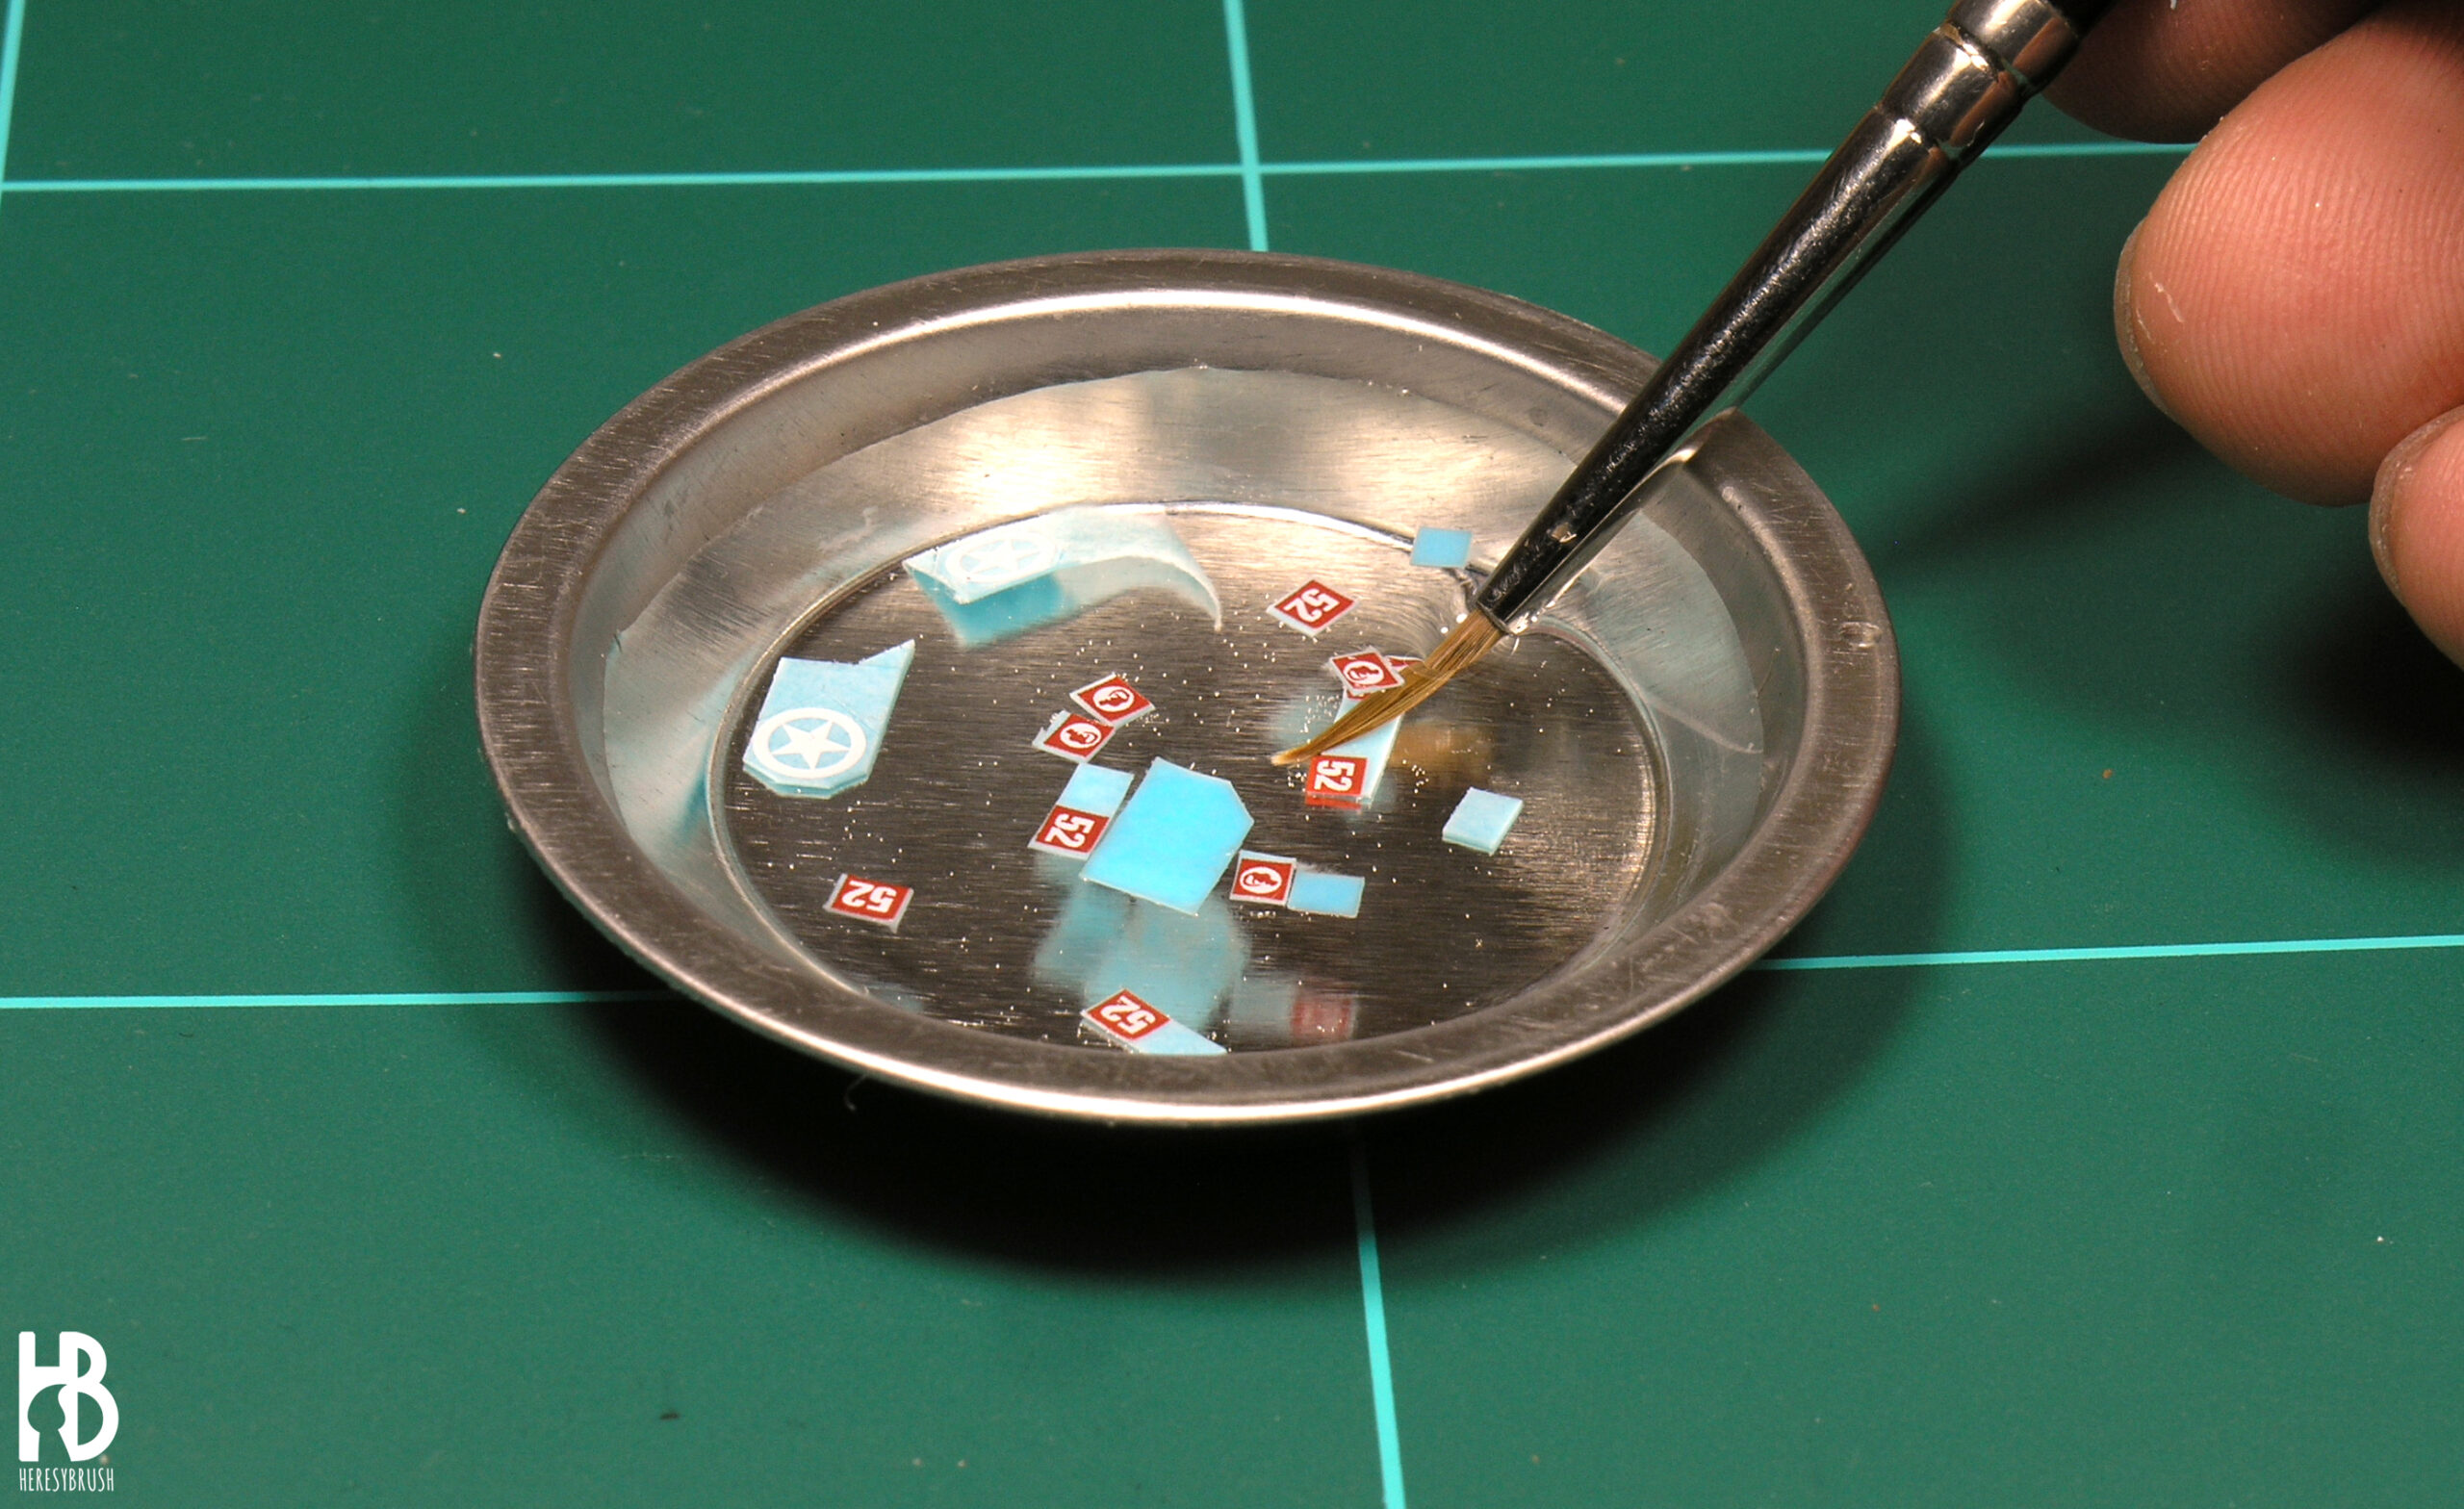
Once cut, we soak the decals on a reservoir with tap water for a few seconds until the decals separate from the paper sheet. It is recommendable to wait until the decal is separated by itself rather than using a brush to “help” it. If we use a brush we can accidentally break the decal.
Next, we recover the decal with a flat brush for big decals (the wide surface will help to handle them) or a rounded brush for the small ones (we will have more control). We can also use specific brushes designed for this task with short bristles, such as these from AMMO. Sometimes the decals roll up when taking them from the water, and if we try to unfold them they can accidentally break . In these cases the best option is to place the decal again in water and wait until it is extended again, or we can use very carefully a brush to help it.
Once the decal is lying on the brush, we remove the excess of water with a cloth or paper towel to prevent the decal from sliding off when putting it on the tank. Note, the decal should never be completely dry! we only need to remove the excess of water. If it is dry, we can very easily break it. We find the optimal location by gently pushing the decal with a brush.
Once the decal is almost dry, we apply a layer of DECAL SET A.MIG-2029 on top of it with a brush and wait until is completely dry. We do not need to flood the area, just over the decal. This product will prevent the decal from moving and a single layer is enough.
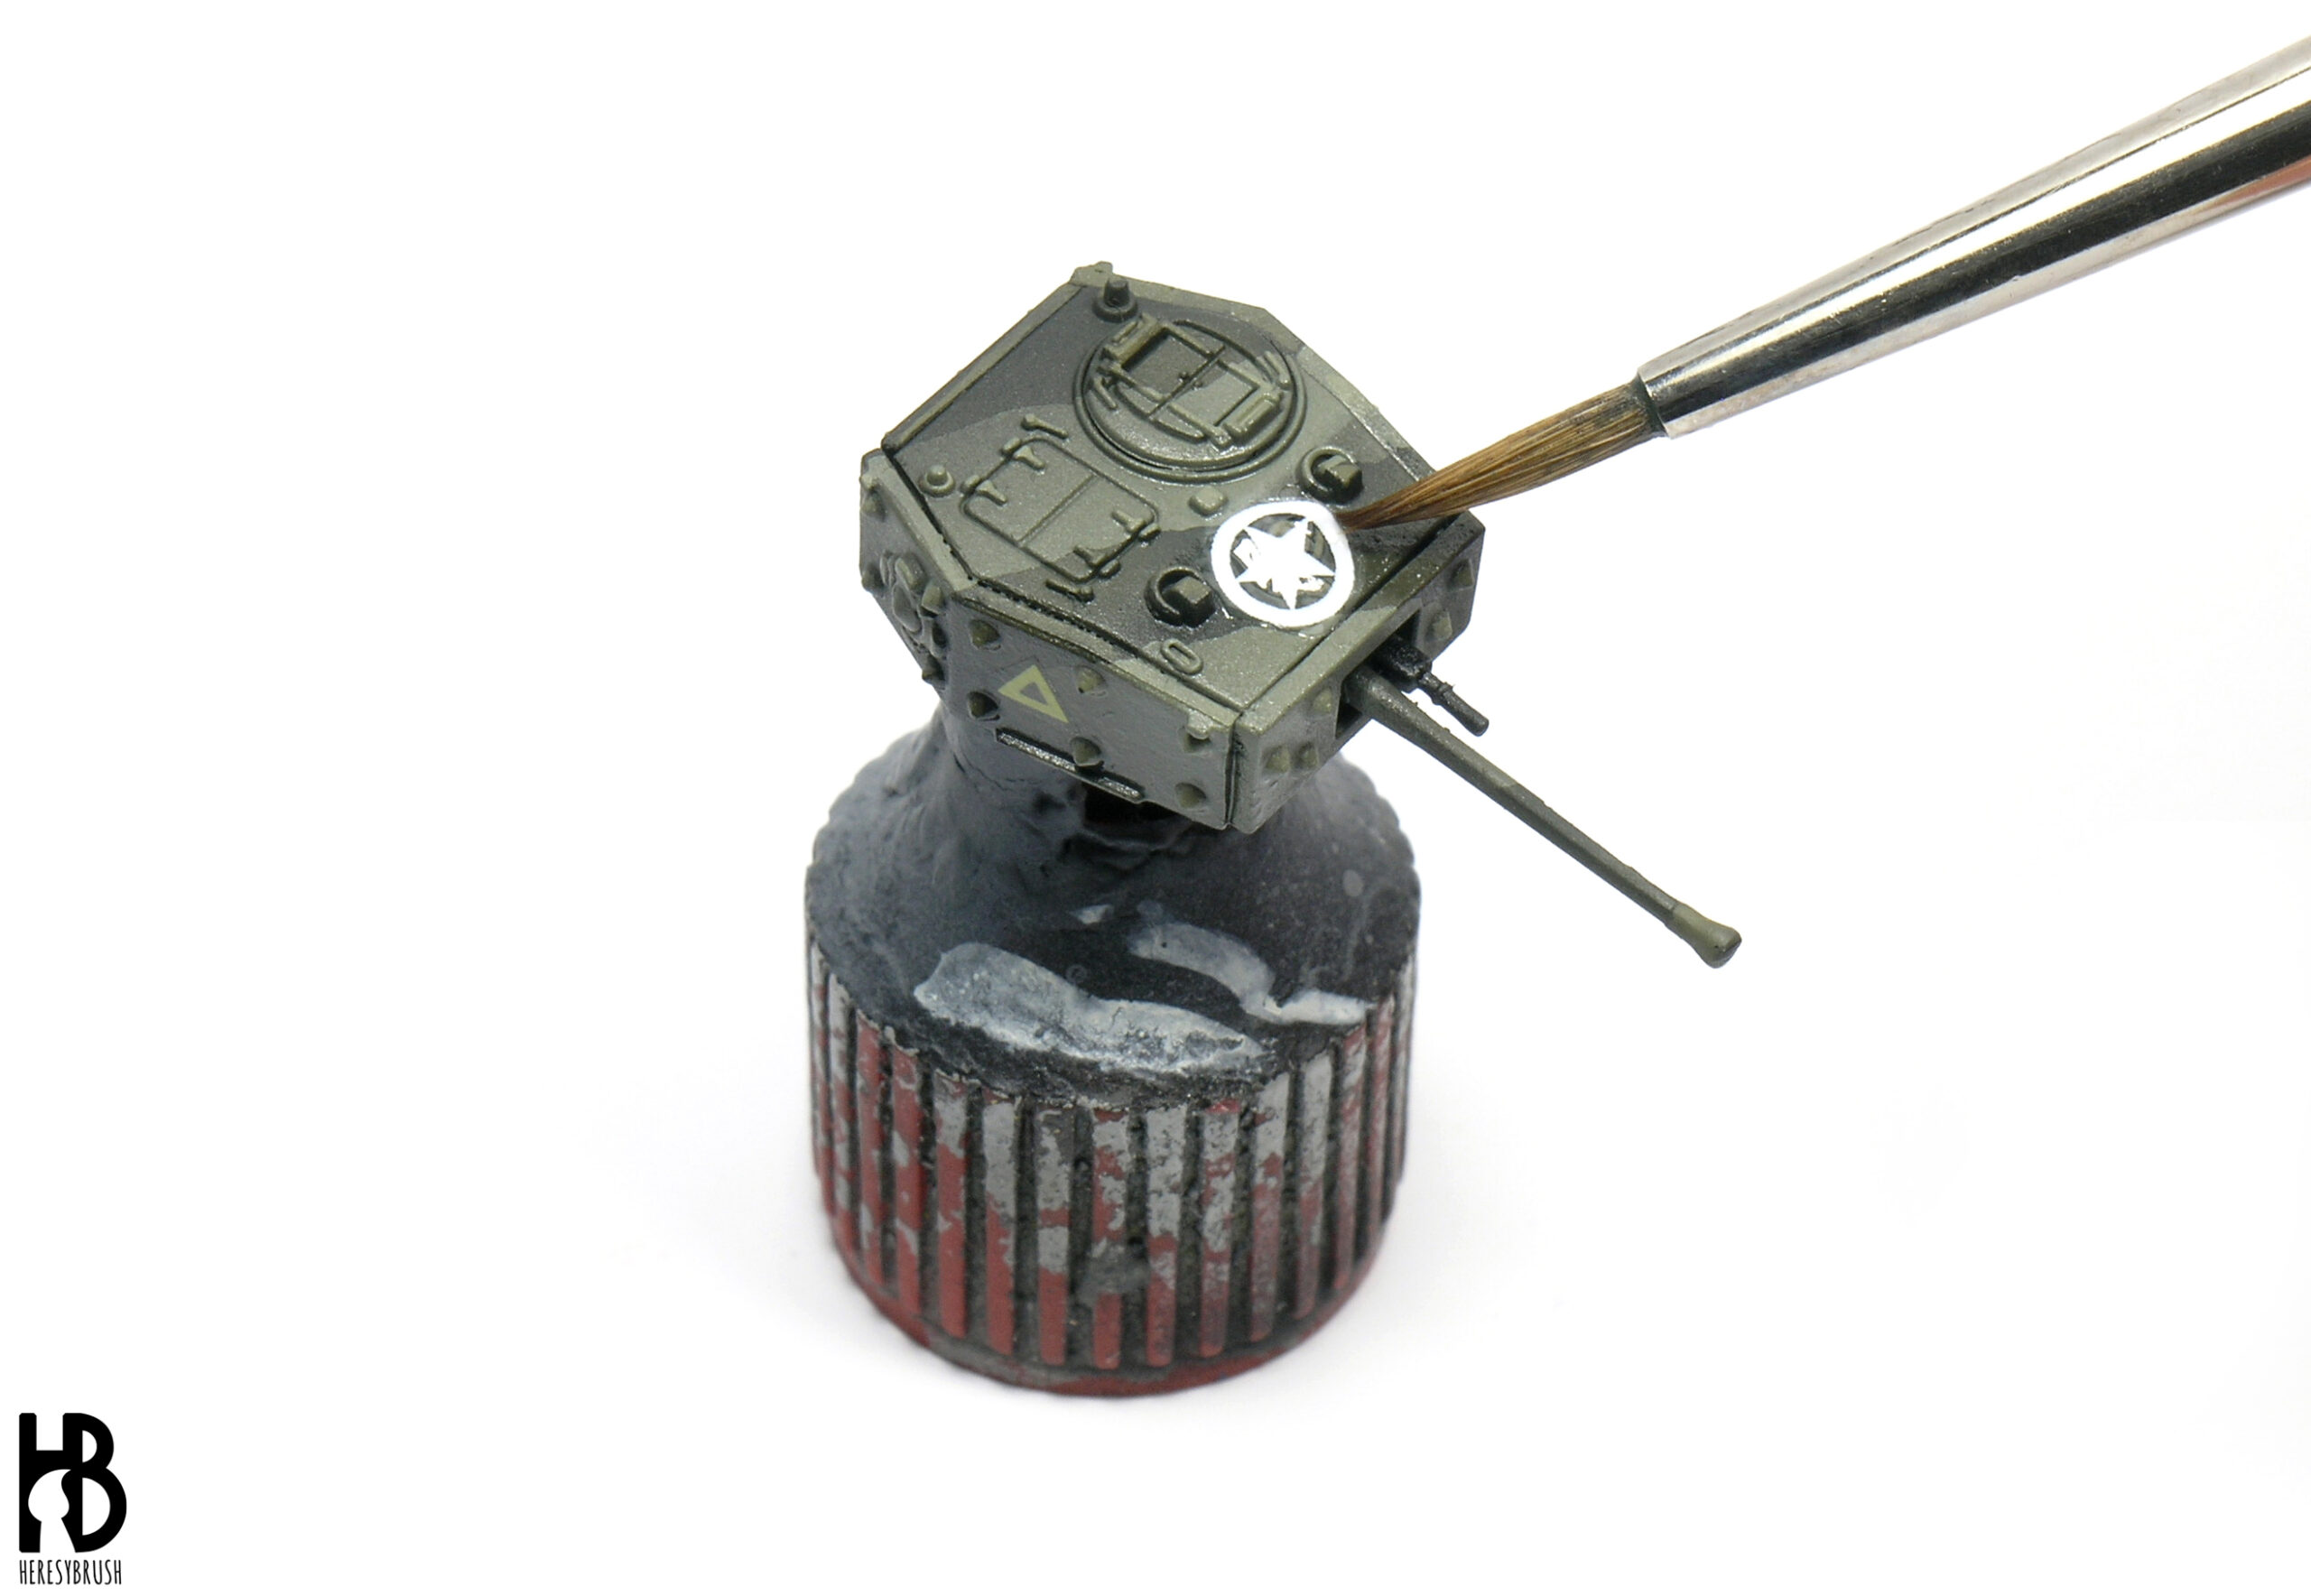
Once it is dry, we apply the next product, DECAL FIX A.MIG-2030. This product will soften the decal, facilitating a perfect adaptation to the surface. This, combined with the glossy varnish applied earlier, will prevent the annoying icing effect as we will avoid the formation of air bags beneath the decal. After applying the product with a brush on top of the decal, we wait a few minutes and then with a clean brush we gently press the decal to get it adapted to the surface.
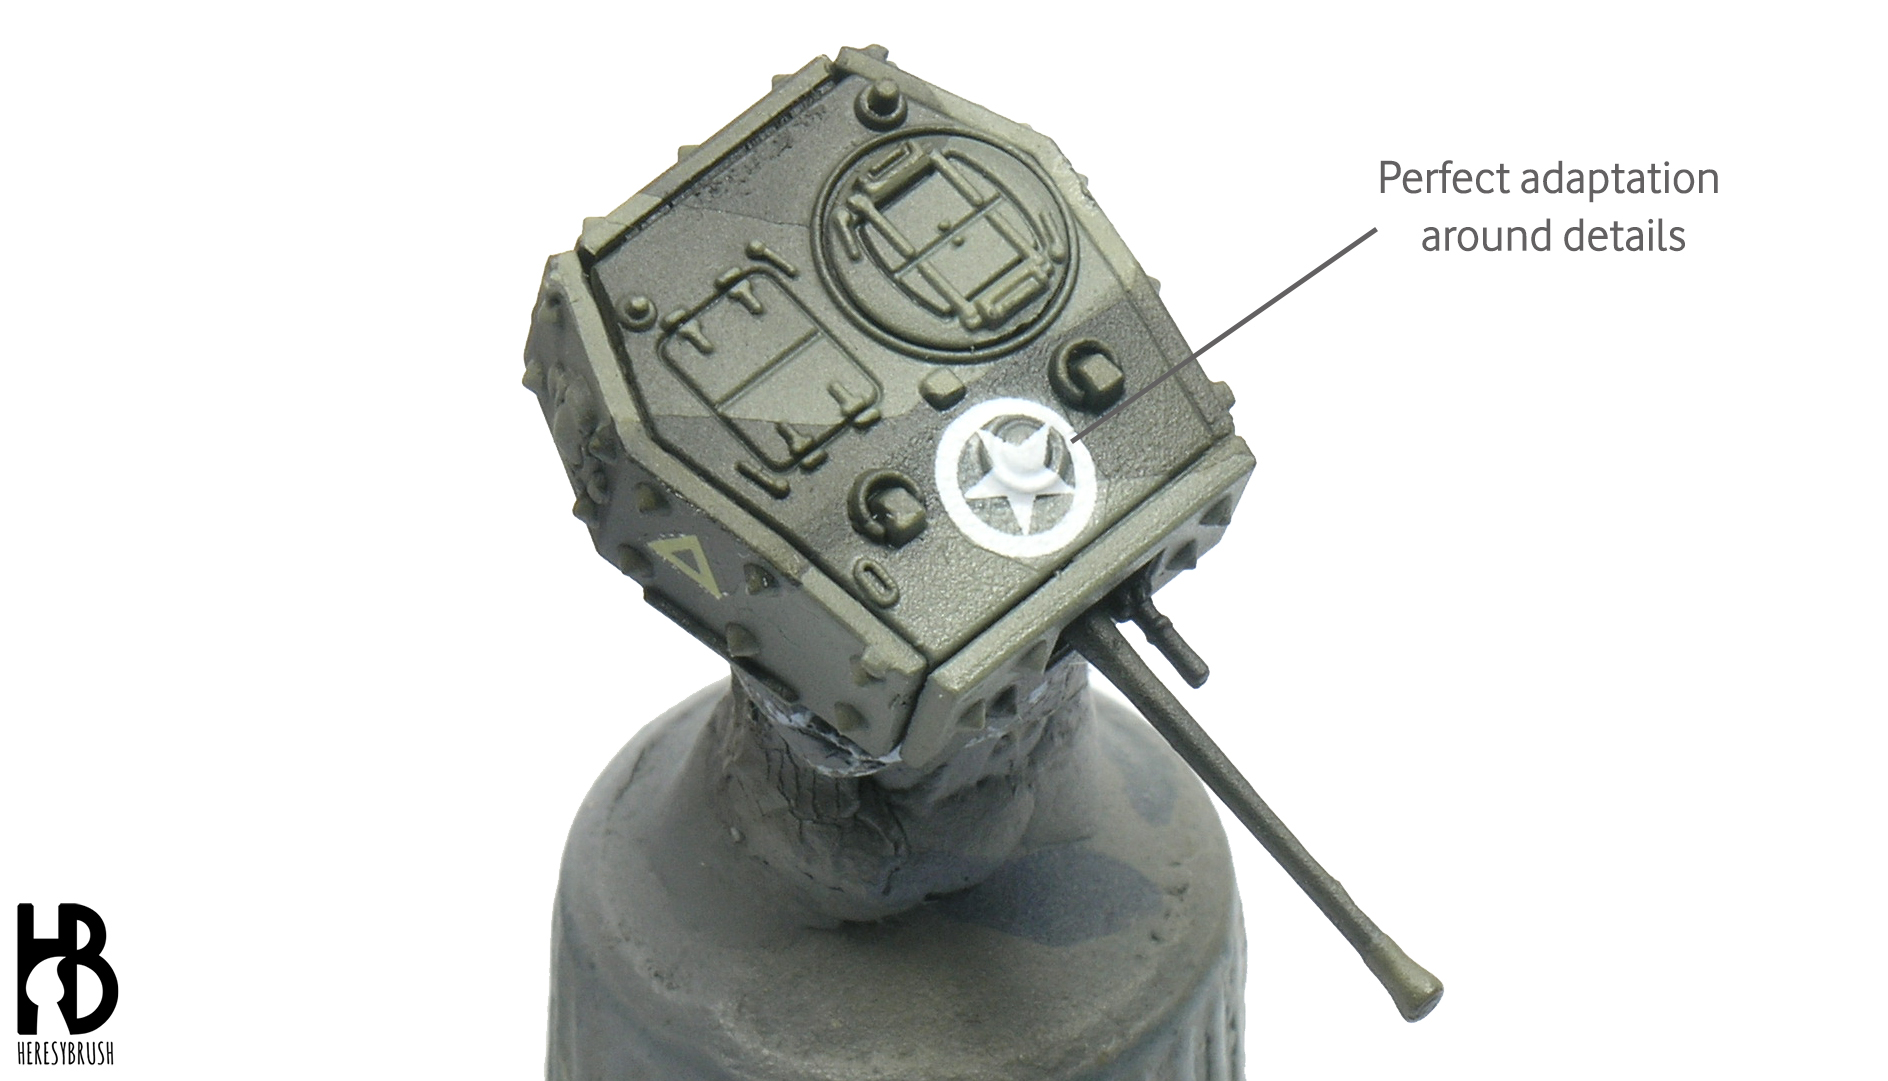
We can (and sometimes must) repeat this process several times until the adaptation is perfect, waiting a little bit between layers so that the product can activate the decal. As we have already commented, this step is very important in those cases when the surface is not even, for example due to a hatch or zimmerit. As you can see in the previous picture, after several layers of DECAL FIX the decal is nicely adapted to the hatch.
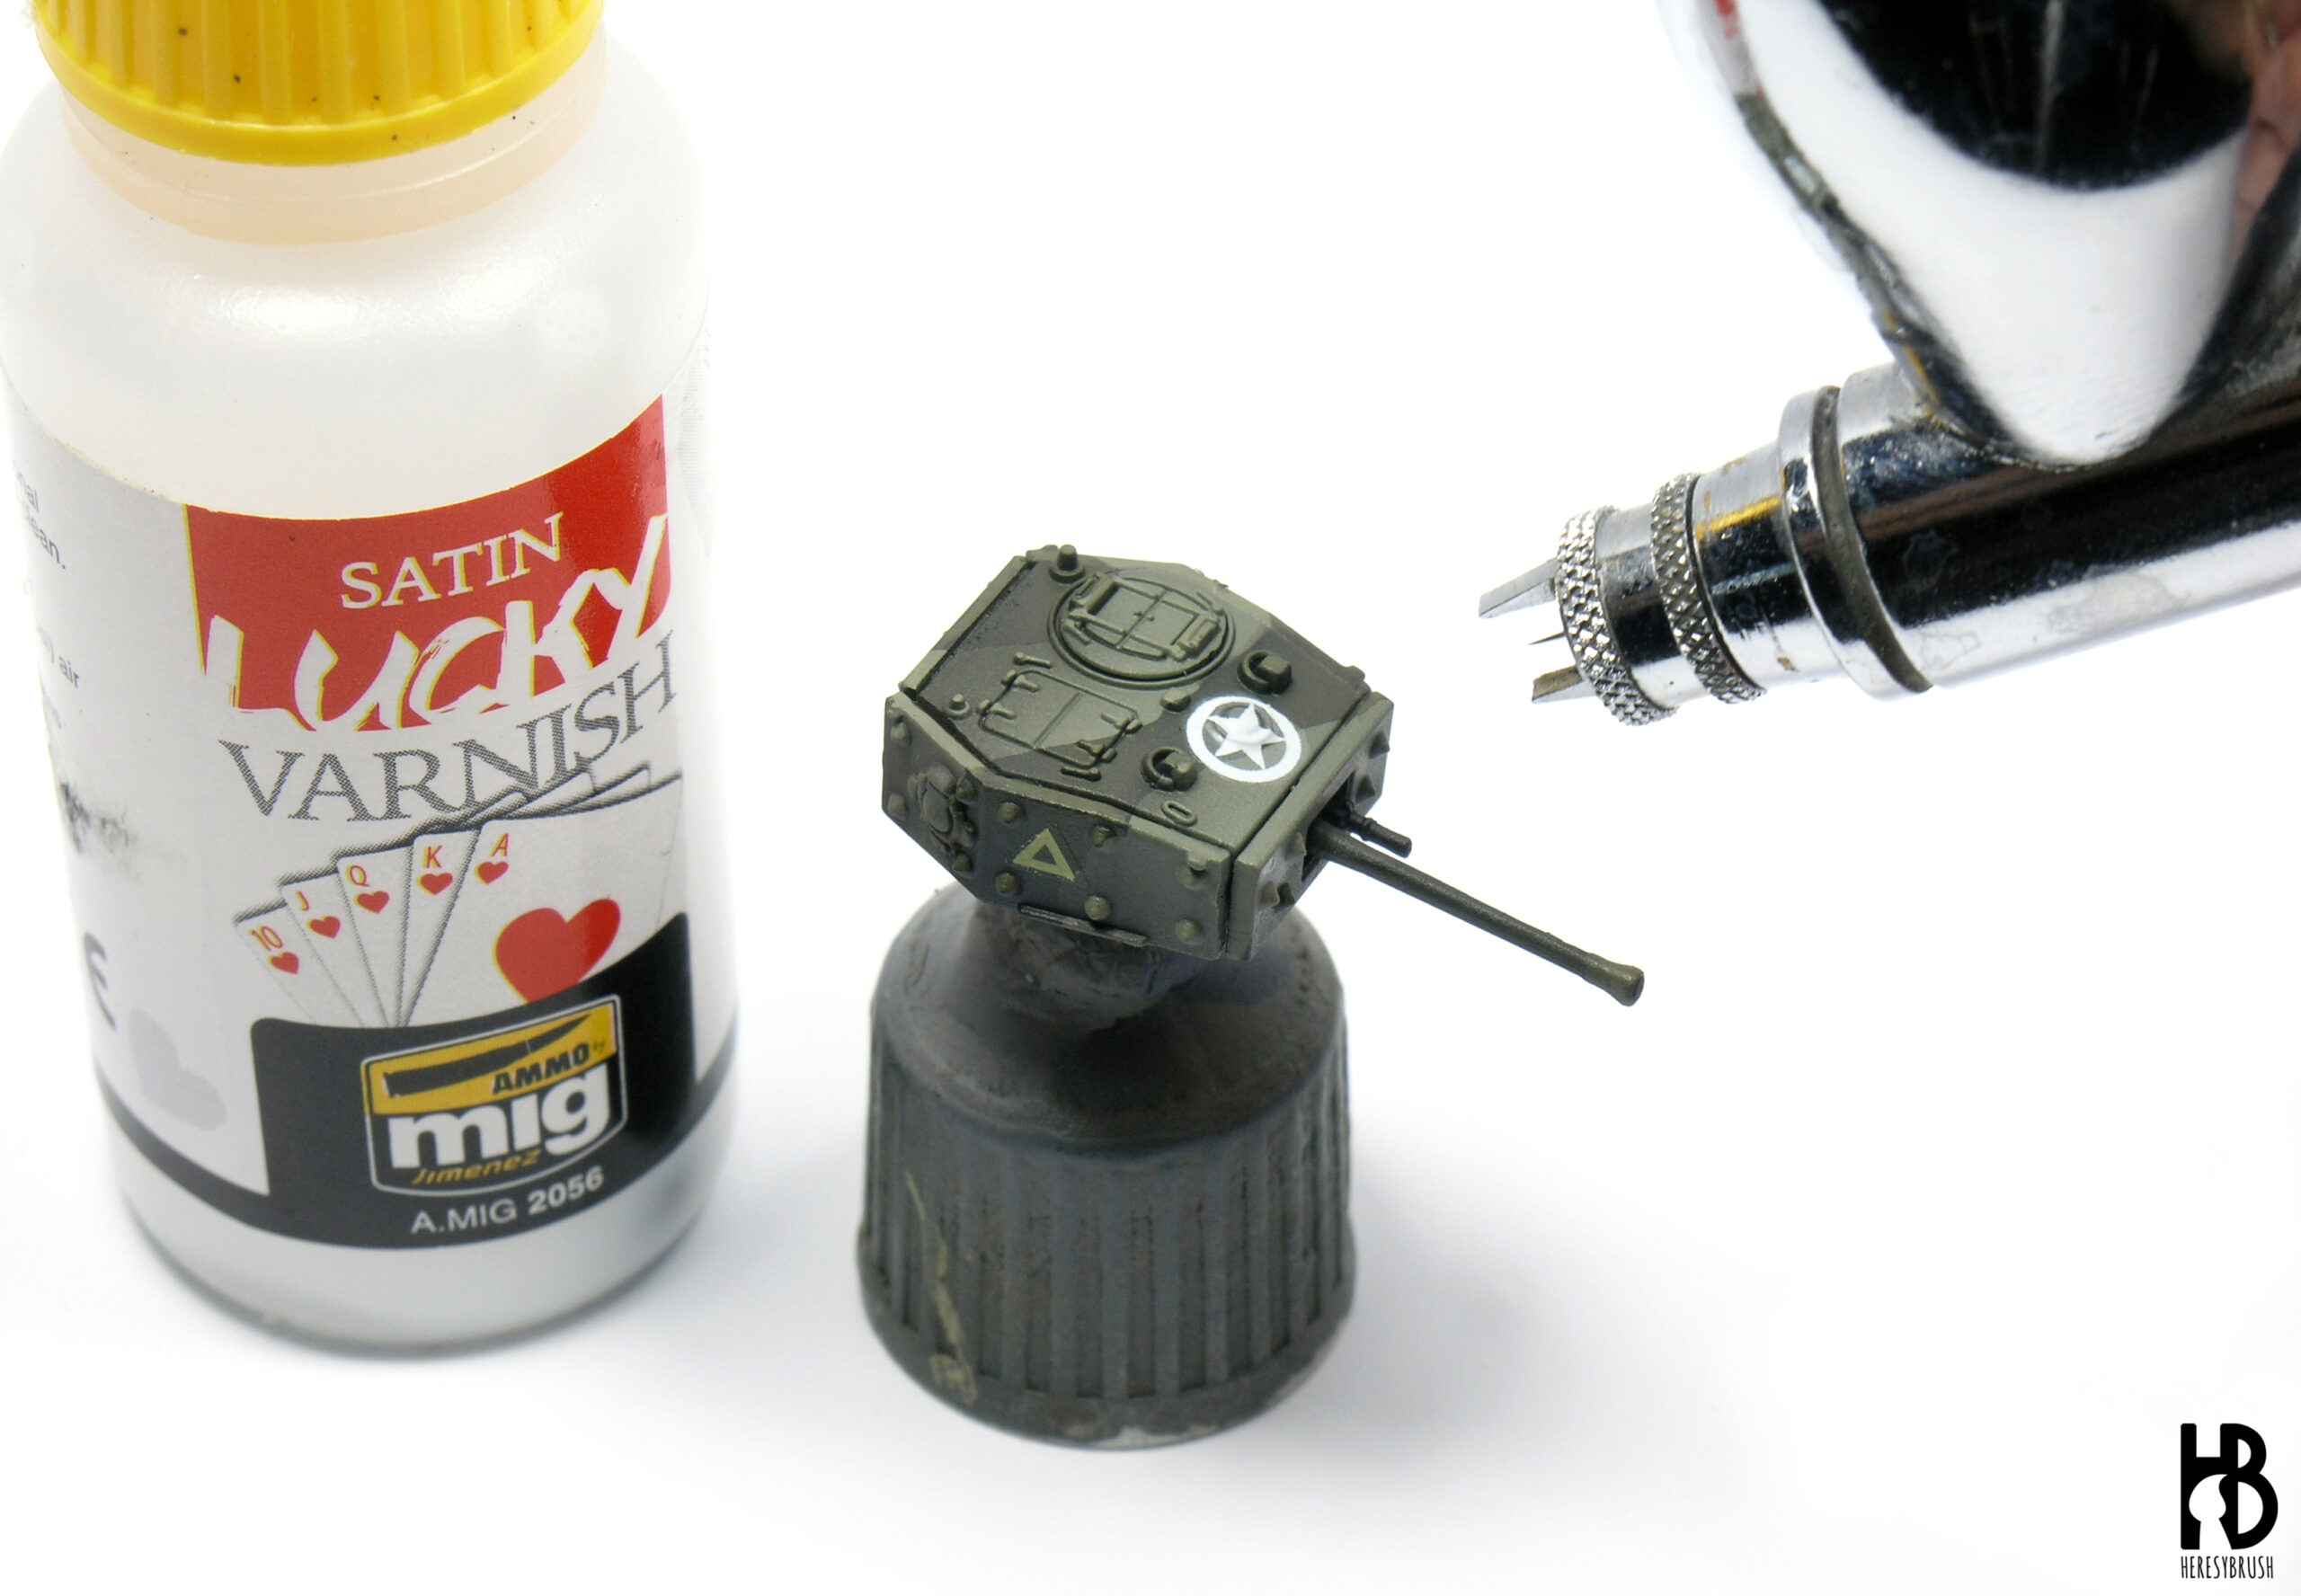
Finally, we apply a layer of satin varnish using an airbrush or spray. Since normally this is the last step before starting to apply the weathering effects, we can extend the varnish layer to cover and protect the whole tank. The reason behind using a satin varnish (something between matt and glossy) is that it will facilitate the distribution of the wash that we will likely apply next. Given that it is slightly glossy, the surface is slightly polished and therefore the paint can easily run on it. If you dislike the satin effect, you can always seal the job later with a layer of matt varnish. However, take a look around: almost nothing is mat, but reflect certain amount of light (= satin or glossy effect).
Summary:
1. Paint the basic colors of the tank.
2. Apply glossy varnish only on the areas where we want to apply the decal.
3. Cut the decals and soak them in water.
4. Apply the decals on the tank using specific products to fix and adapt them.
5. Apply satin varnish over the whole tank.
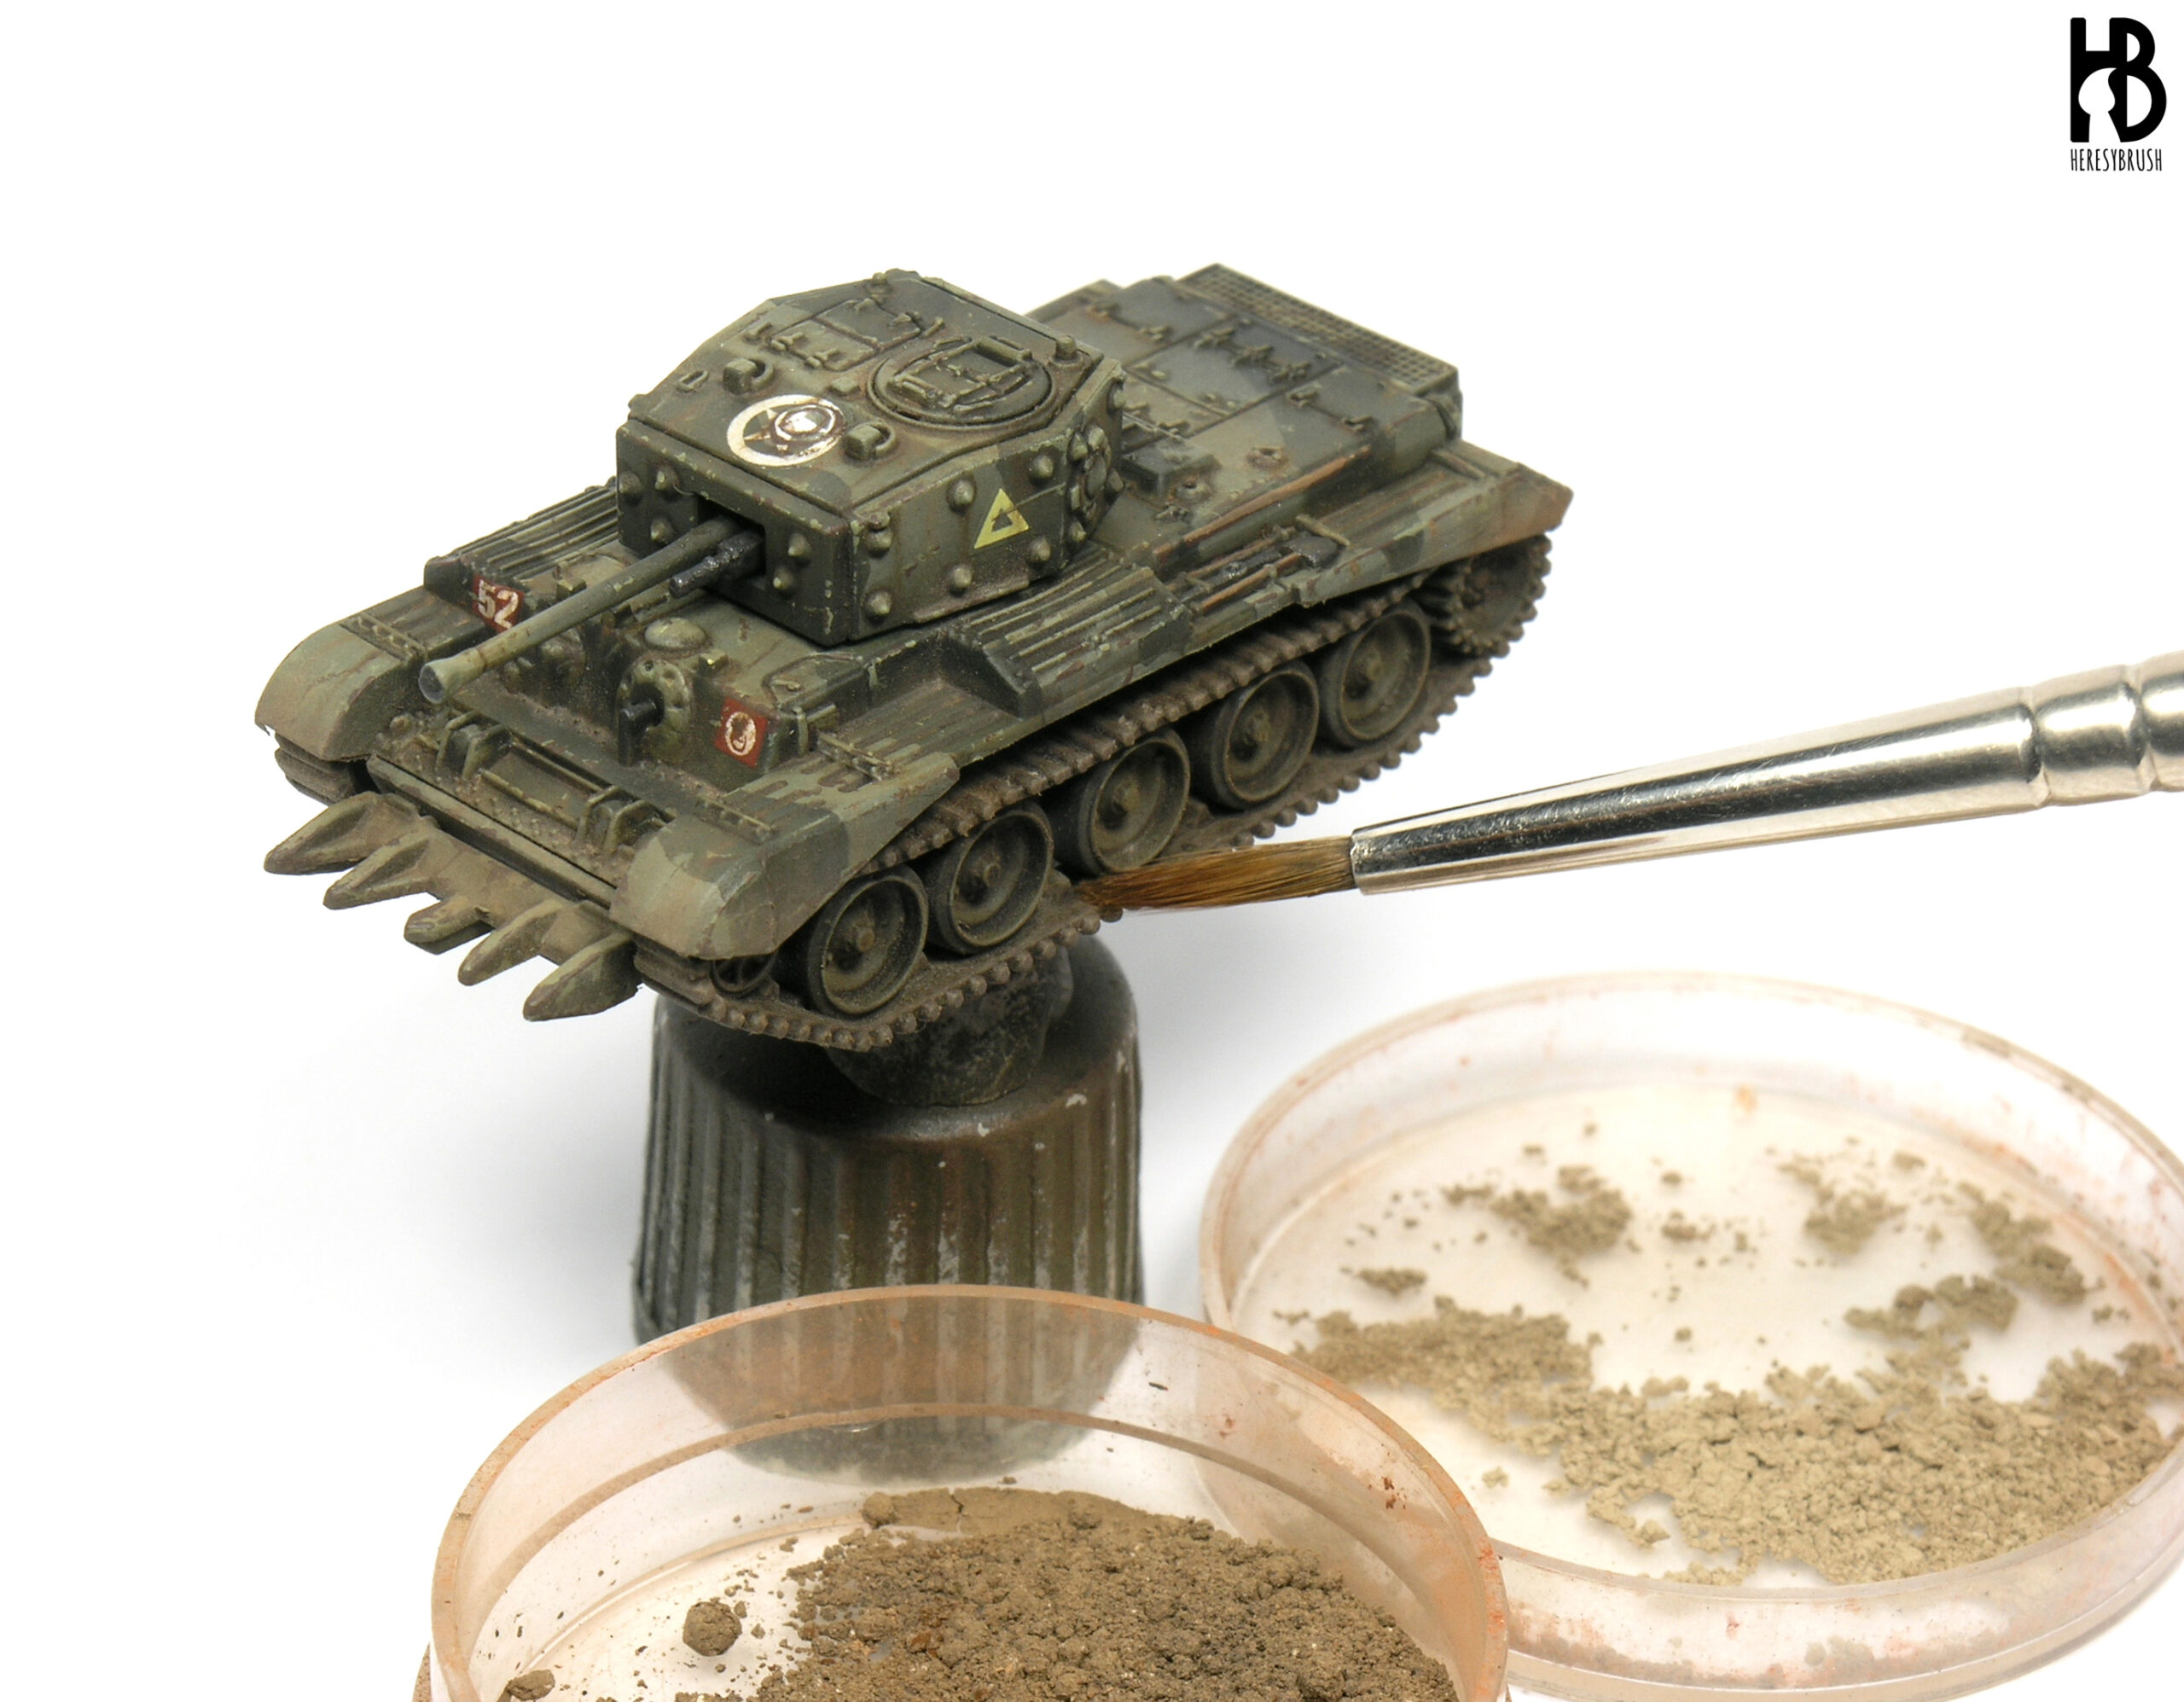
6. Start applying the weathering effects.
In case you are interested, in the following link you can find a complete painting guide for the Cromwell:
One thought on “How to apply decals correctly”