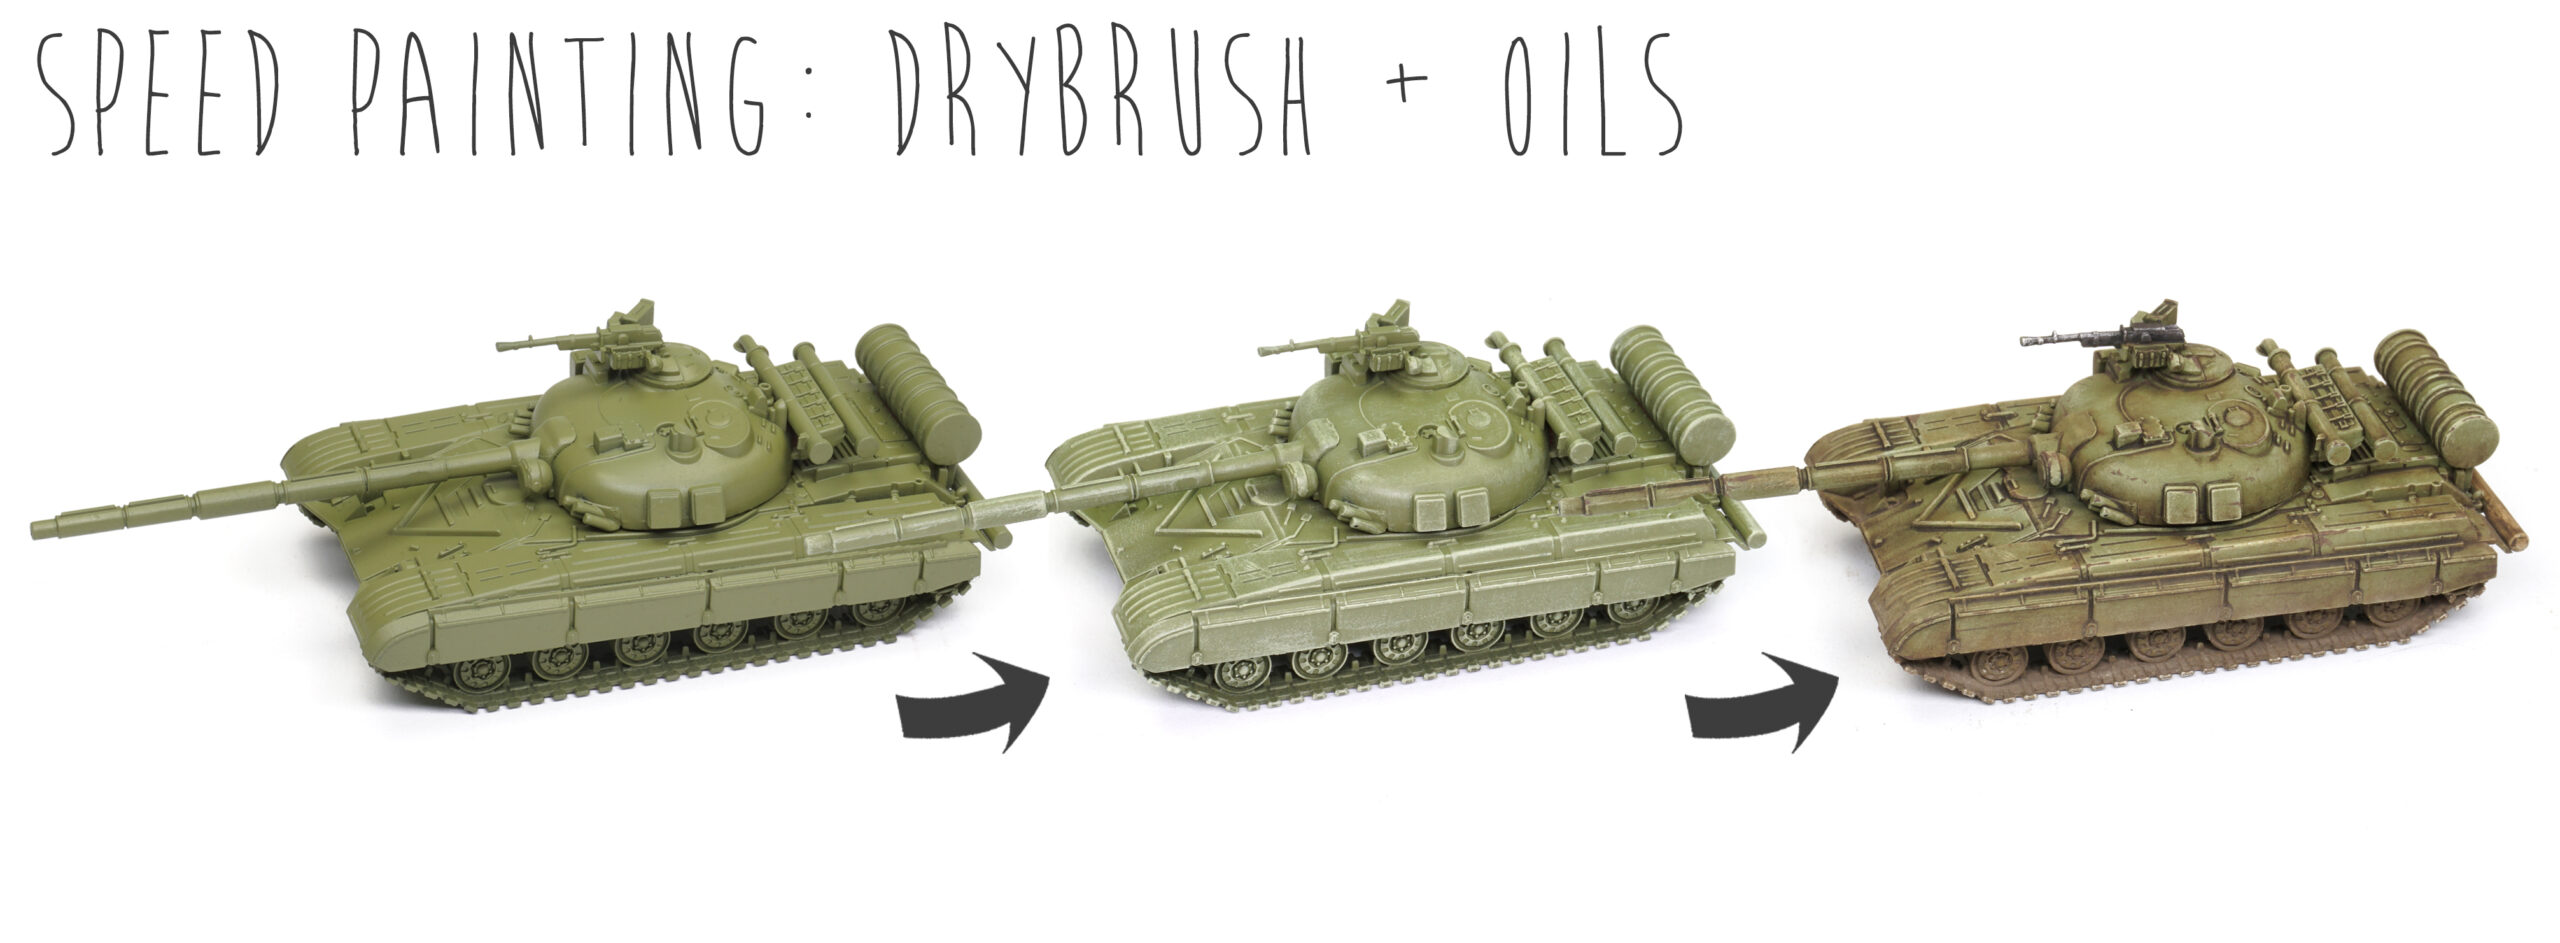
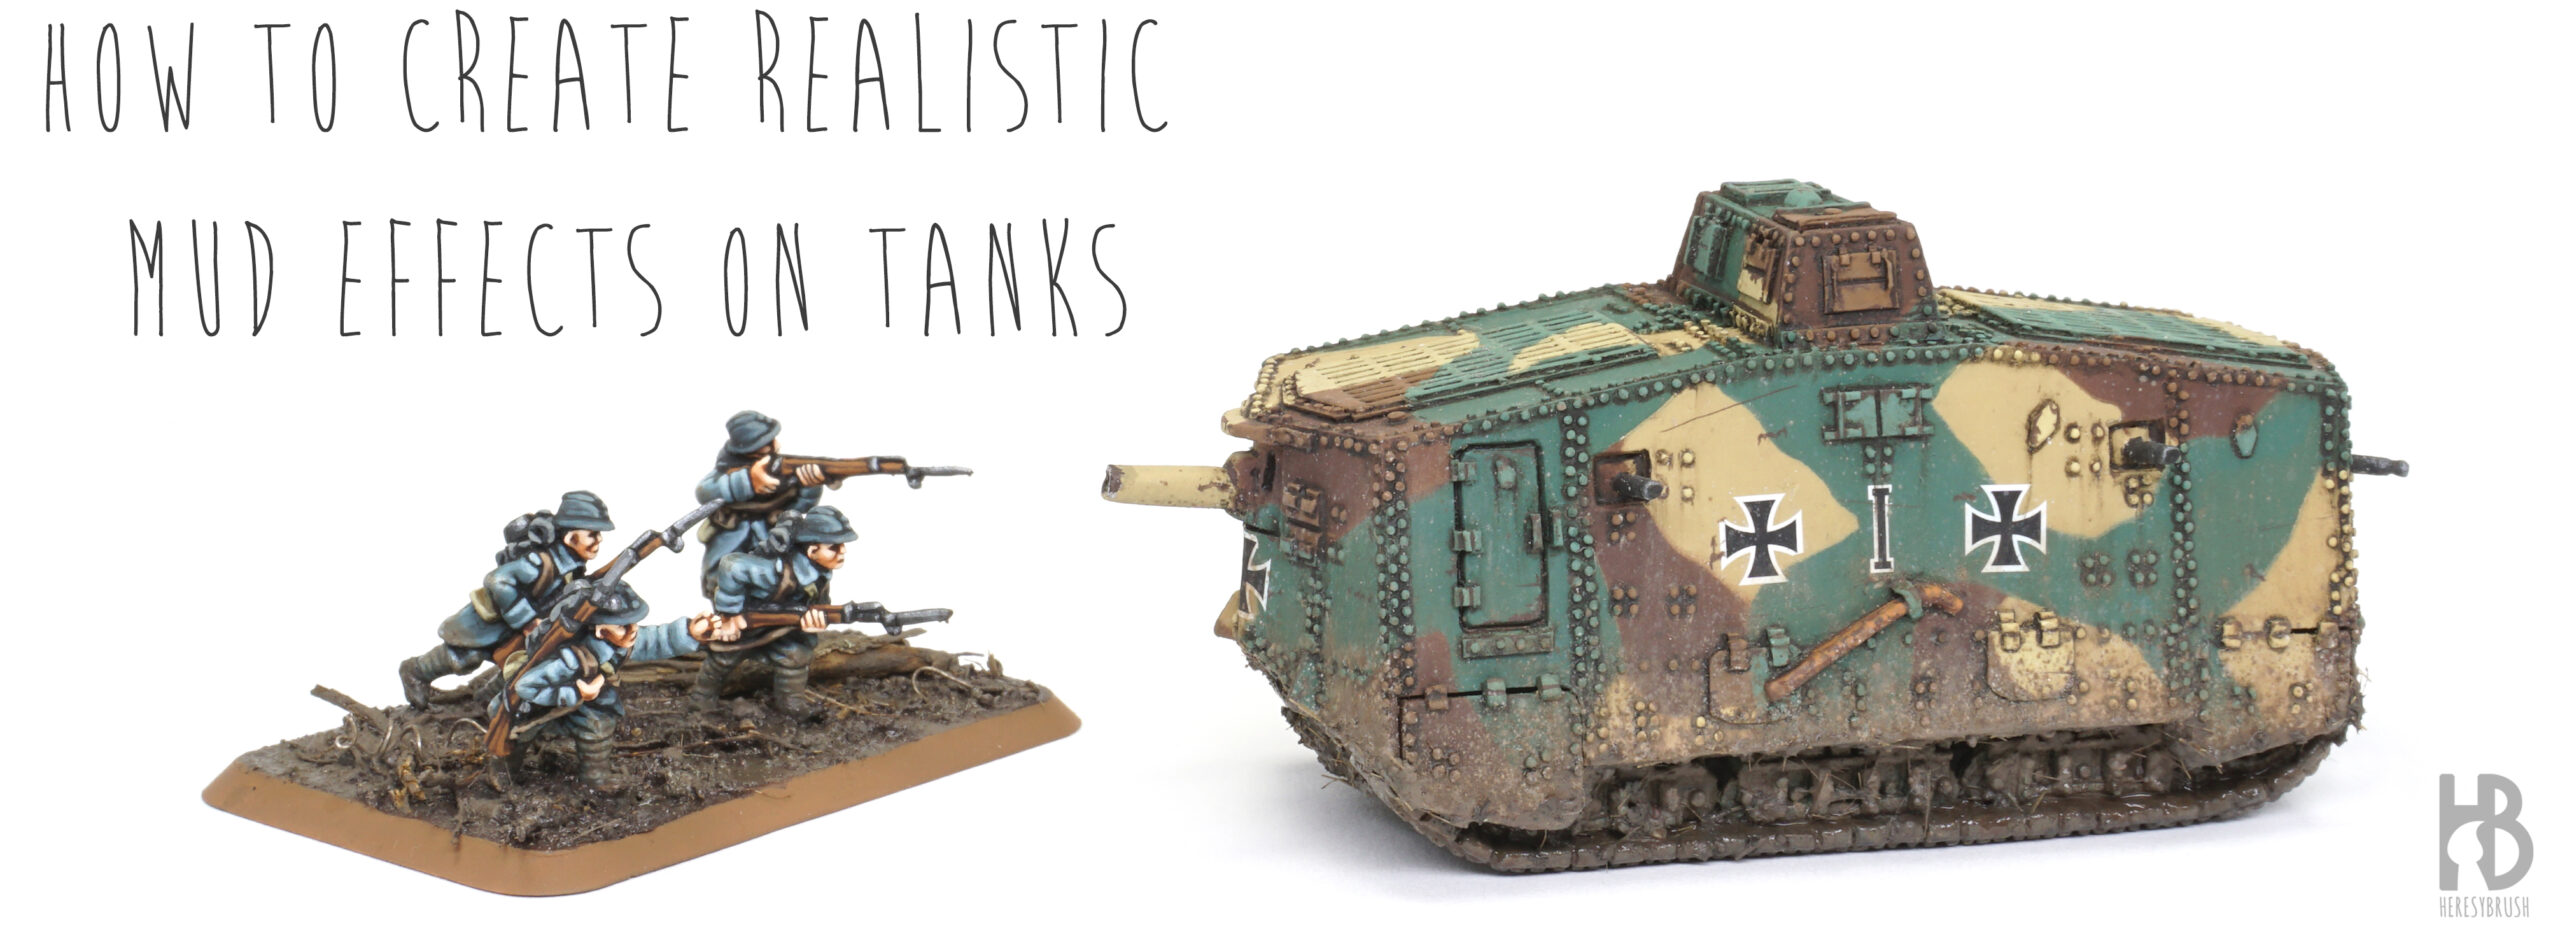
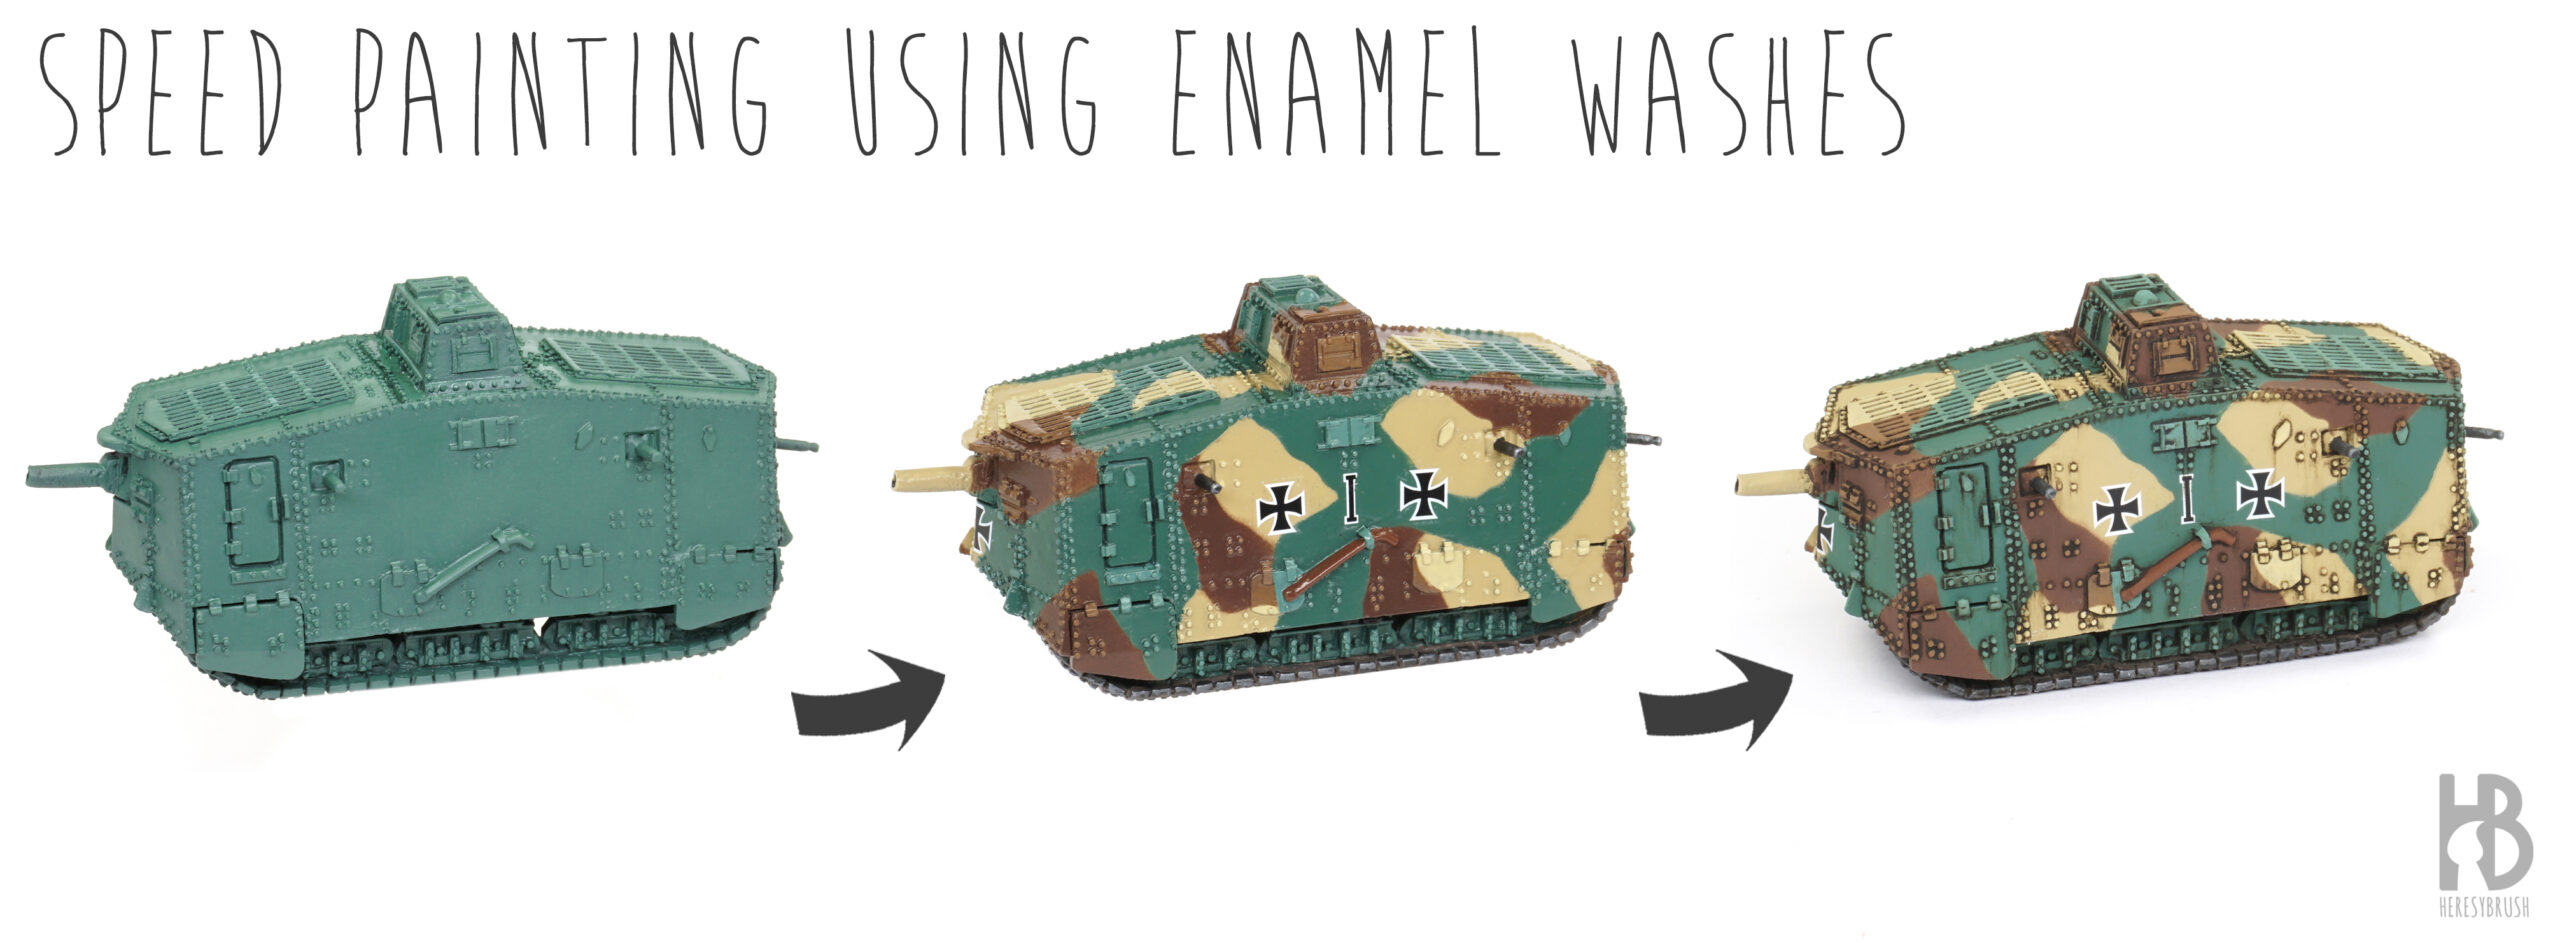
How to create urban rubble bases

In a couple of weeks, I will be attending the Flames of War National tournament in Finland (Talvisota 2024), for which I have spent the last few months assembling a new German army. Given that the theme of the army is Berlin, 1945, I wanted to craft something unique for the bases of the infantry and Flak 88 guns. In this tutorial, I will demonstrate how to create urban bases with debris in a straightforward, efficient, and effective manner. While this tutorial primarily targets 15mm miniatures (Battlefront), its principles are adaptable to other scales or projects with the simple adjustment…

Painting 15mm WWI French Fusiliers: Combining washes and layering

  Wargamers frequently find themselves seeking a balance between painting and gaming, which often leads them to prefer fast painting techniques. These methods are typically straightforward and swift, and, importantly, highly effective. However, it is worth noting that the trade-off is often between speed and quality, with quality being inversely proportional to the time invested. In this tutorial, we will explore the fusion of a fast-painting technique that involves washes with a more sophisticated method by incorporating successive layers of highlights. To clarify, we will begin with the conventional ‘base + wash + highlight’ technique and progressively enhance our results…

Improving a 15mm paint job: guns and crew

Most popular painting techniques for wargames fall in the category of fast painting methods that aim for the so-called “tabletop quality”. The idea is to have ready a unit or an army as soon as possible, with each miniature painted with the right colors and a bit of contrast between shades and highlights. These quick methods are perfect for wargamers since they do not require much time, allowing the players to spend more time in the battlefield. But, sometimes we have some extra time that we can use to push forward the quality of our miniatures for wargames. I would…

Winter camouflage using a washable paint

  I recently published another post describing the “hairspray technique“, which is commonly used to create a “washable” white camouflage in scale models. During the WWII, this camo was done with a special type of white paint with little grip, so that it was easily removed with water during the thaw, causing effects of wear due to rain and rubbing of crew. However, we can create this type of camouflage following an easier approach with an specific acrylic product: Washable White Camo A.MIG 0024. We only need to apply a single layer and then activate it with water, skipping the…

New book: How to Paint Miniatures for Wargames

A few years back I published a painting book featuring how to paint wargames tanks and edited by AMMO. I had the intention to write a second volume about painting infantry for wargames, but it was postponed because I was very busy doing my PhD. Now, eight years later, the second volume has been finally released again thanks to the support of the AMMO team: How to paint miniatures for Wargames. I was not alone in this project. I had the great opportunity to collaborate with some of the wargames painters I admire the most, including the amazing historical painters…

Camouflages with Chipping Effects fluid (hairspray technique)

This article was published original on 4th of September of 2012. Updated on 4 of April of 2022. In this post we are going to see how to use a Chipping Effects fluid to create worn camouflages where the original base color is exposed. Basically, after painting the base color of the tank, the idea is to apply a thin layer of chipping fluid and on top of this the camouflage.  After activating the chipping fluid with water, we will be able to remove small pieces of the camouflage paint applied on top. These Chipping Effects fluids replaces what classically is…

How to paint hard edge camouflage with masking putty

This post was originally published on 12th of February of 2011. And it was updated on 30th of January of 2022 (after reading this I feel very old…). In this article we are going to see how to create a hard edge camouflage (a camo with solid edges rather than blurred) using a very simple tool for masking: removable adhesive putty. The masking will cover part of the tank, so that we can paint the remaining uncovered areas with another color in a very defined way. For example, the camo spots. We can use any mounting putties sold everywhere such…

How to apply decals correctly

I continue updating old post in my blog. This time we will discuss how to apply decals on our scale models. Originally published on 16th of August of 2010. Updated on 21st of January of 2022. Decals are a very useful, quick and easy option to add the national and tactic symbols to our scale models and tiny miniatures. However, sometimes the result is spoiled for different reasons: inappropriate adaptation of the decal on irregular surfaces, an unrealistic glossy effect, or even worst, the transparent areas of the decal become greyish (this is called icing). In this article will learn how to avoid these…

Filters and Washes

  In this article I would like to discuss in detail filters and washes, two painting techniques that although apparently similar fulfill very different objectives. This topic deserves its own article as many people mix up what is what. Indeed, to make it even more complicated, quite often these two techniques are confused with two different types of paint (acrylics and enamels). However, filters and washes (painting techniques) can be applied using either acrylics or enamels (types of paint). First, it is important to clarify that we can use two different types of paints on our scale models: water based…

Color Modulation in 15mm

We have recently talked about several lighting systems for 15mm scale models (this post). One of these systems or styles is the so-called color modulation that we will discuss in further detail in this article. When painting 15mm tanks we can simply apply the desired color, for example olive green for a Sherman, and then just paint the details. But the results will be likely very flat. Furthermore, the tank will look very dark because small objects, such as our small 1:100 models, reflect less light than bigger size objects, such as the real vehicle. Therefore, it is very important…