This article was originally published on the Battlefront website, here.
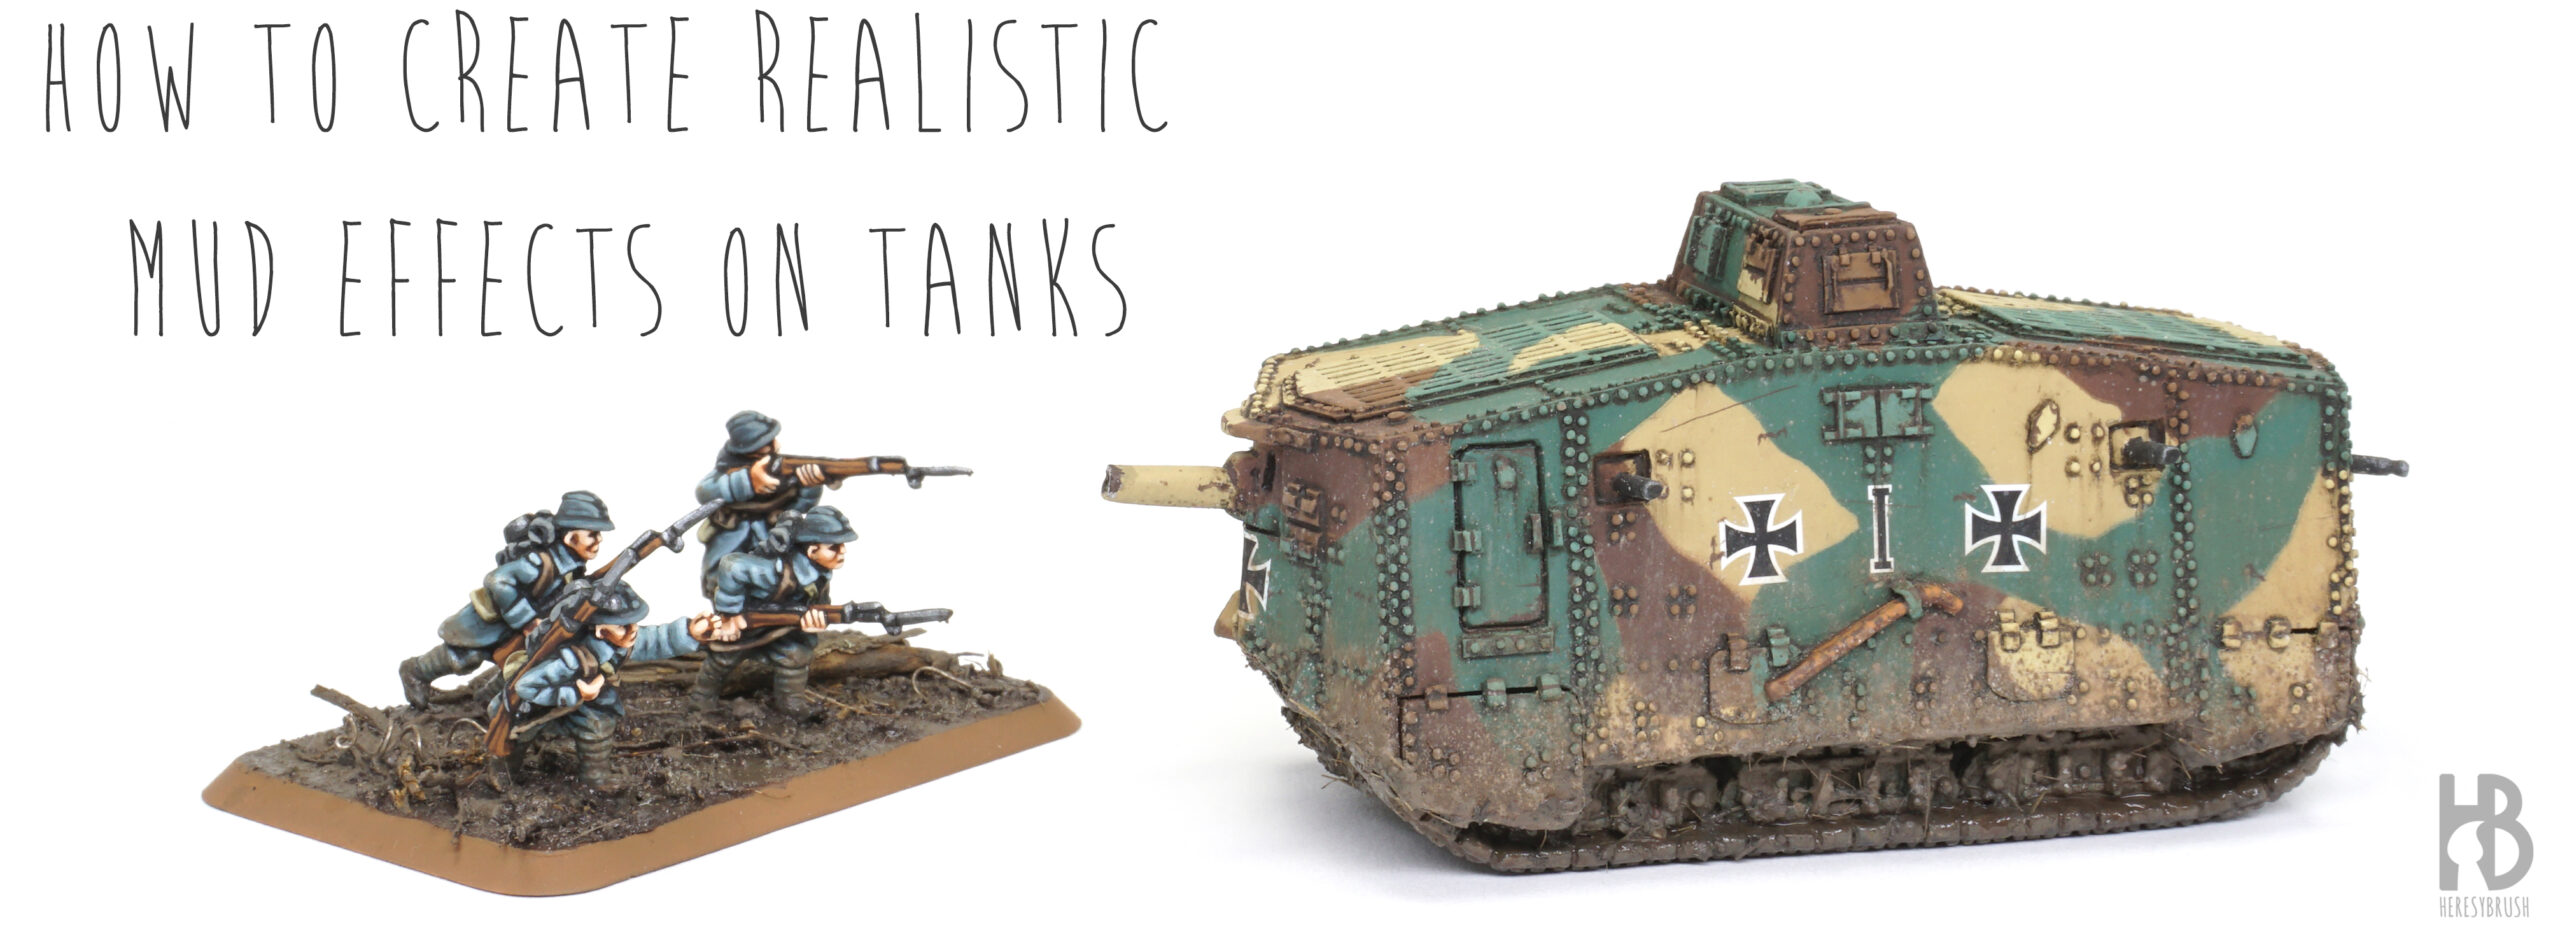
This article is a follow-up of Painting WWI German AV7 tank: the art of enamel washes. As demonstrated recently in another tutorial on painting Painting WWI French Fusiliers: How to create mud bases, the idea is to create mud effects rather than simply painting them. While wargamers often resort to the dry-brush technique using acrylics to simulate mud, the results, while interesting, may lack the texture typically associated with this particular effect. To address this, we can turn to specialized products designed to achieve hyper-realistic mud effects. These products not only provide the desired color but also incorporate a textured finish, even resembling wet mud with a glossy appearance.
In this case, we are going to use enamel products. The most important advantage of enamels over acrylic paints lies in their slow drying time, which allows for easy color blending, the correction of issues or even the complete removal of some effects. We will also use these mud enamel products to add extra weathering elements such as streaking effects (as we will see later).
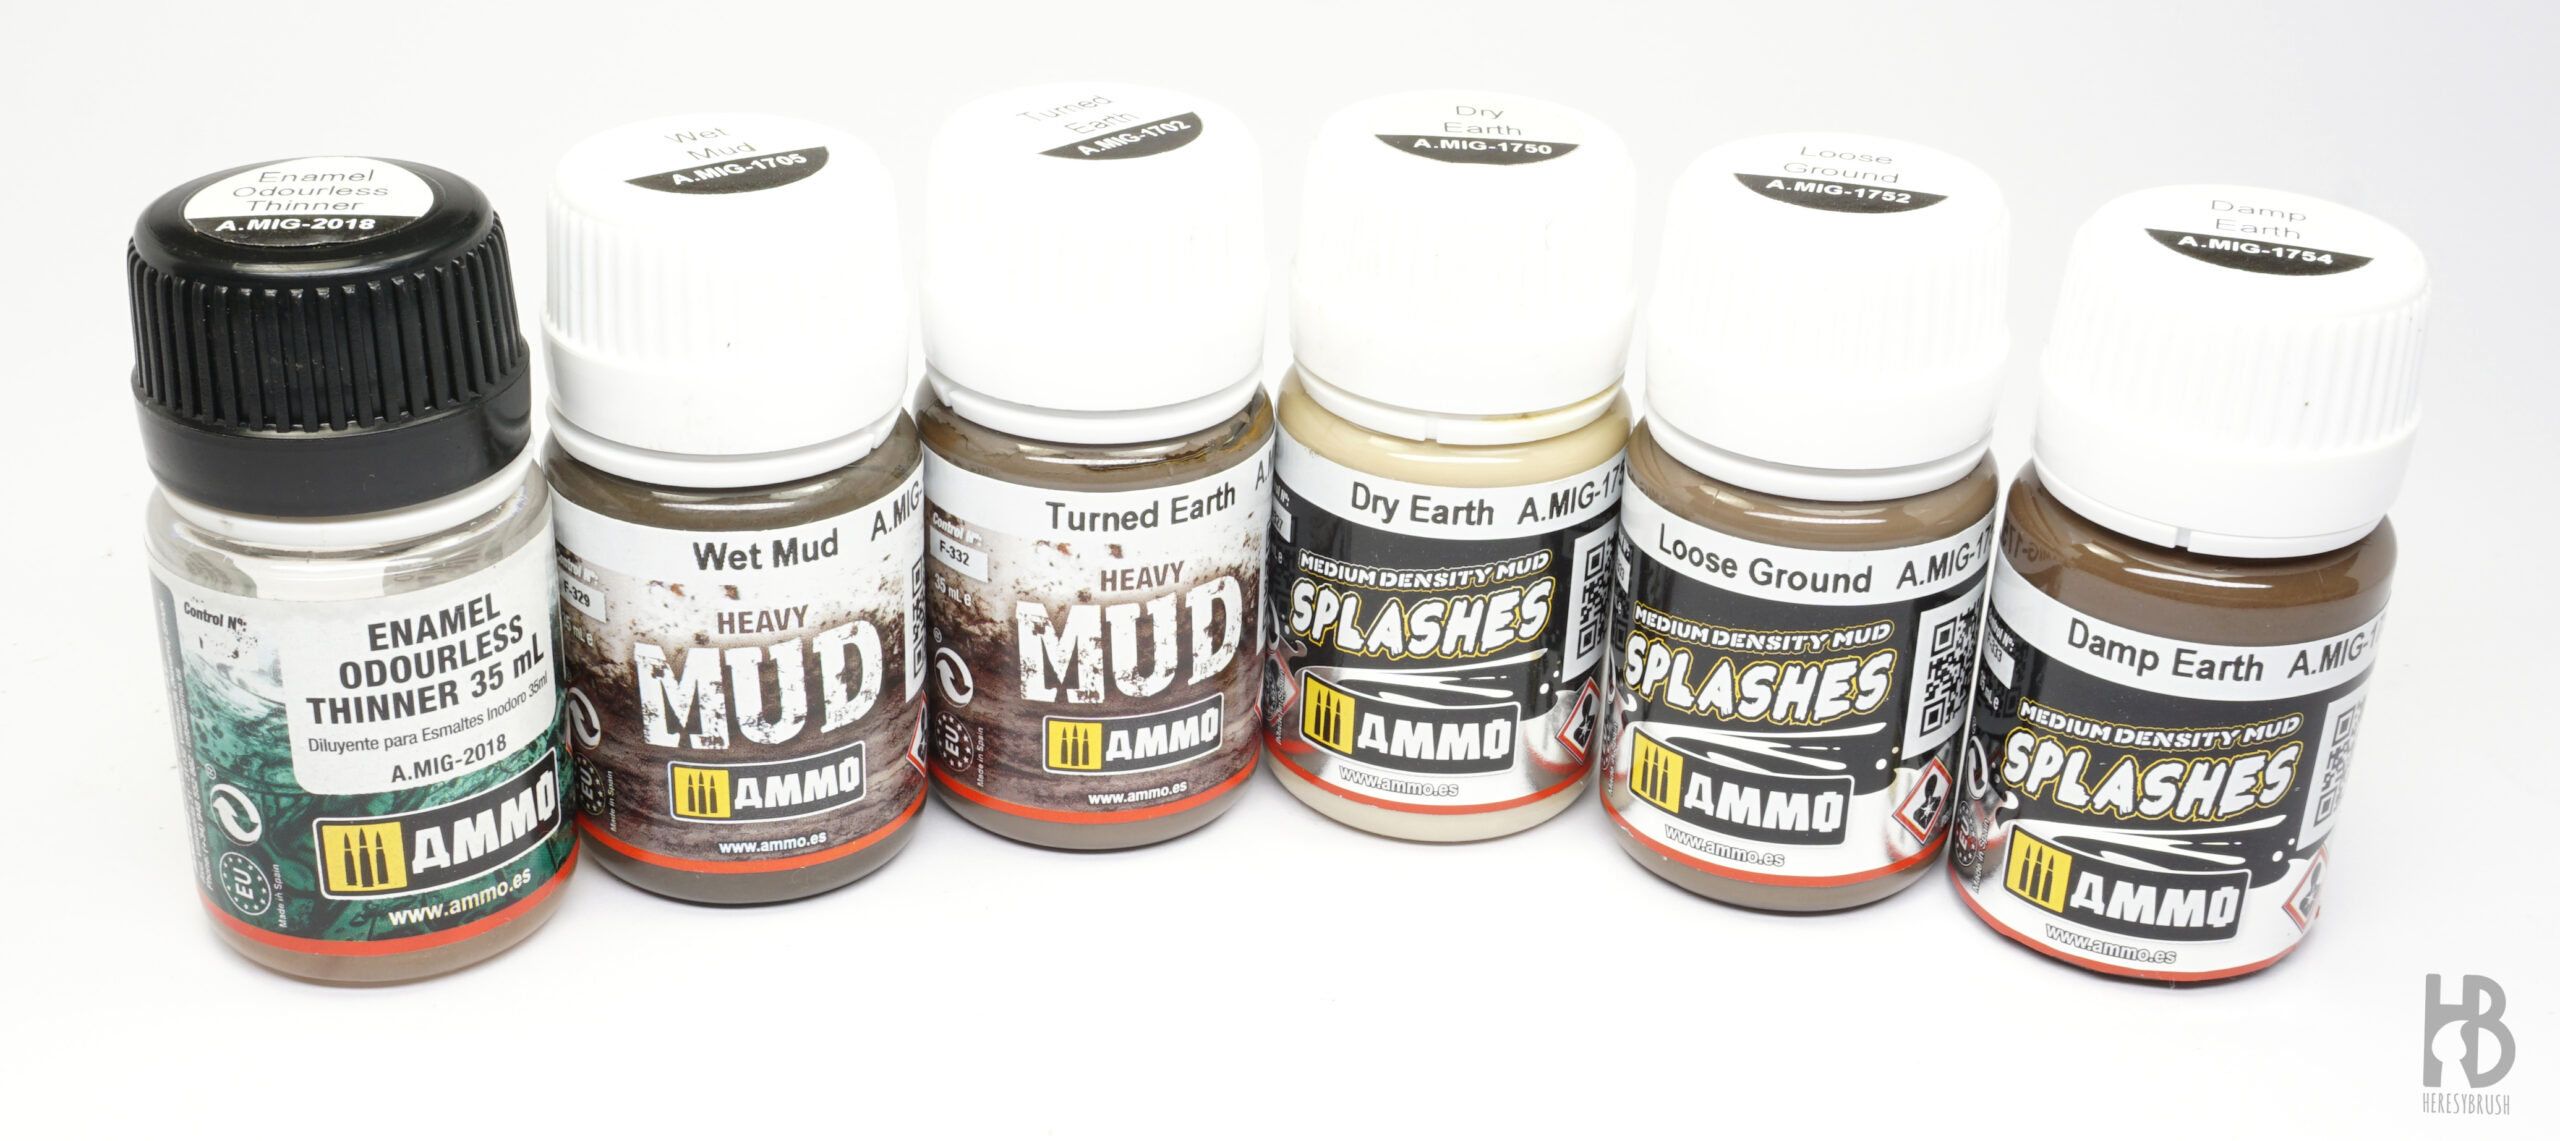
To create mud effects we will be use various enamel products from AMMO. The “Heavy Mud” range consists of thick paints typically employed to build a dense and weighty mud texture. On the other hand, the “Splashes” series comprises thinner paints, although still thicker than conventional paints, specifically intended for generating splash effects or creating lighter mud textures. Each range offers a diverse selection of colors and certain products culminate in a glossy finish, enhancing the overall wet appearance. Here, we are going to use two or three colors from each range (Heavy and Splashes). This selection aims to produce a transitional effect, wherein the lighter colors will simulate dry mud, while the darker ones will convey a wet appearance.All of these products are enamel-based, meaning that we will work with them using an organic solvent instead of water, such as White Spirit, turpentine, or Enamel Odourless Thinner A.MIG-2018. The brushes will be cleaned with this product after use.
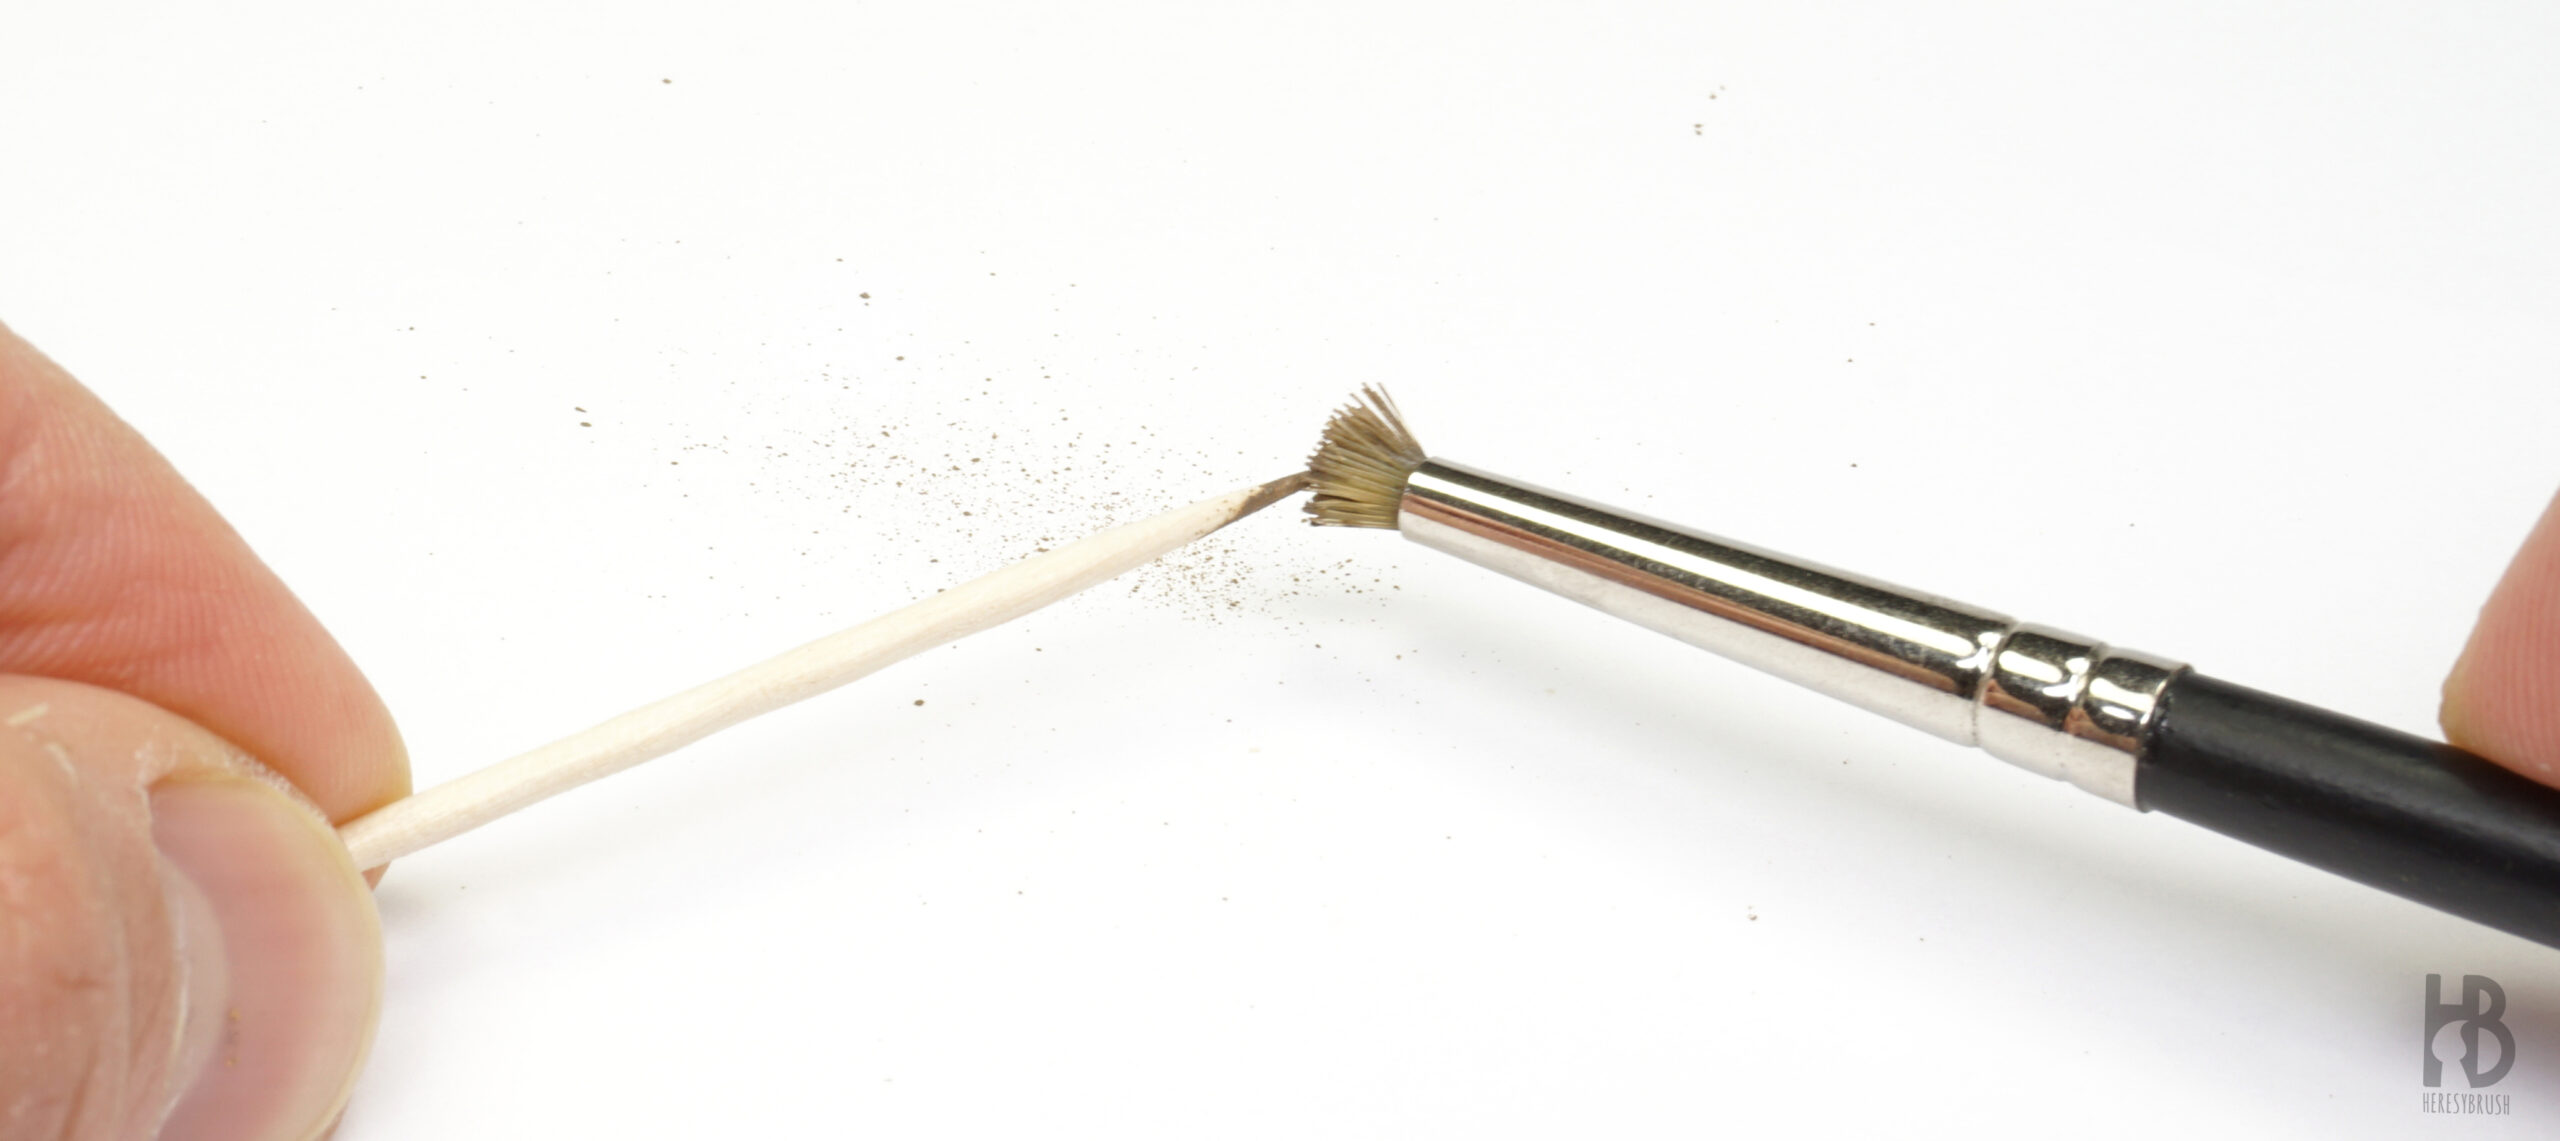
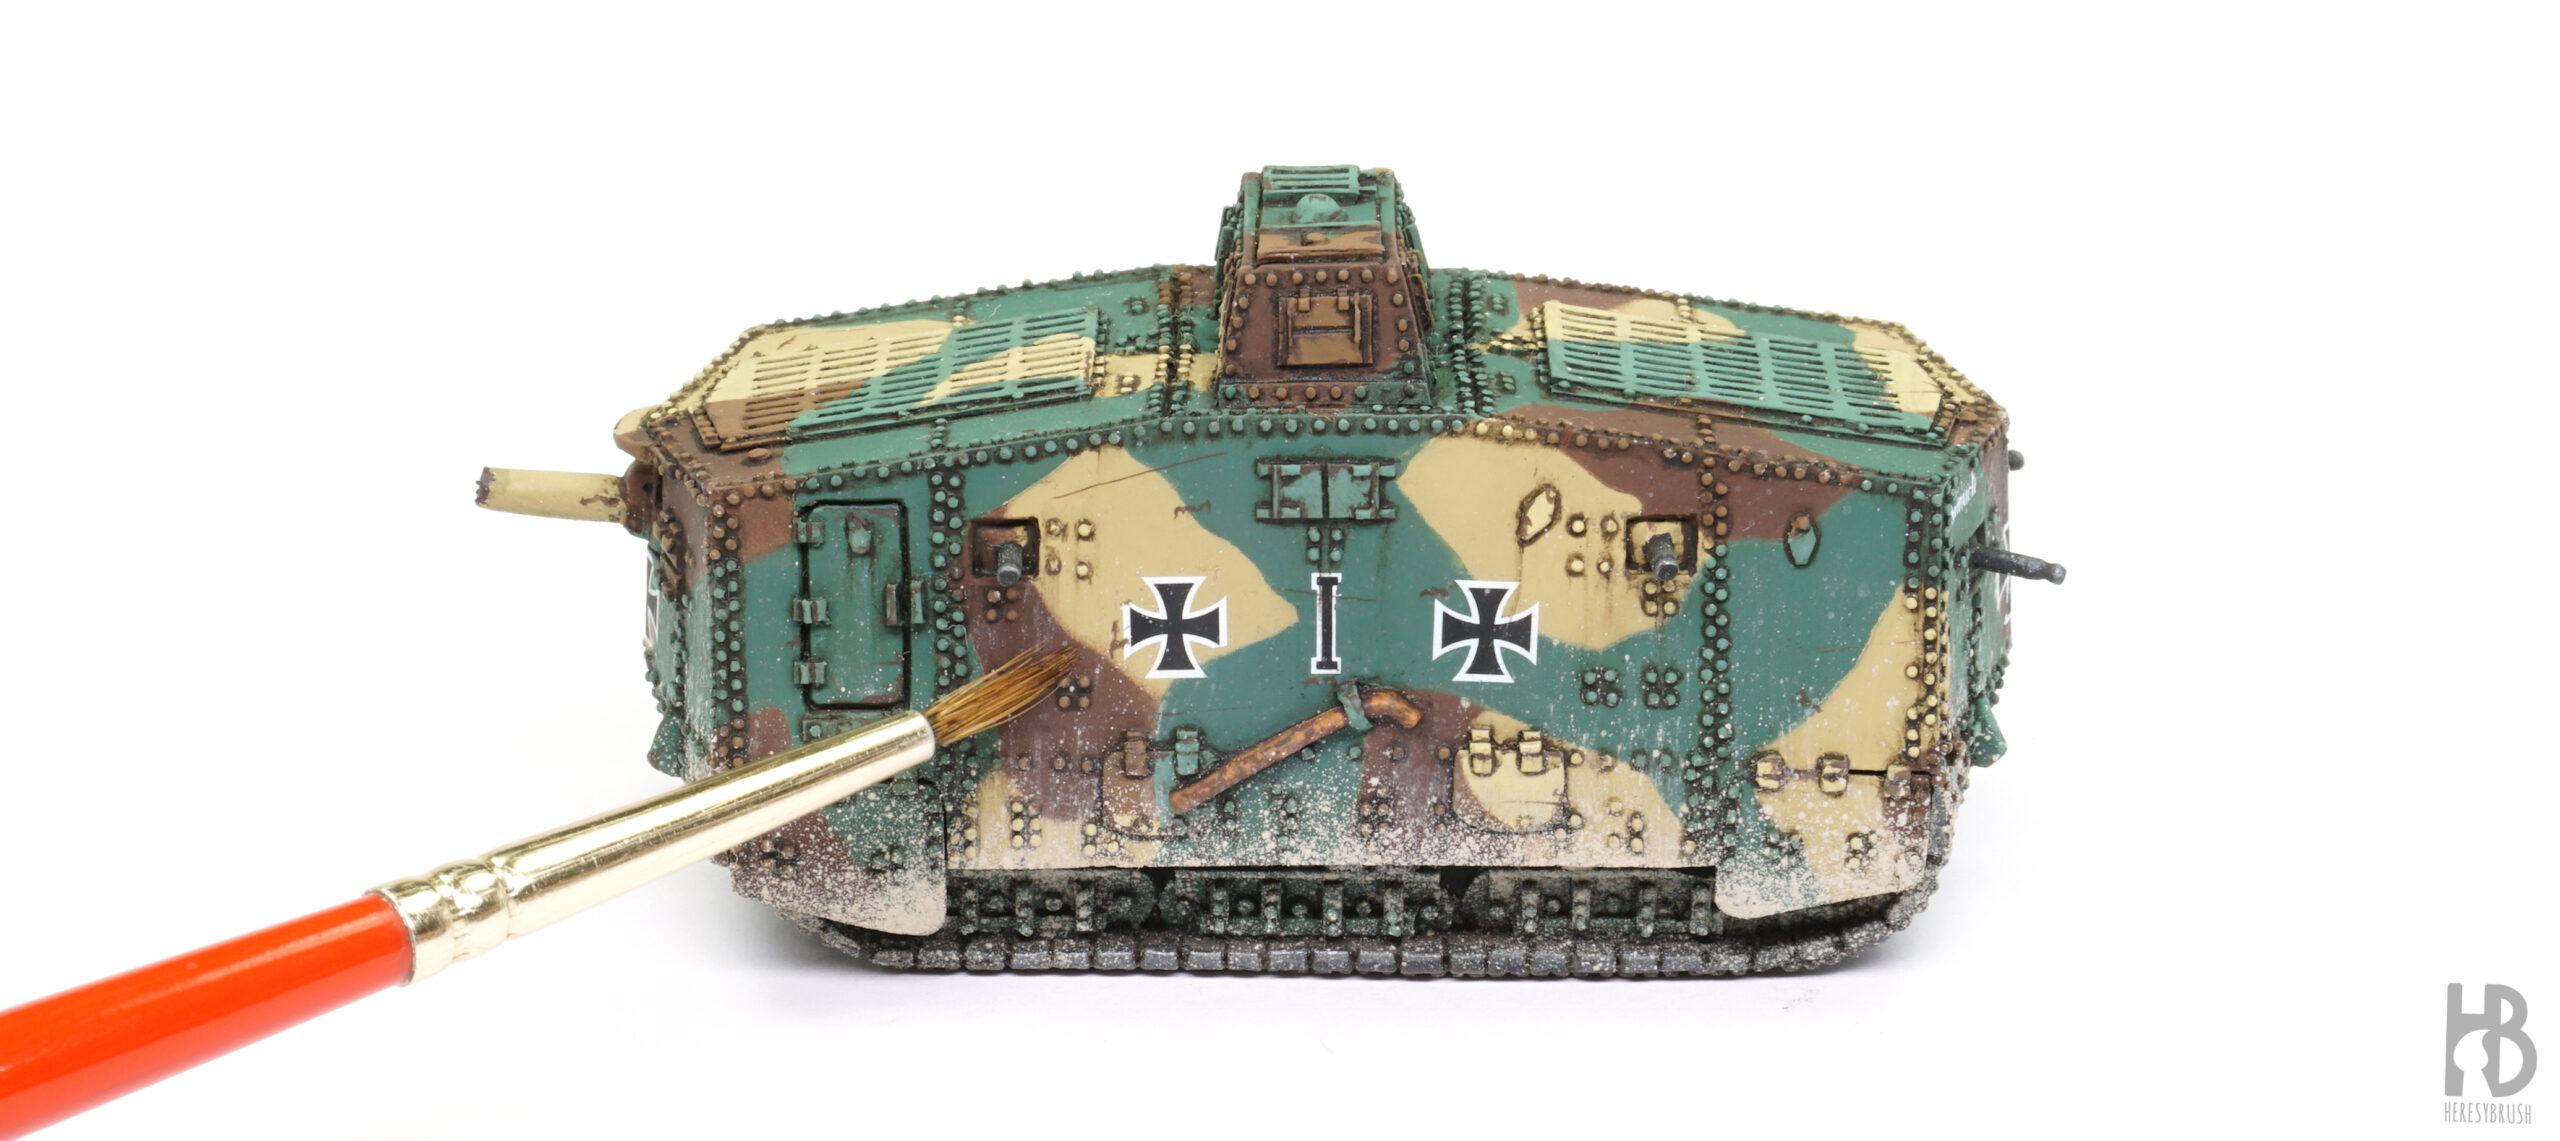
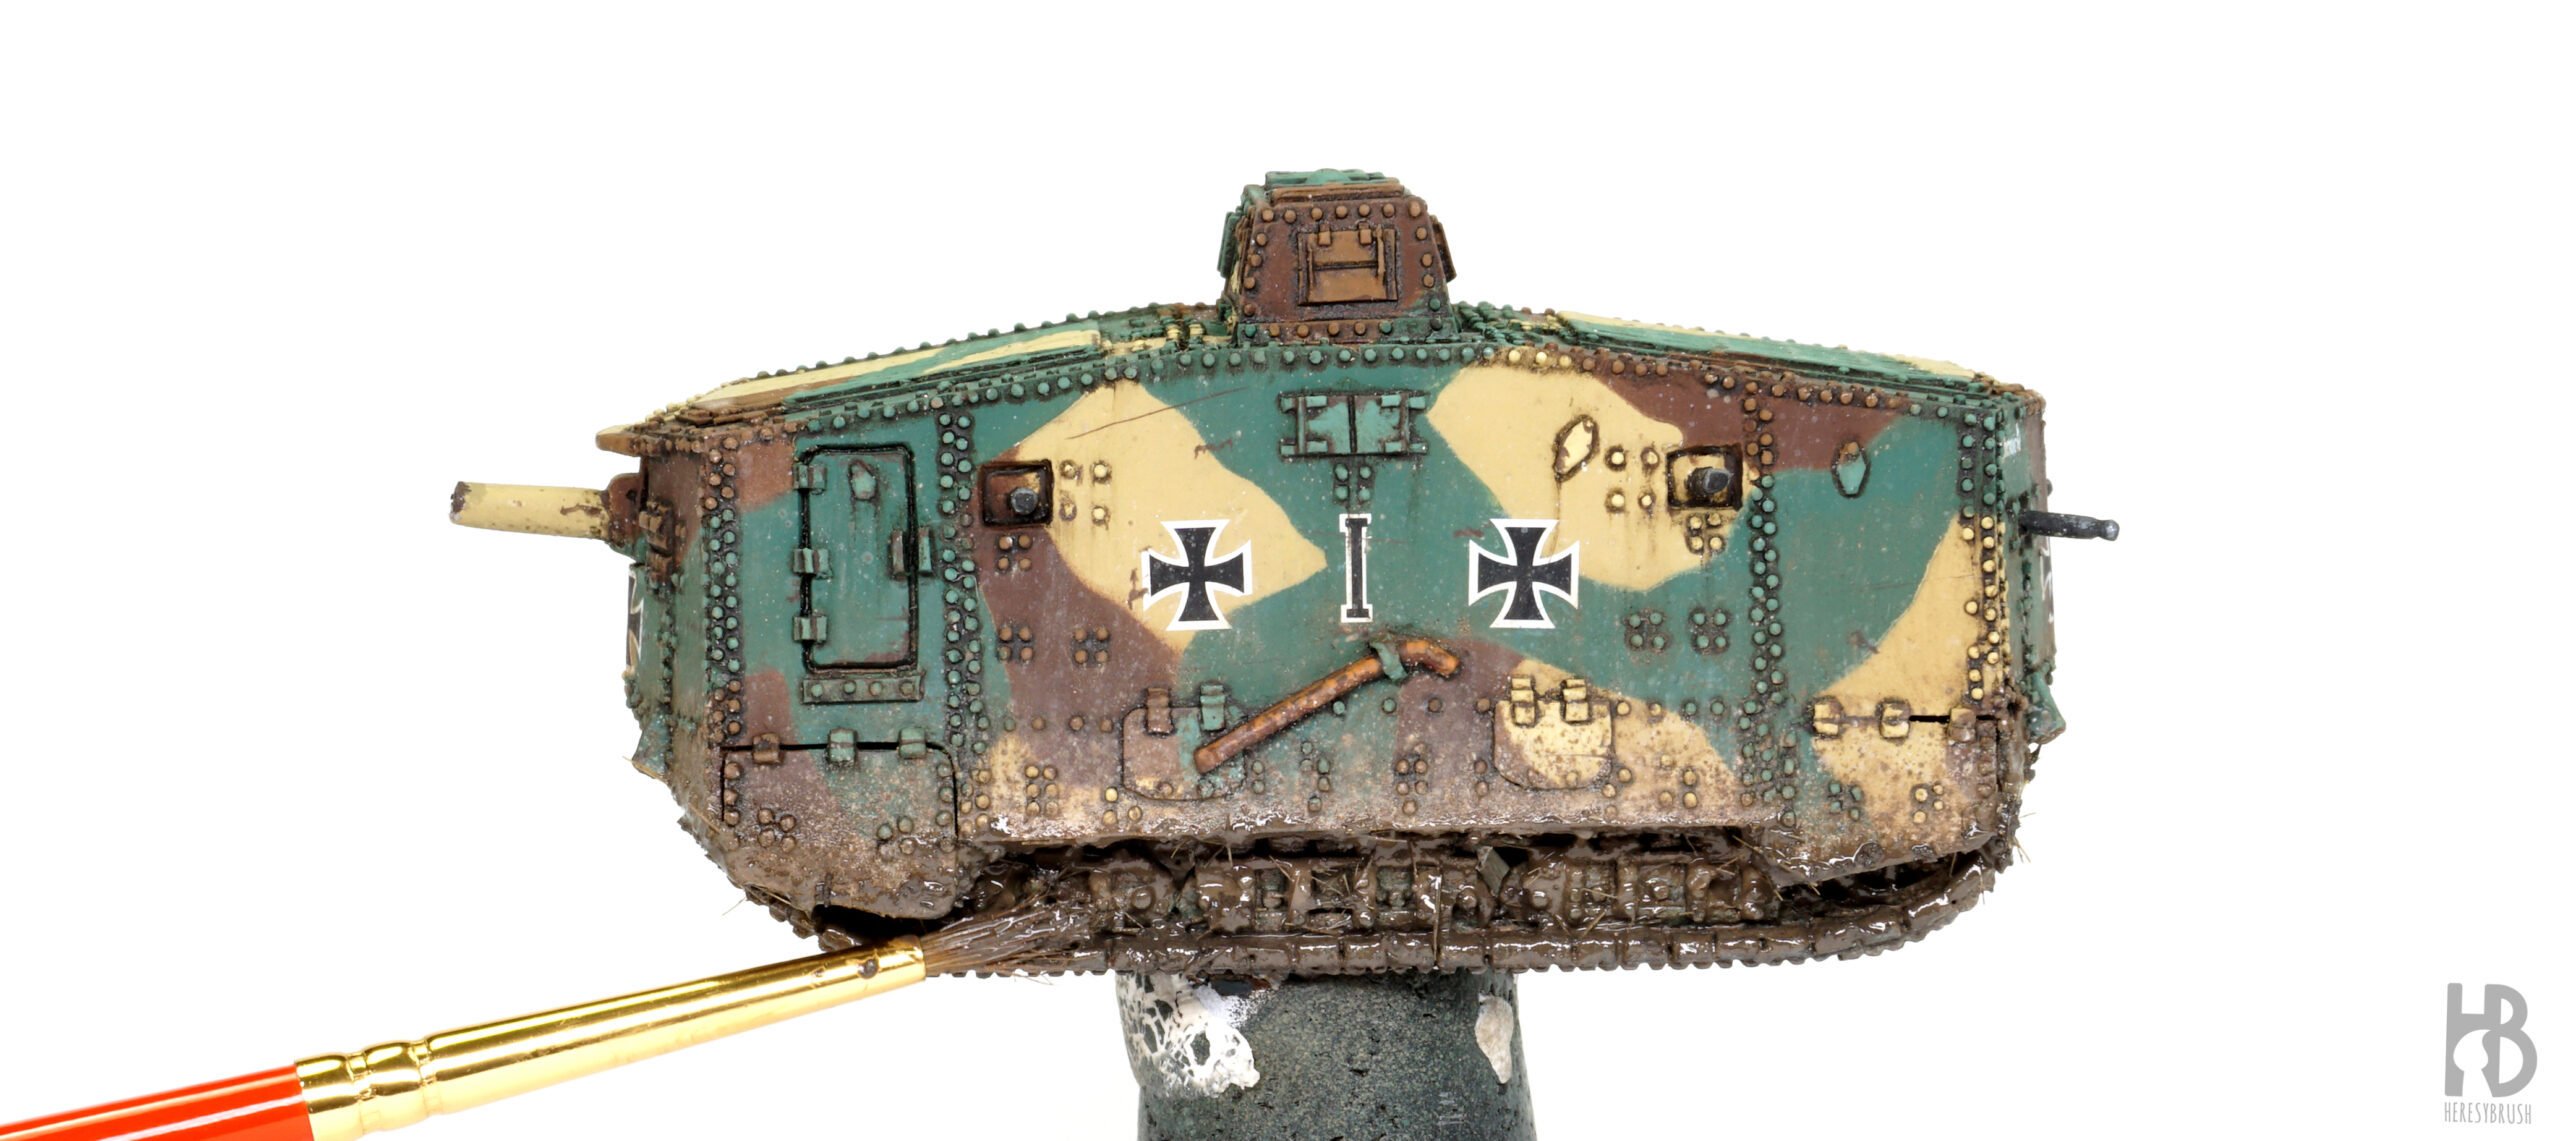
A crucial aspect of this tutorial is the application of splash effects. In larger scales, where surfaces are bigger, scale modelers commonly airbrush air through a brush loaded with paint. However, replicating the same method on the tiny surfaces of our 1:100 scale vehicles pose a challenge. To adapt to the smaller scale and enhance control, we can employ a brush with stiff bristles, such as the stippling brush from Citadel Miniatures, along with a simple toothpick. The technique involves tensioning the bristles loaded with paint using the toothpick and then releasing them to produce highly realistic effects. It is advisable to practice a few times on a piece of paper before applying the technique to the tank to get familiar with the process.
Splash effects on tanks
Step 1: dry splash effects I
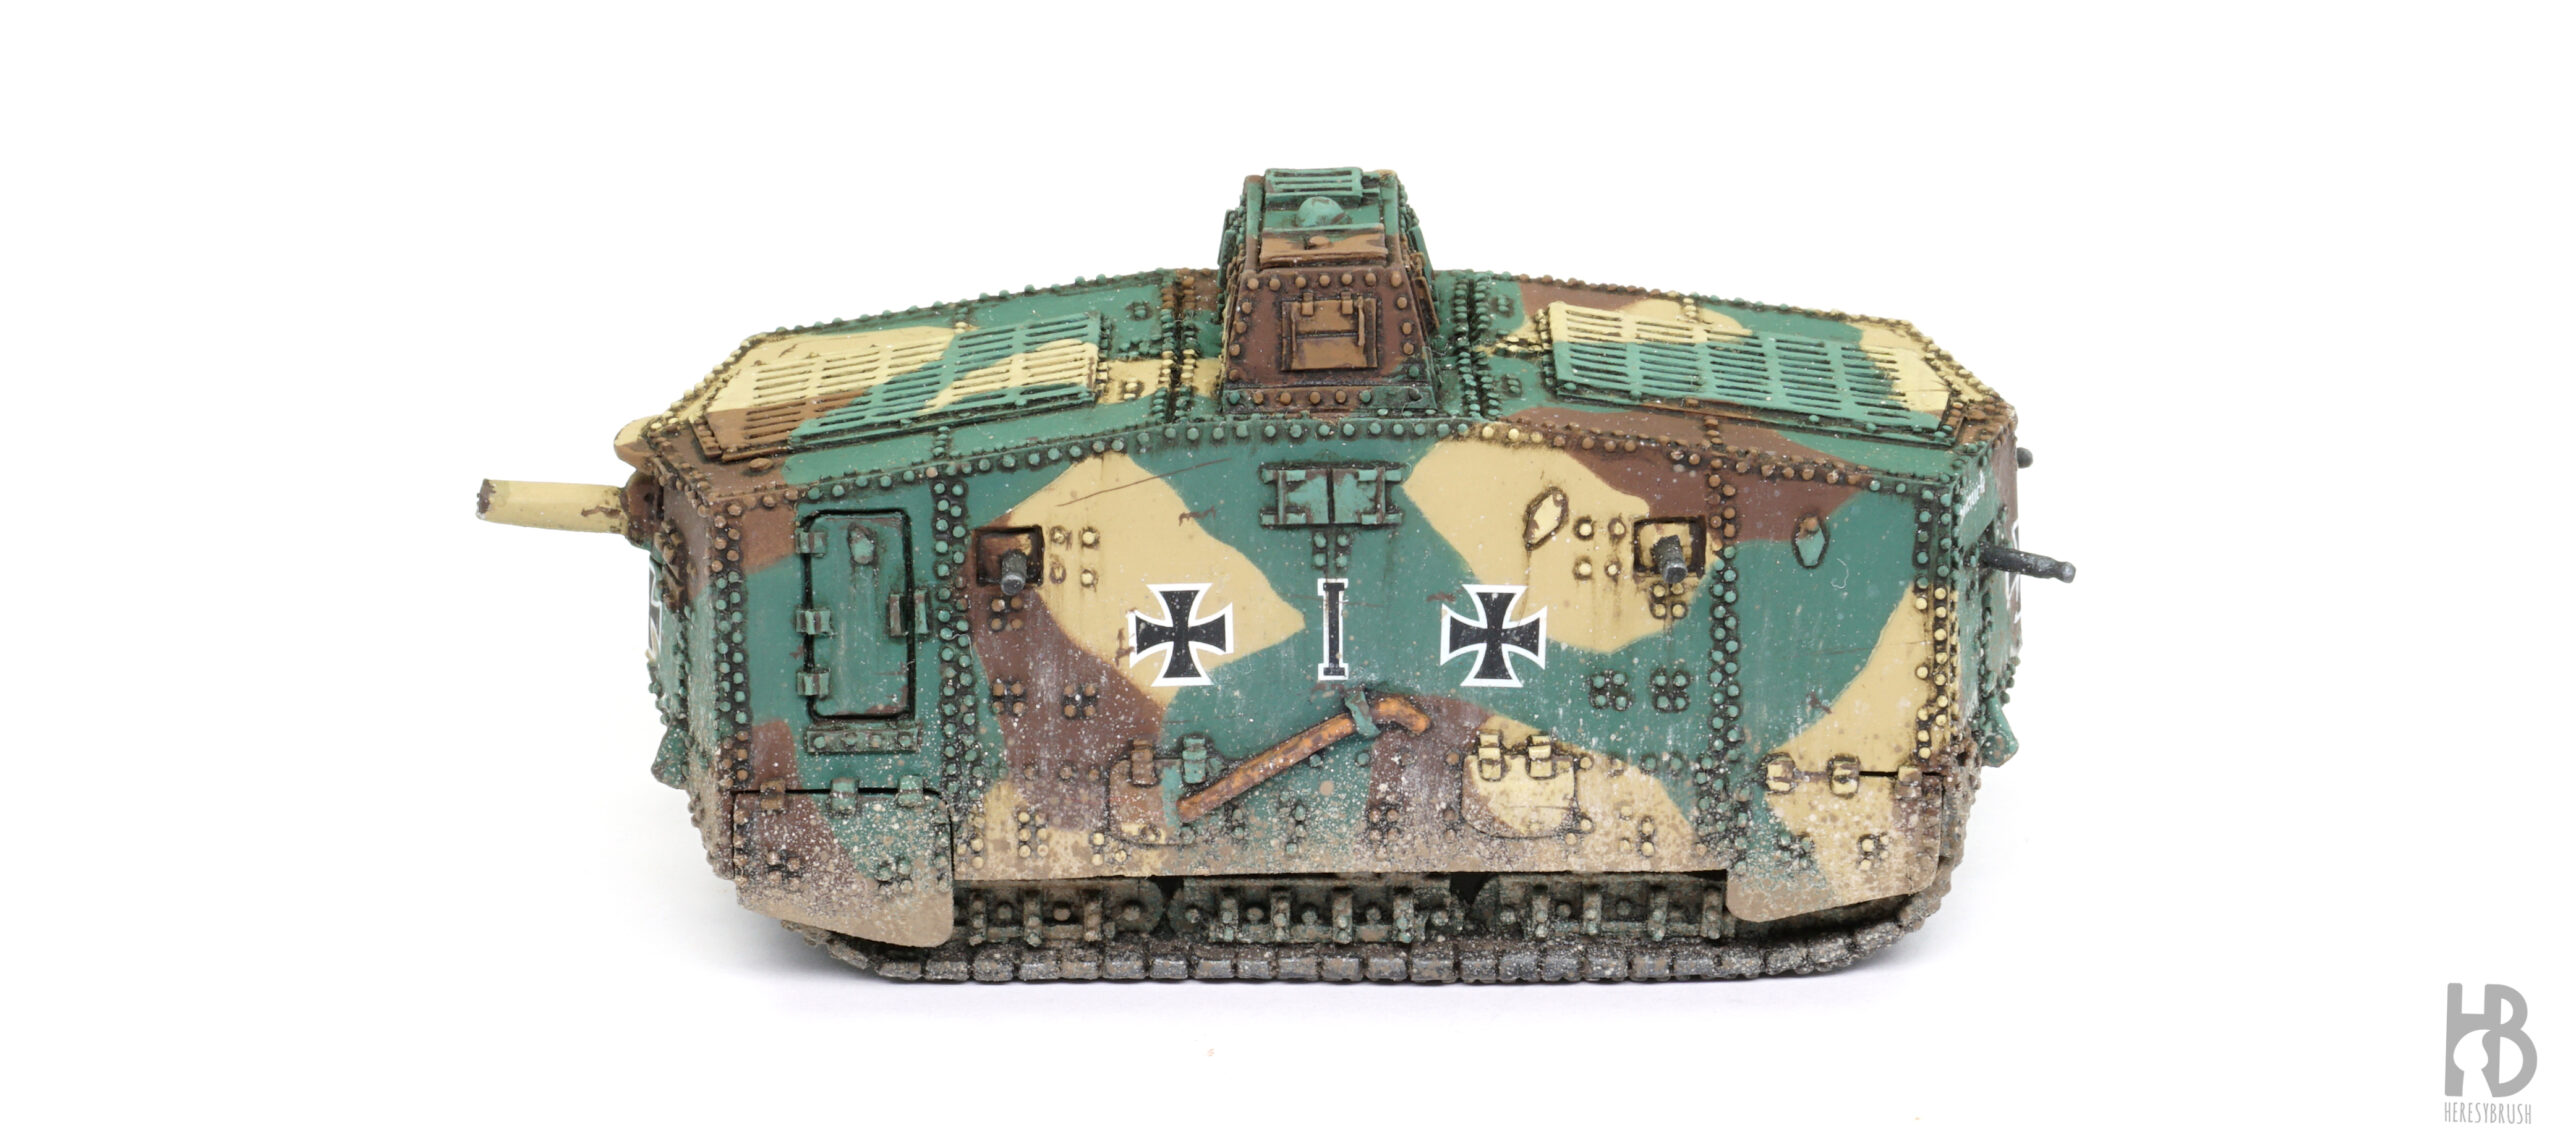
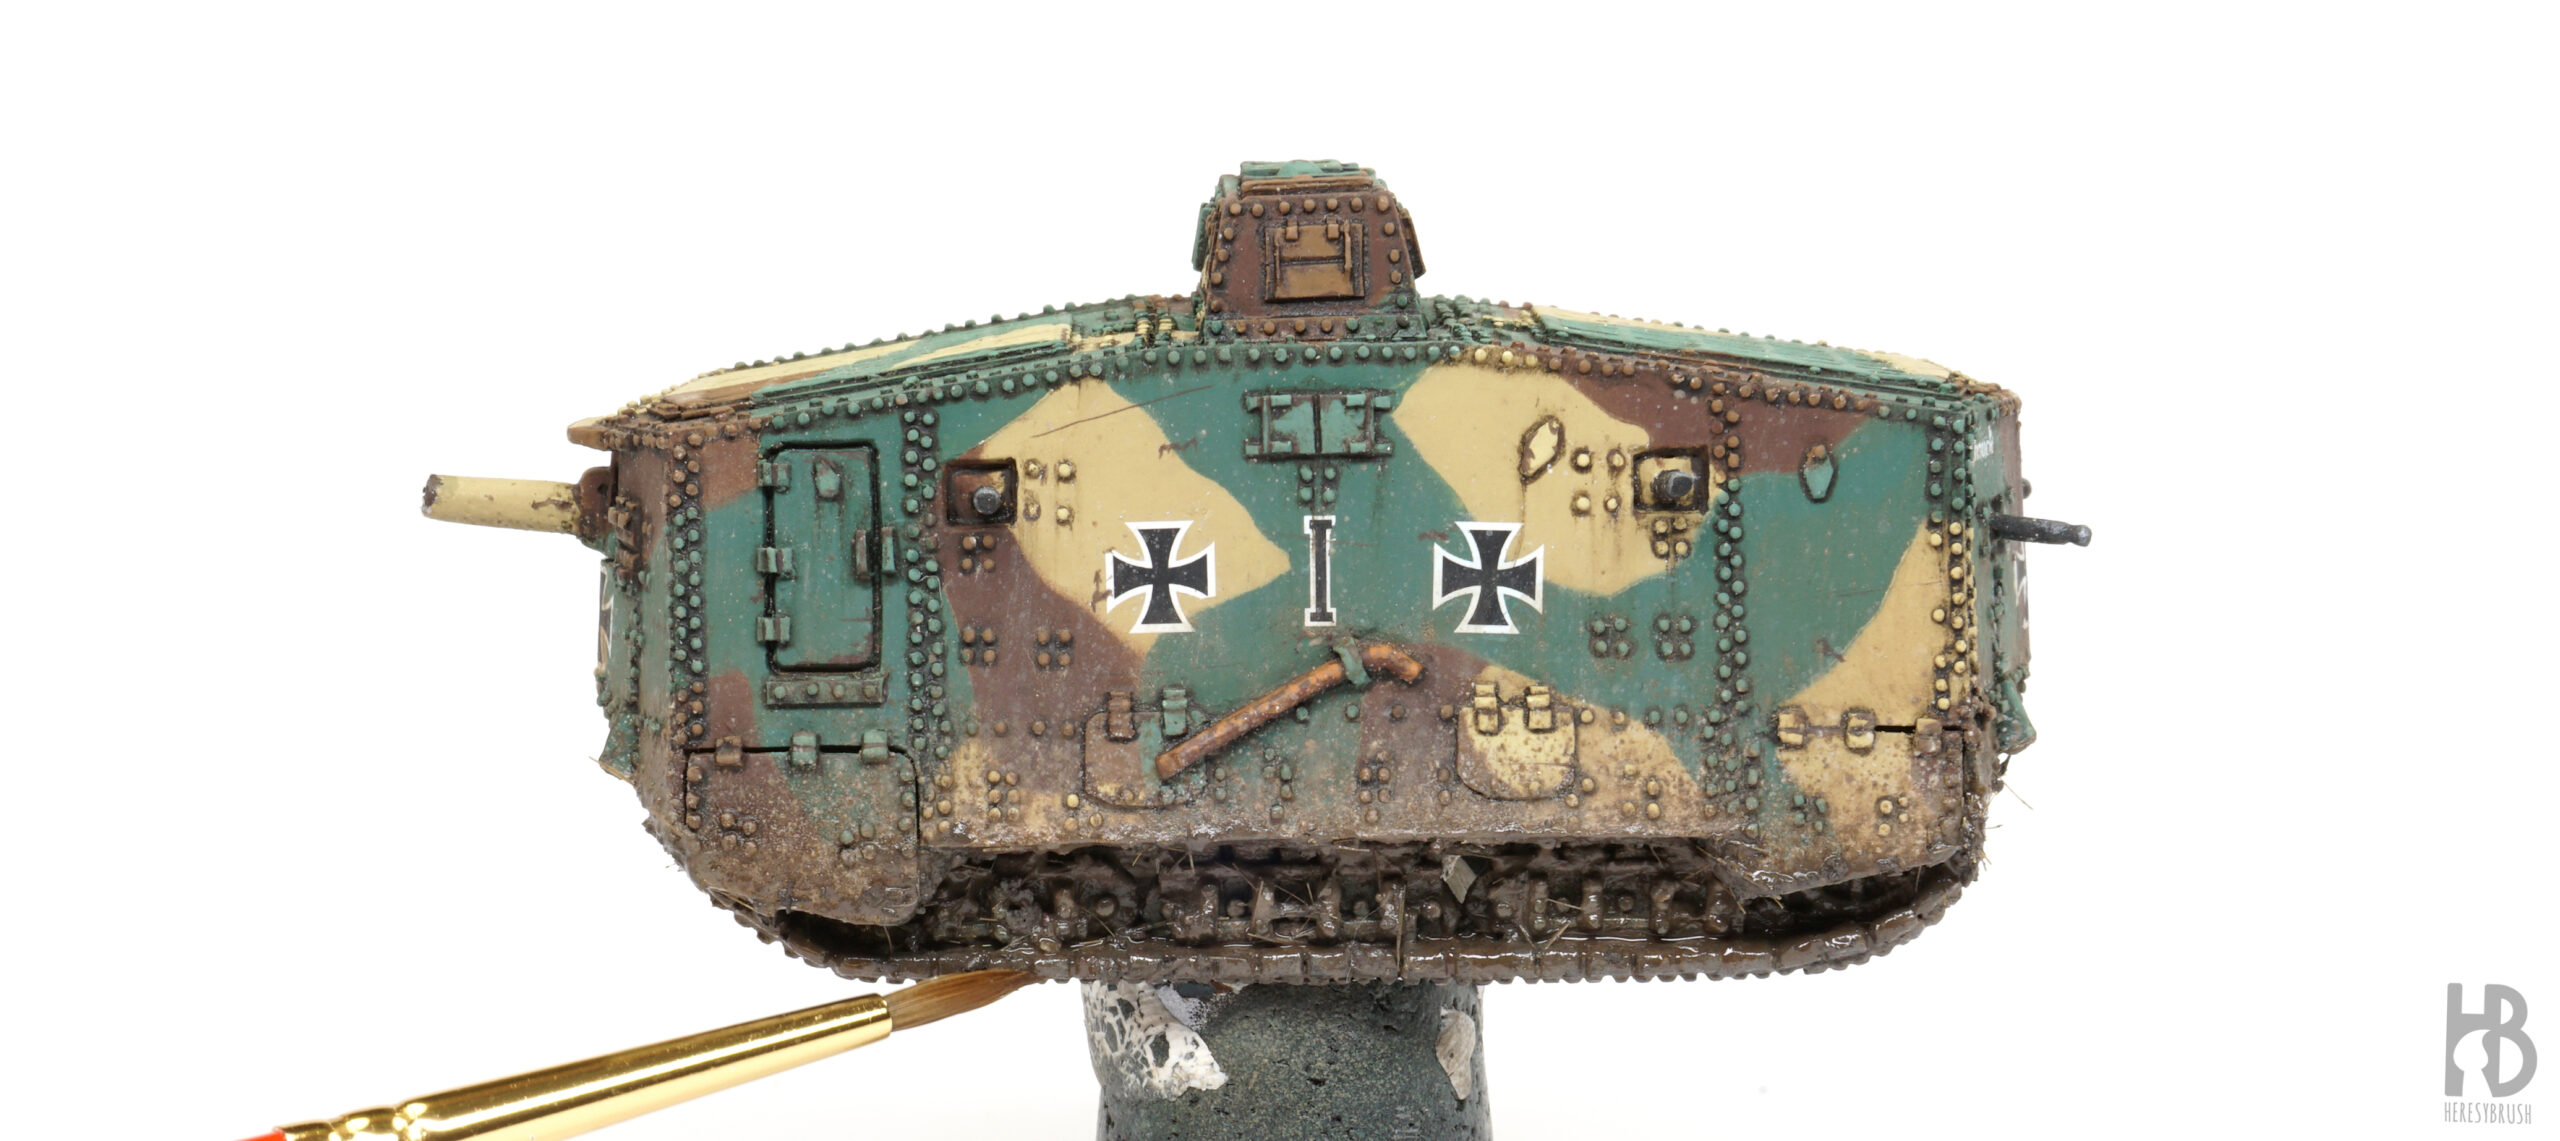
As a starting point, our tank should have been painted completely, including washes and initial weathering effects like chipping. Mud effects are among the final weathering effects we can apply on a scale model. We create mud effects through successive layers. Mud typically dries more on upper surfaces and remains wetter in lower areas where it accumulates. Therefore, it is prudent to commence with the formation of dry splash effects and gradually progress towards the lower sections, incorporating darker and thicker products for realistic results. This method ensures a natural and convincing representation of the varying wetness levels across different parts of the model.
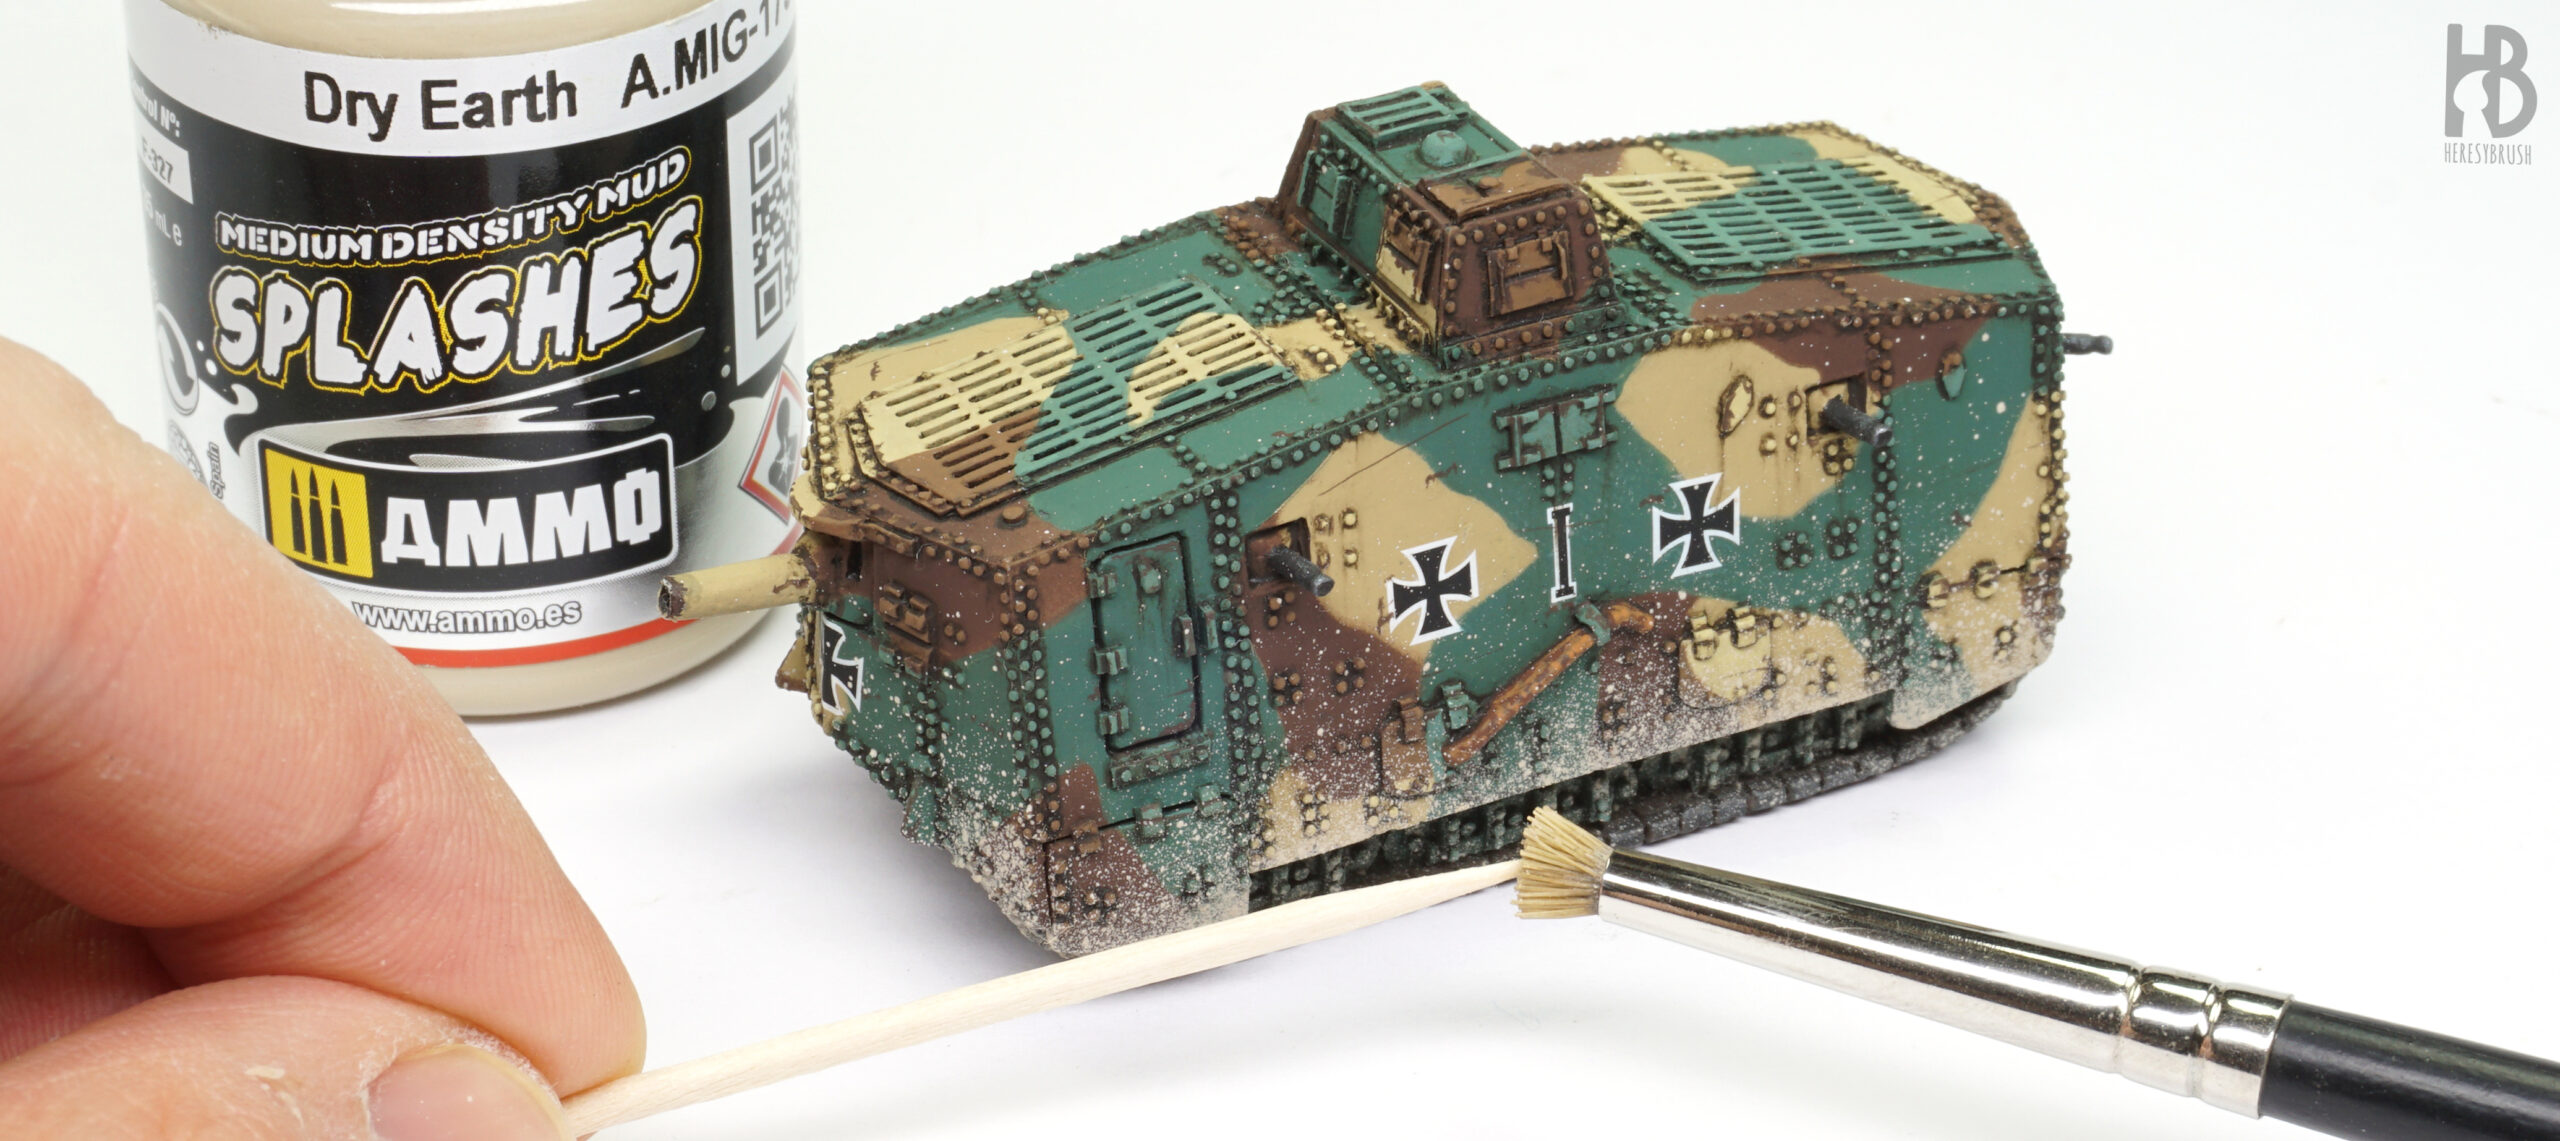
Using the aforementioned technique, we create the first layer of splash effects utilizing a light color like Splashes Dry Earth A.MIG-1754. This particular color replicates the appearance of dry mud. We cover the lower section of the tank, with a particular emphasis on the mud guards. It is essential to shake the bottle vigorously to ensure proper mixing of the pigment and solvent before use. We can tilt the tank over a sponge to facilitate the process, allowing for the application of splash effects at a diagonal angle.
Step 2: dry splash effects II
One challenge associated with this technique is the potential occurrence of splashes that are either too large or appear in unintended areas, such as the upper part of the hull. Exploiting the slower drying time of enamels, these issues can be addressed by carefully removing excess splashes with a brush dampened with Enamel Odourless Thinner. Moreover, employing vertical brush strokes, from top to bottom, can not only eliminate unwanted splashes but also introduce streaking effects, simulating the accumulation of dirt in a realistic manner.
Step 3: semi-dry splash effects
After a few minutes, the process is repeated, this time employing a slightly darker color to simulate wetter mud, such as Splashes Loose Ground A.MIG-1752. The emphasis remains on the lower part, covering a slightly smaller area than the previous layer to initiate the transitional effect. It is essential not to completely cover the previous color. As before, any undesired dots can be rectified using a brush dampened with solvent. While this step is optional and can be skipped to save time, implementing it enhances the transition between the lighter and darker colors, contributing to a more polished and realistic result.
Step 4: wet splash effects
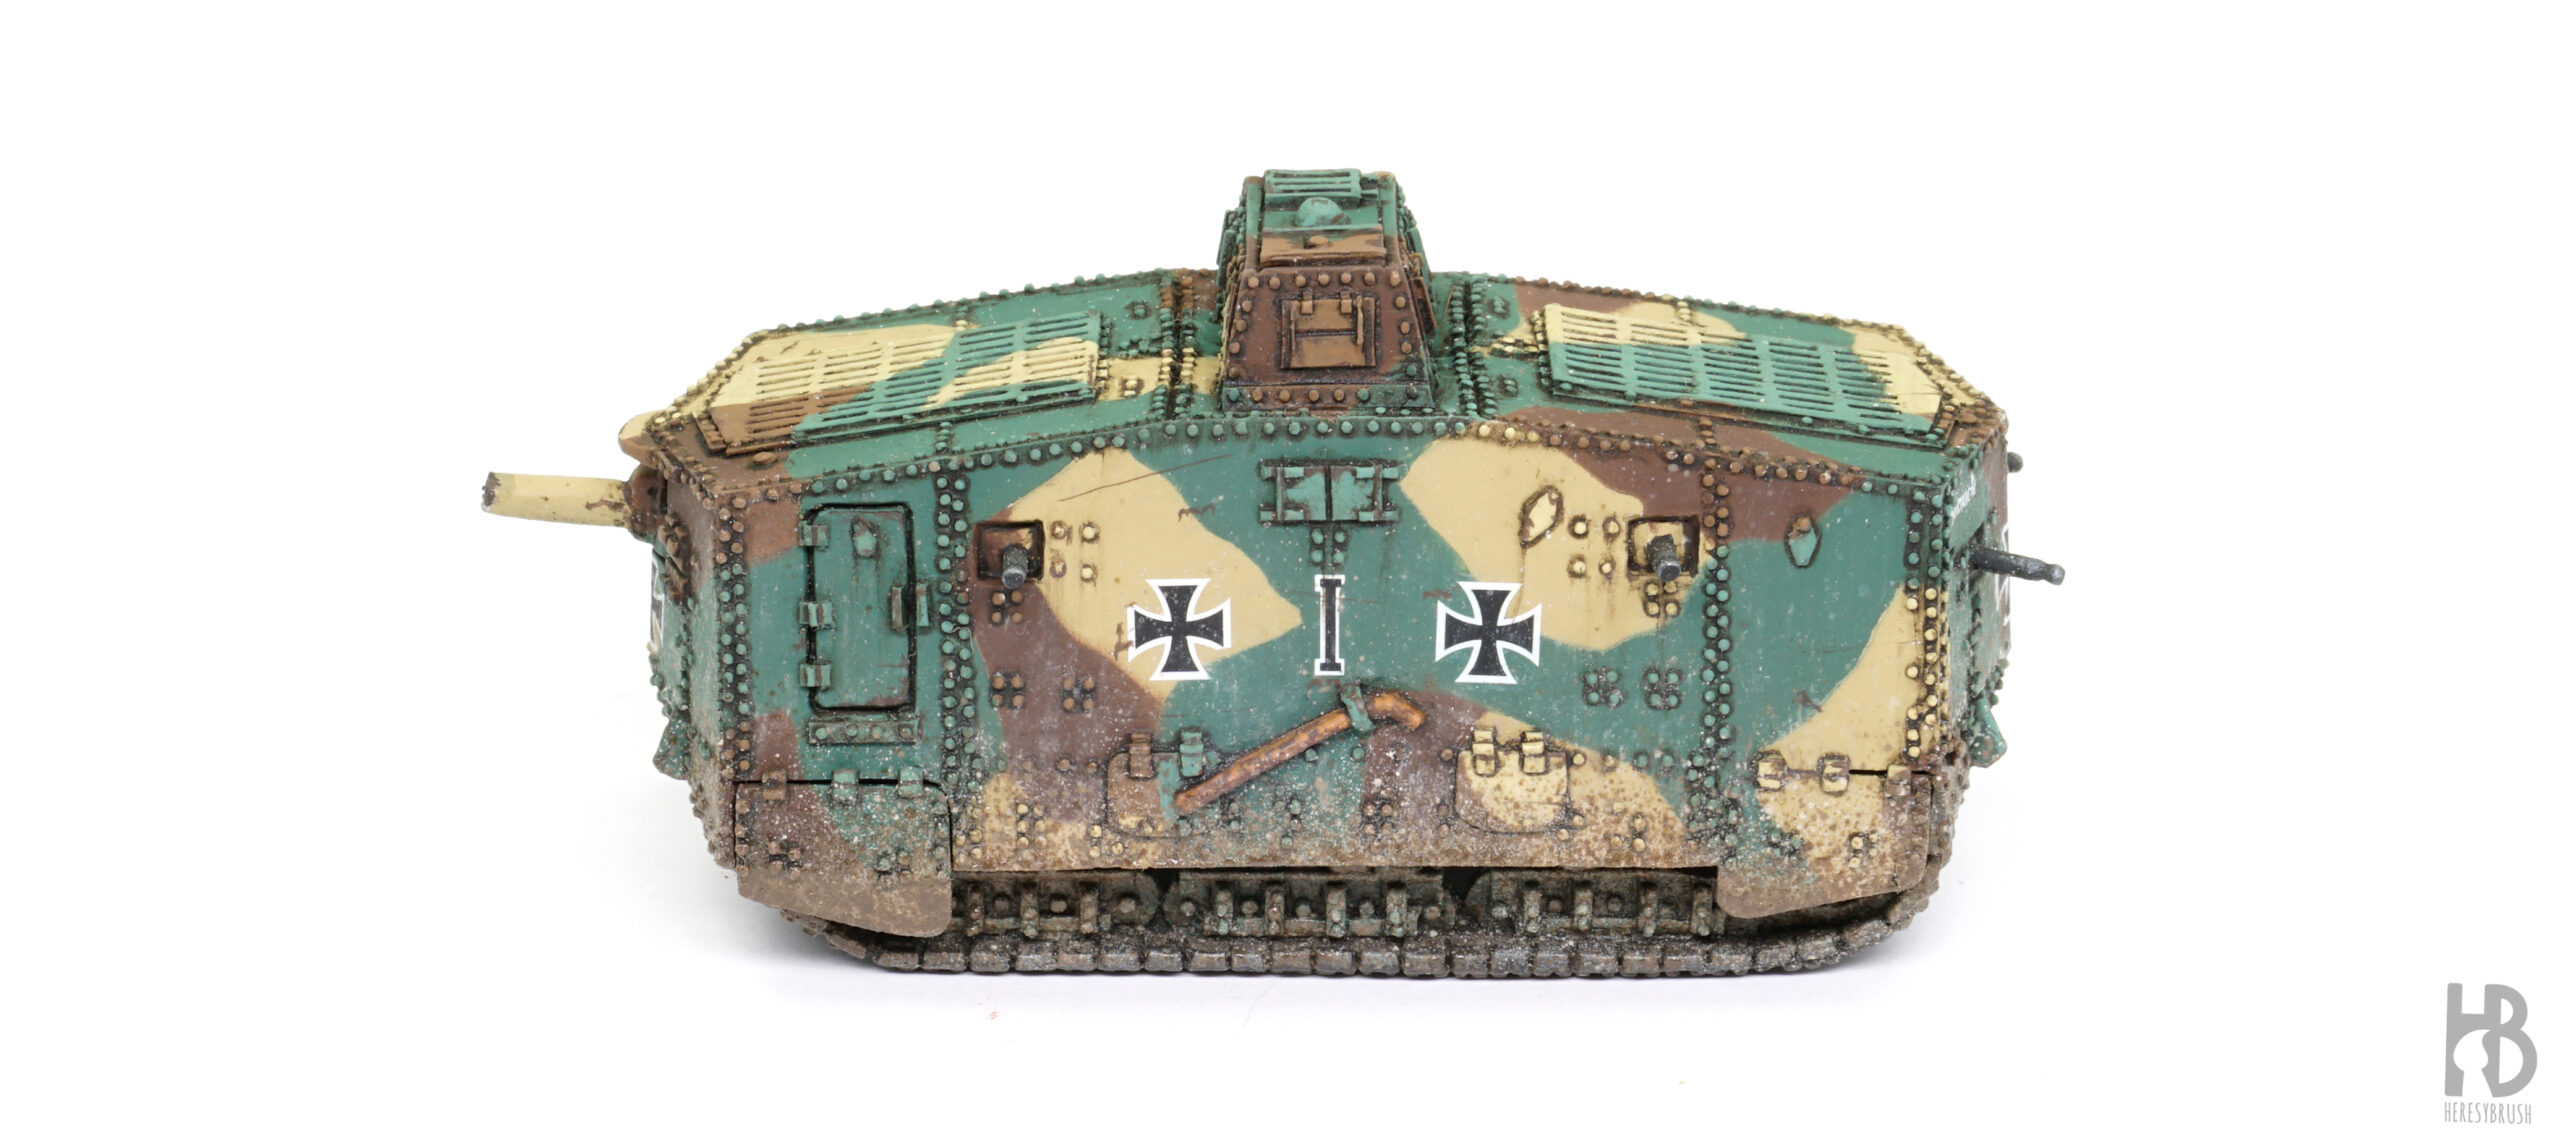
To finish the splash effects, we apply a dark brown color, such as Splashes Damp Earth A.MIG-1954, to simulate fresh mud. Alternatively, for a glossier and wetter appearance, Splashes Wet Ground A.MIG-1755 can be used. Similar to previous steps, we apply it on a reduced area. We focus it on the very lowest parts of the mud guards, ensuring a heightened emphasis on the wettest regions for a more authentic representation of fresh mud. We let dry the splash effects overnight.
Step 5: integration of splash effects
Optionally, to harmonize the three layers of splash effects and establish a base for the heavy mud effects on the tracks, a dark brown filter can be applied. To apply a filter, the paint is normally thinned tenfold with thinner. It is important to note that a filter is not a wash. The purpose of a filter is not to accumulate but rather to subtly tint and blend. Therefore, only a very thin layer is applied to achieve the desired effect without excessive accumulation. For this purpose, another enamel product like Nature Effects Dark Mud A.MIG-1405 can be used. Once the splash effects have fully dried (overnight), a diluted layer of Dark Mud, thinned with 50% Enamel Odourless Thinner, is applied to cover the lower surface and tracks. Care should be taken to apply it gently, preventing the reactivation and dragging of the previously applied splash effects.
We could stop at this point if our goal is to achieve quick and convincingly realistic light mud effects. As previously mentioned, we might choose to apply just two layers of splash effects—dry and dark. Additionally, for efficiency, we can implement these effects across multiple vehicles simultaneously through batch painting, thereby optimizing our time.
Heavy mud effects on tanks
Step 6: heavy mud effects
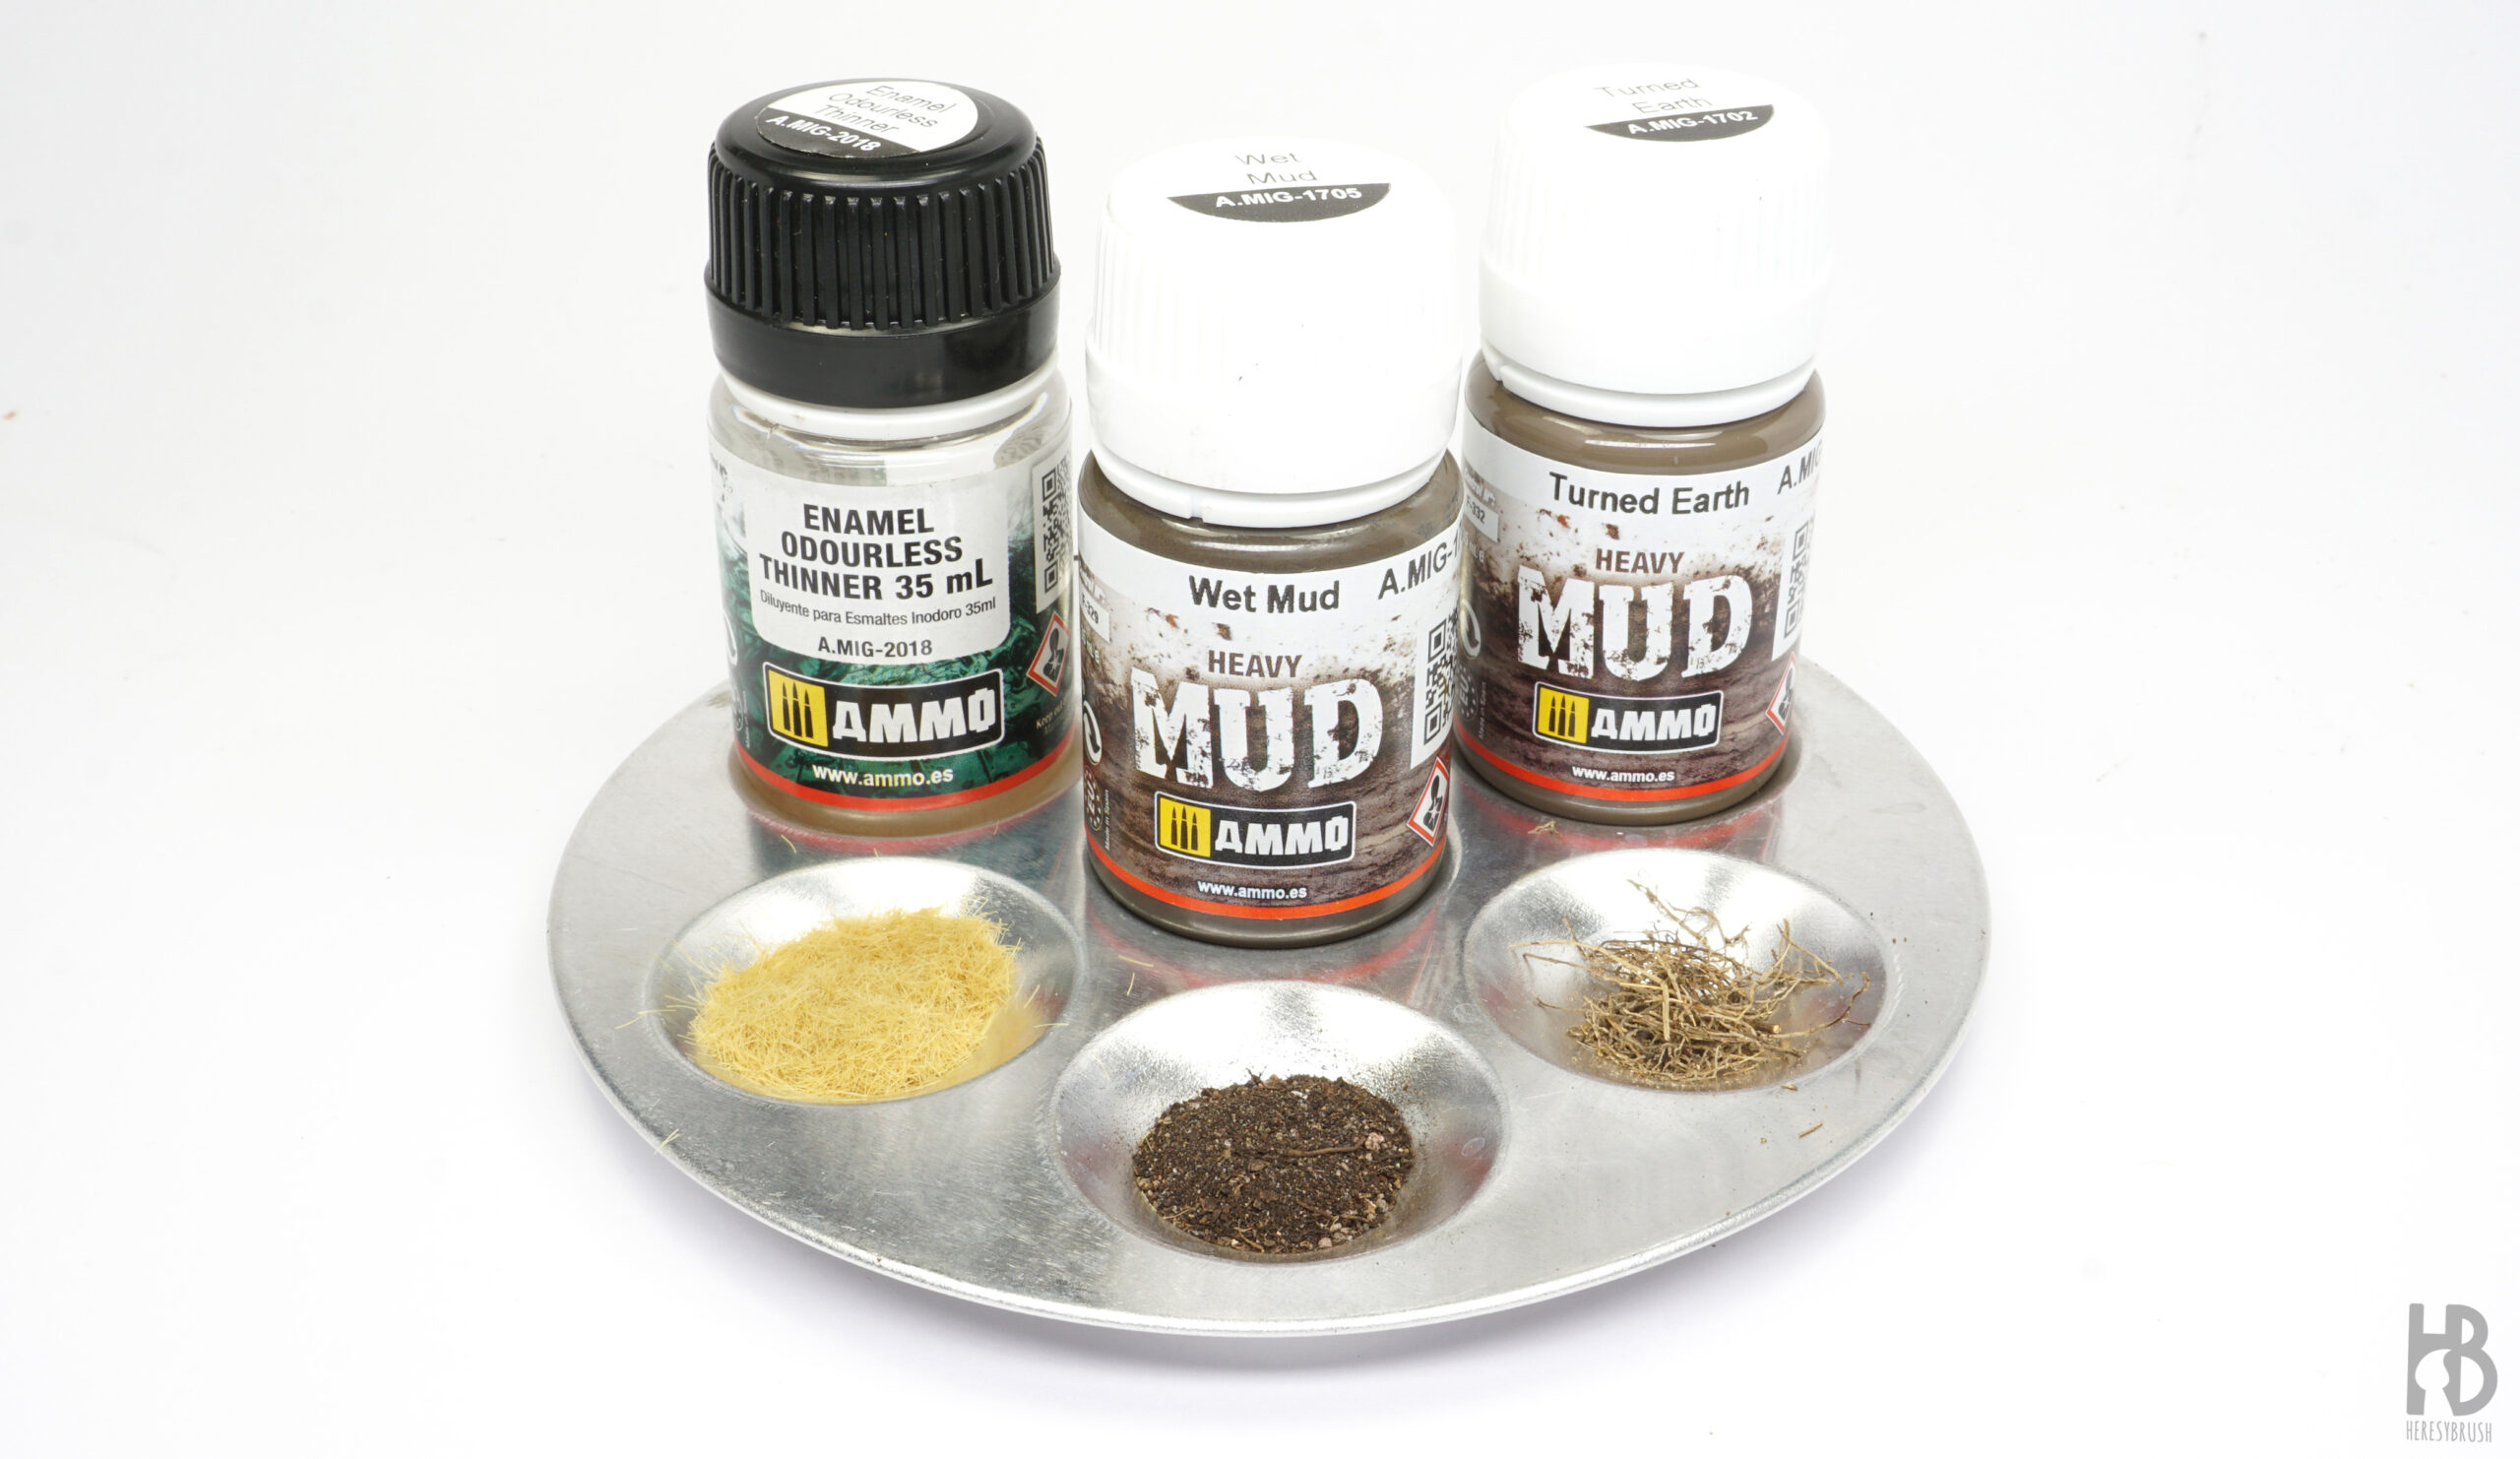
To create heavy mud effects, we can employ the corresponding “Heavy Mud” products designed for this purpose. These are thick enough for accurately portraying heavy mud, and we can use them as such. However, we can further enrich the effect by mixing the product with sand, small roots, or grass fibers. The choice of materials is flexible, but we need to keep maintaining a scale-appropriate appearance on the scale model. If needed, we can thin down the mix using Enamel Odourless Thinner. Consistent with the previous steps, we can employ two distinct tones of Heavy Mud to depict dry (light) and wet (dark) mud.
Step 7: dry heavy mud mix
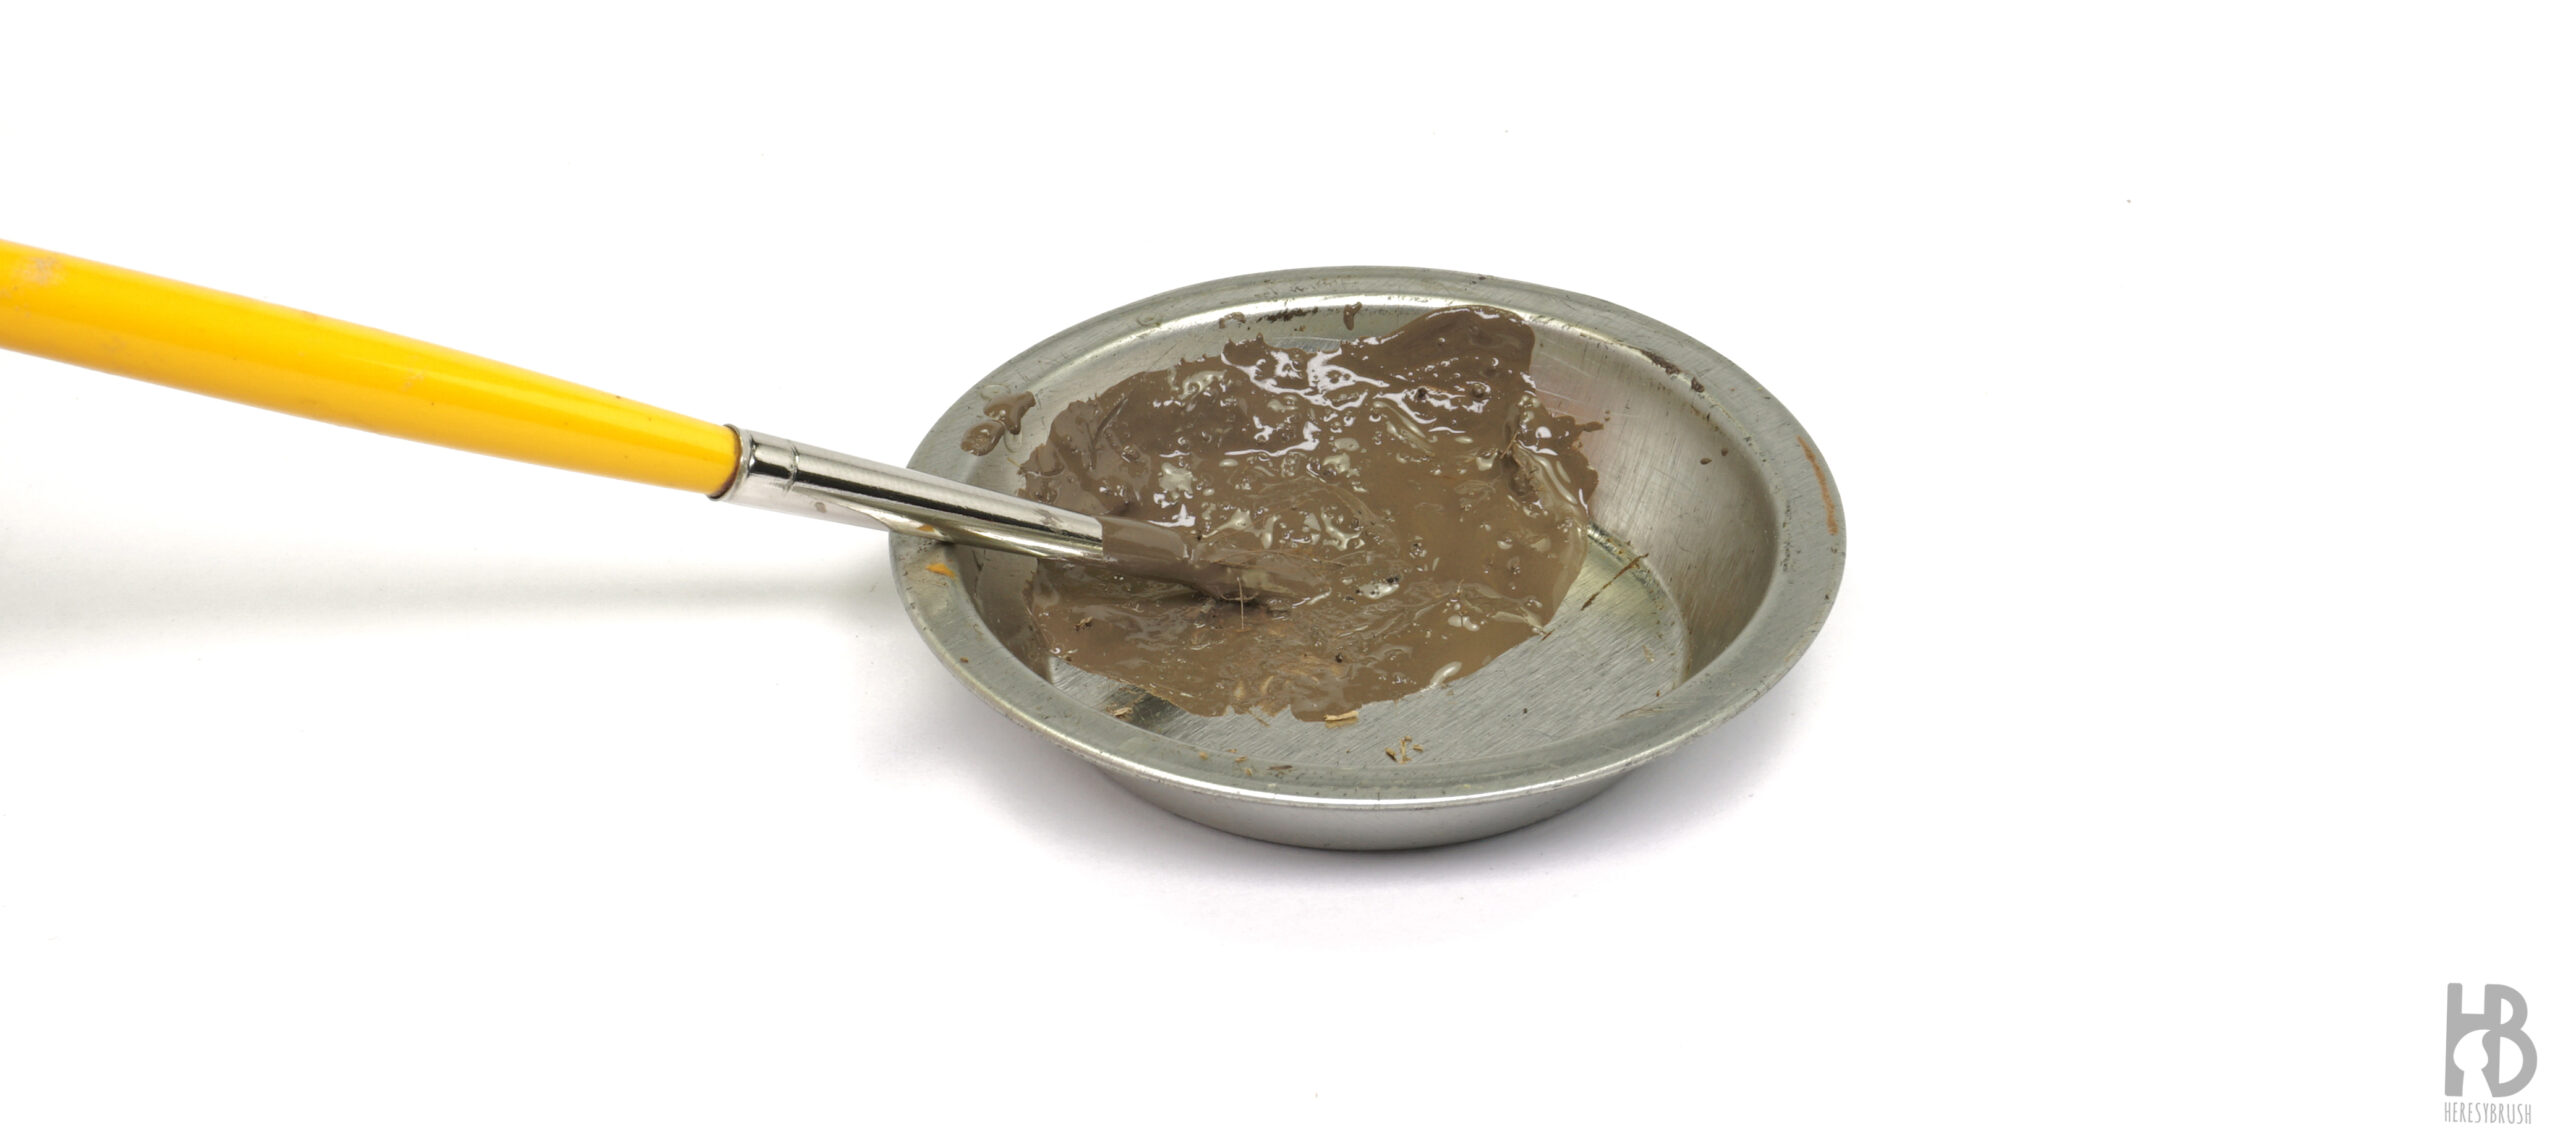
Just as we did with the splash effects, we initiate the construction of dry mud effects. To achieve this, we utilize a light or medium brown color, like Heavy Mud Turned Earth A.MIG-1702. Mixing it with a small amount of the previously mentioned materials in a small container using an old brush, we gradually incorporate more material until we achieve the desired texture. As a general guideline, “sometimes less is more.” It is enough to enhance the texture in moderation.
Step 8: dry heavy mud application
Using an old and thin rounded brush, we carefully apply the mixture to the upper part of the running gear and mudguards. This will simulate dry mud, and accordingly, it would be situated higher up, away from the ground.
Step 9: wet heavy mud mix
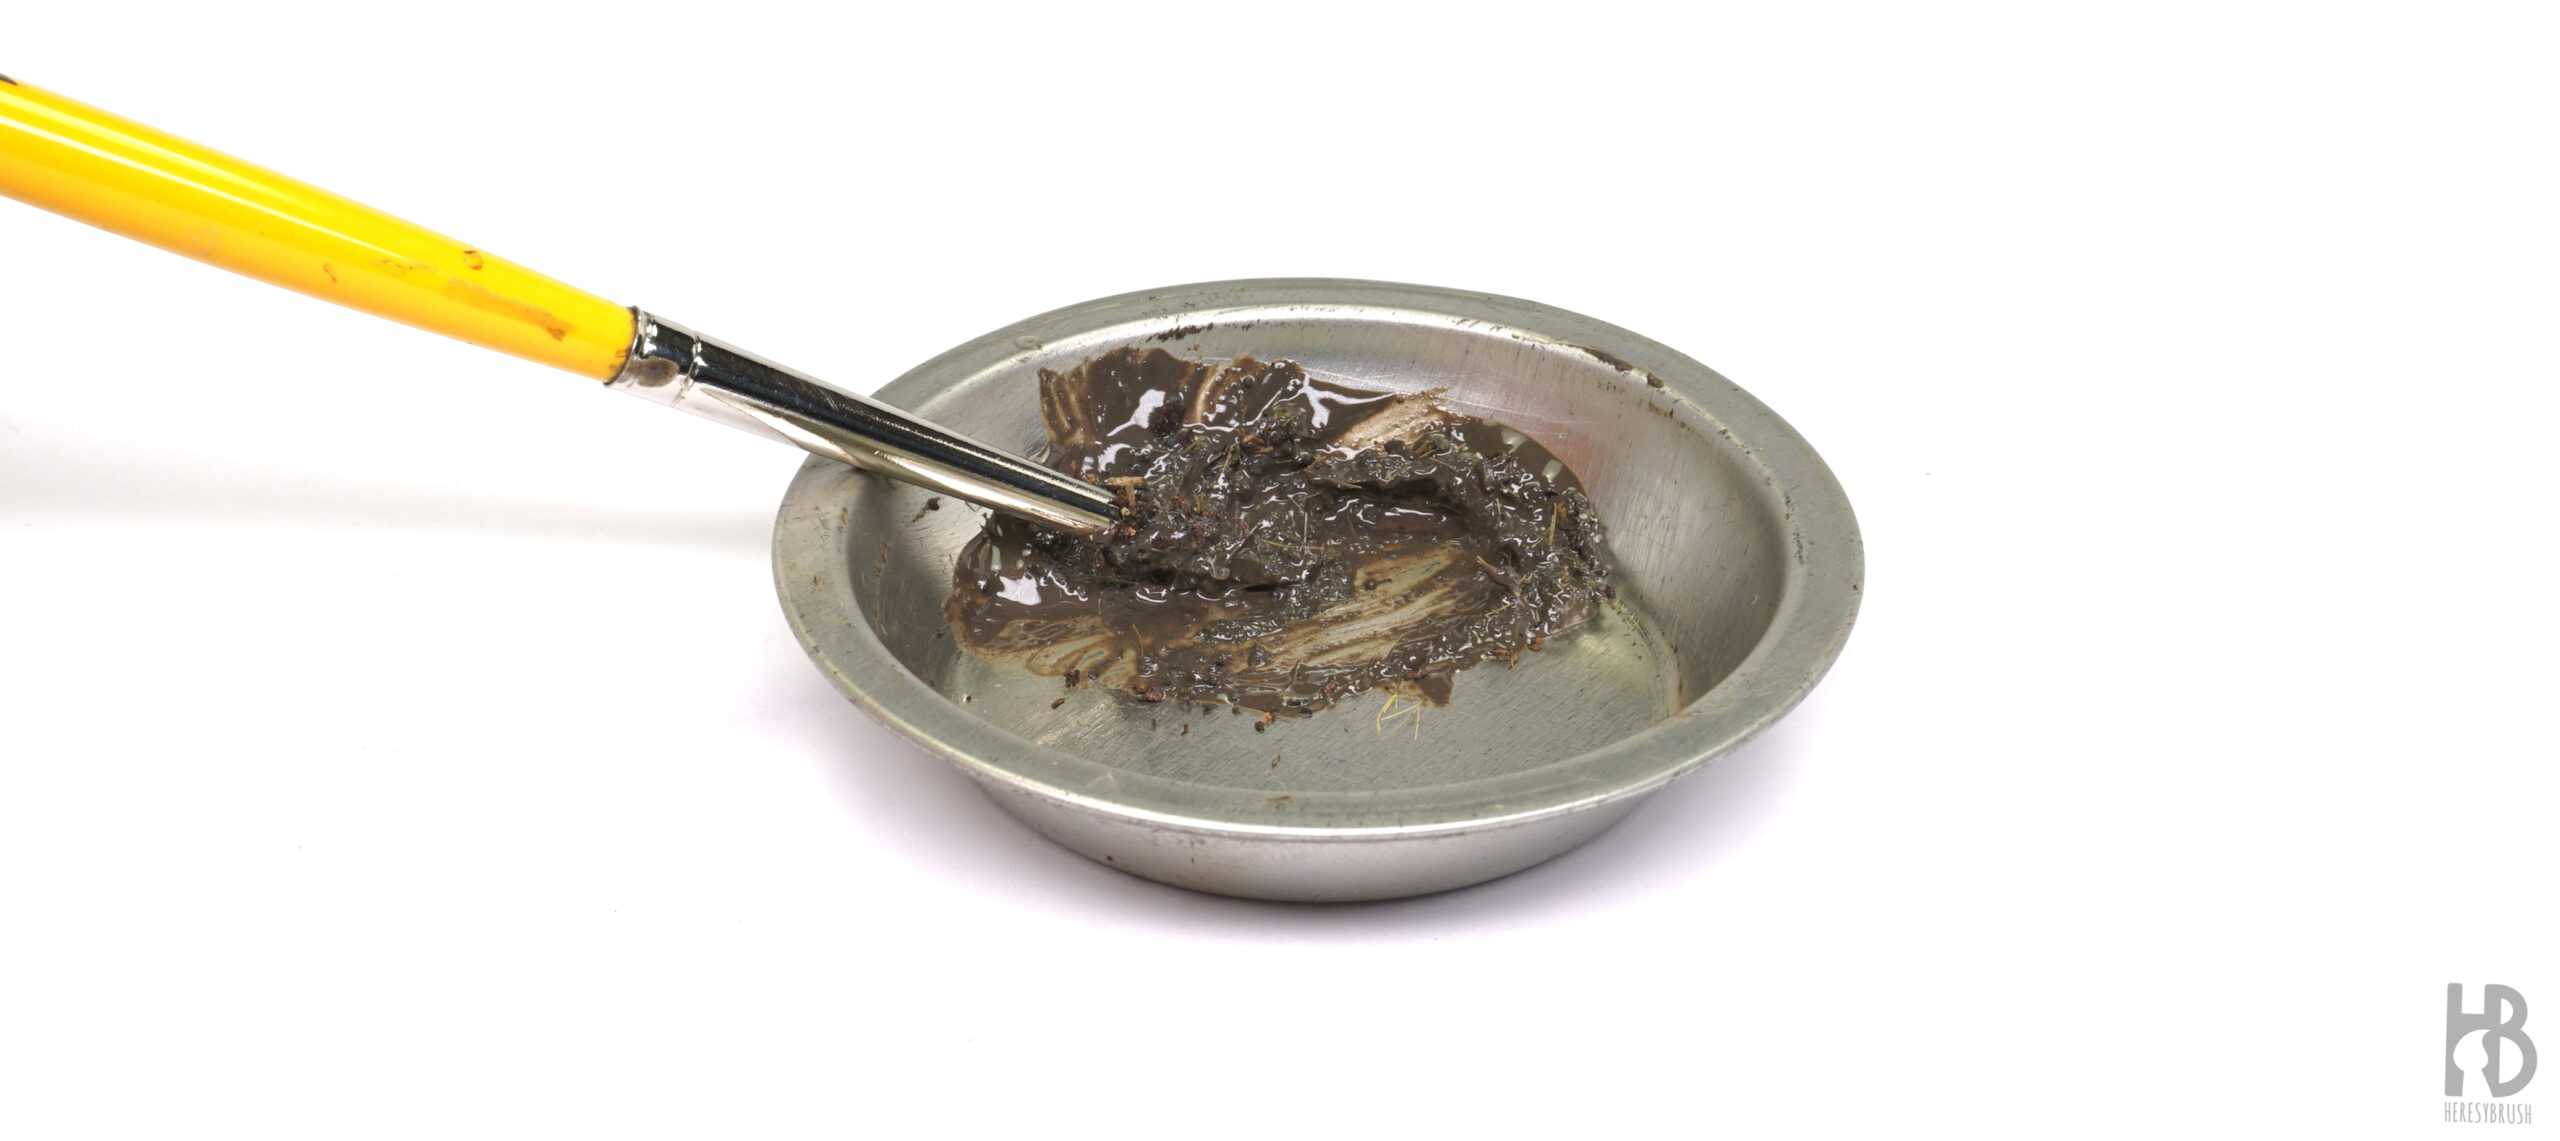
Following a process similar to Step 7, we create another mixture using a darker brown color, such as Heavy Mud Wet Mud A.MIG-1705. The proportions of the materials can be adjusted to achieve different textures. For instance, in this case, I added more sand than in the previous mix to attain a coarser texture.
Step 10: wet heavy mud application
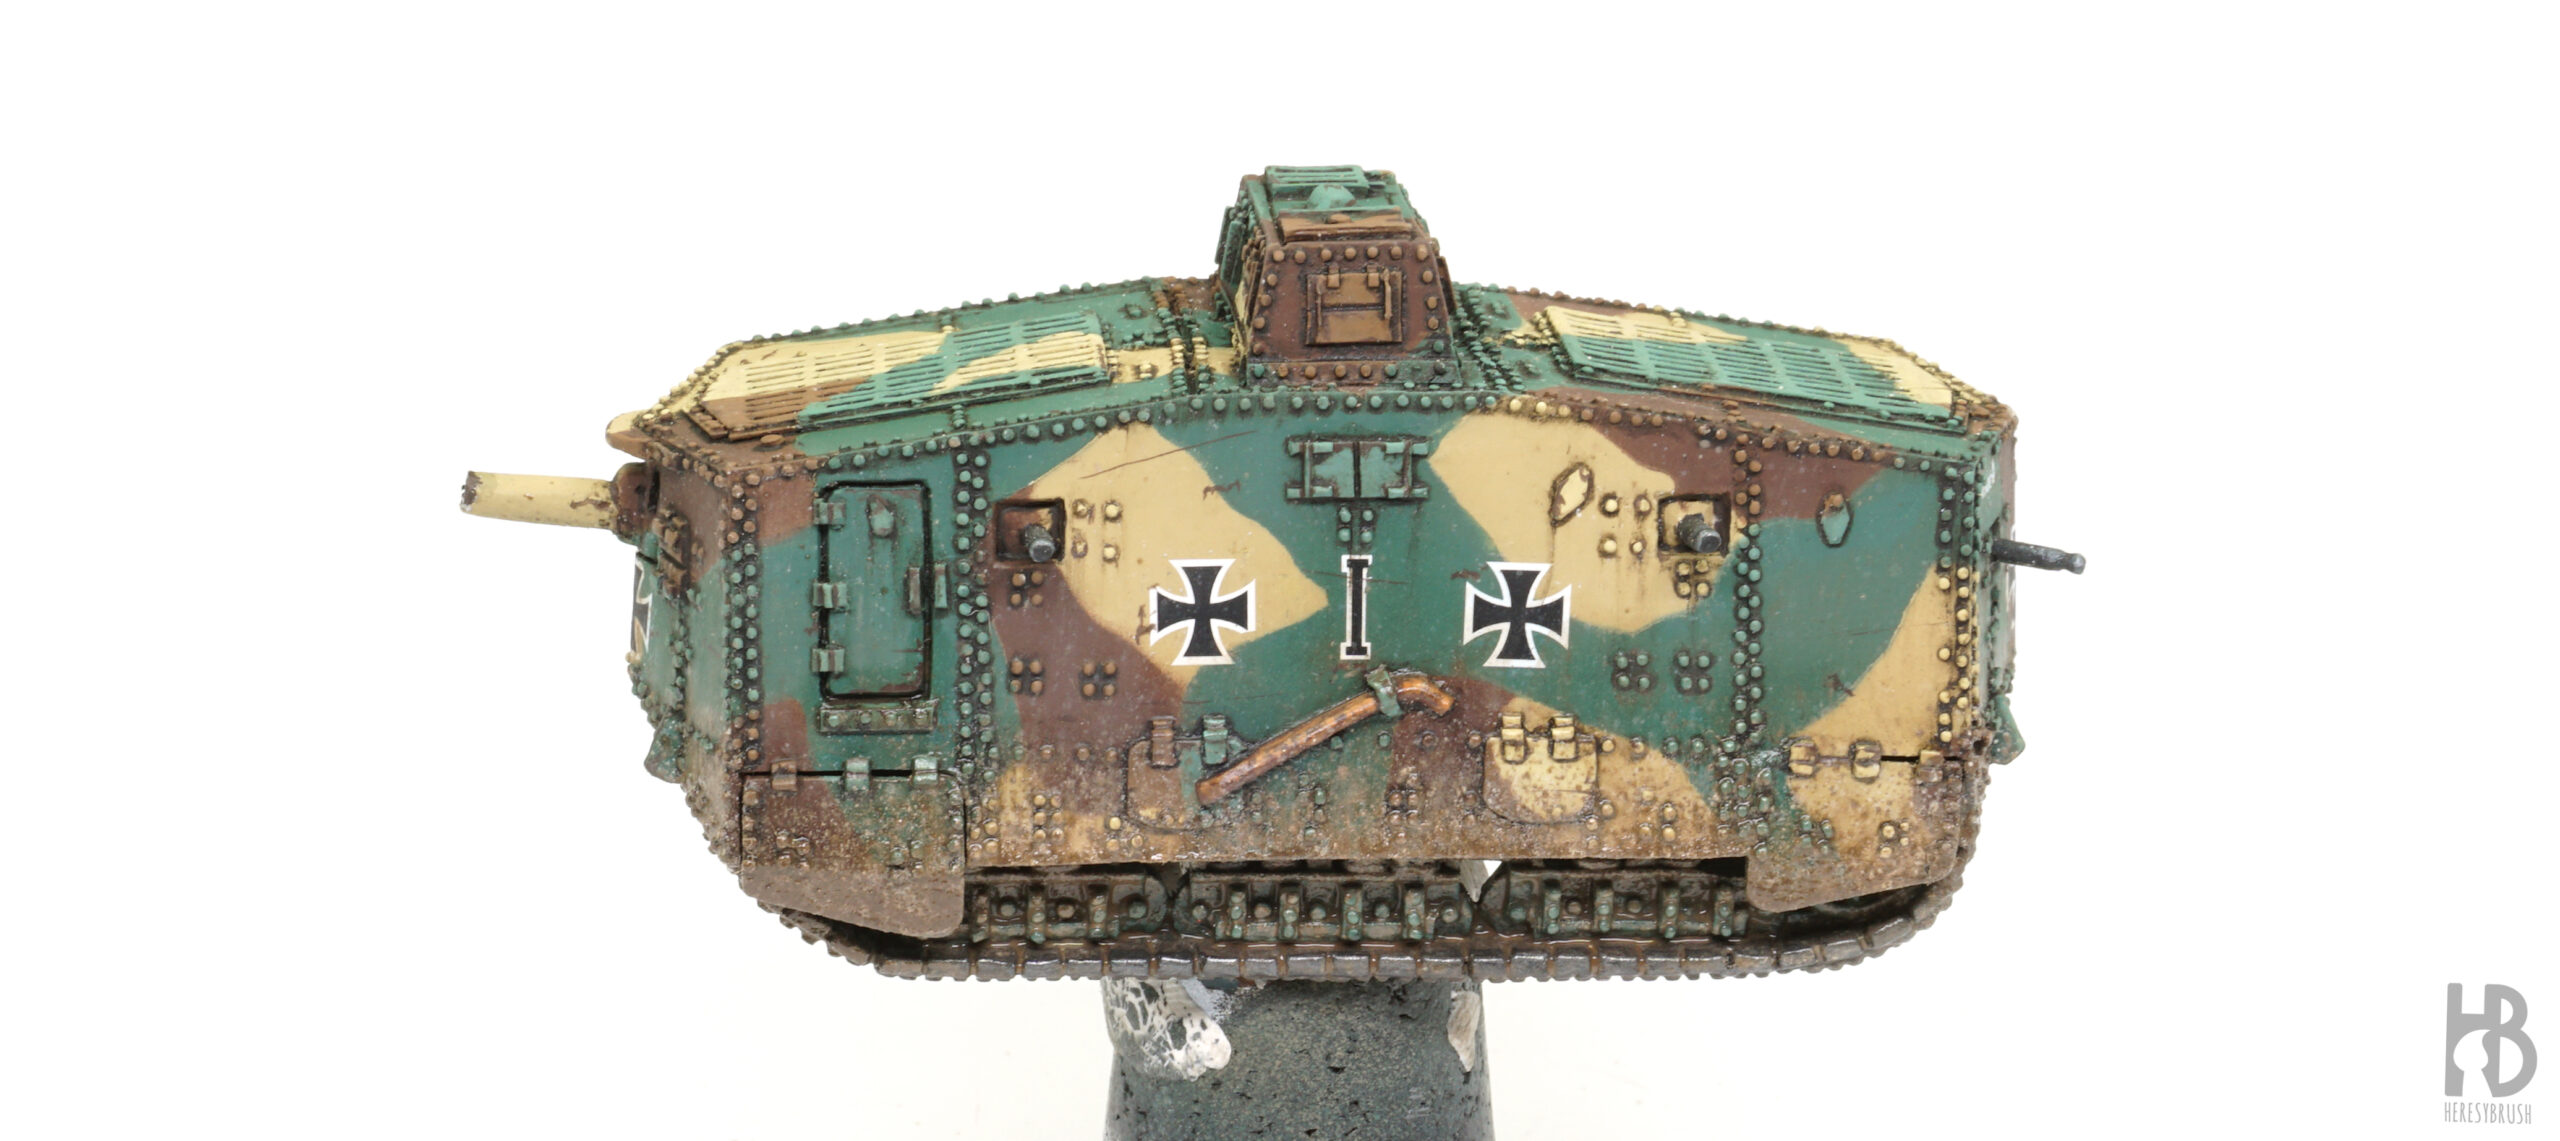
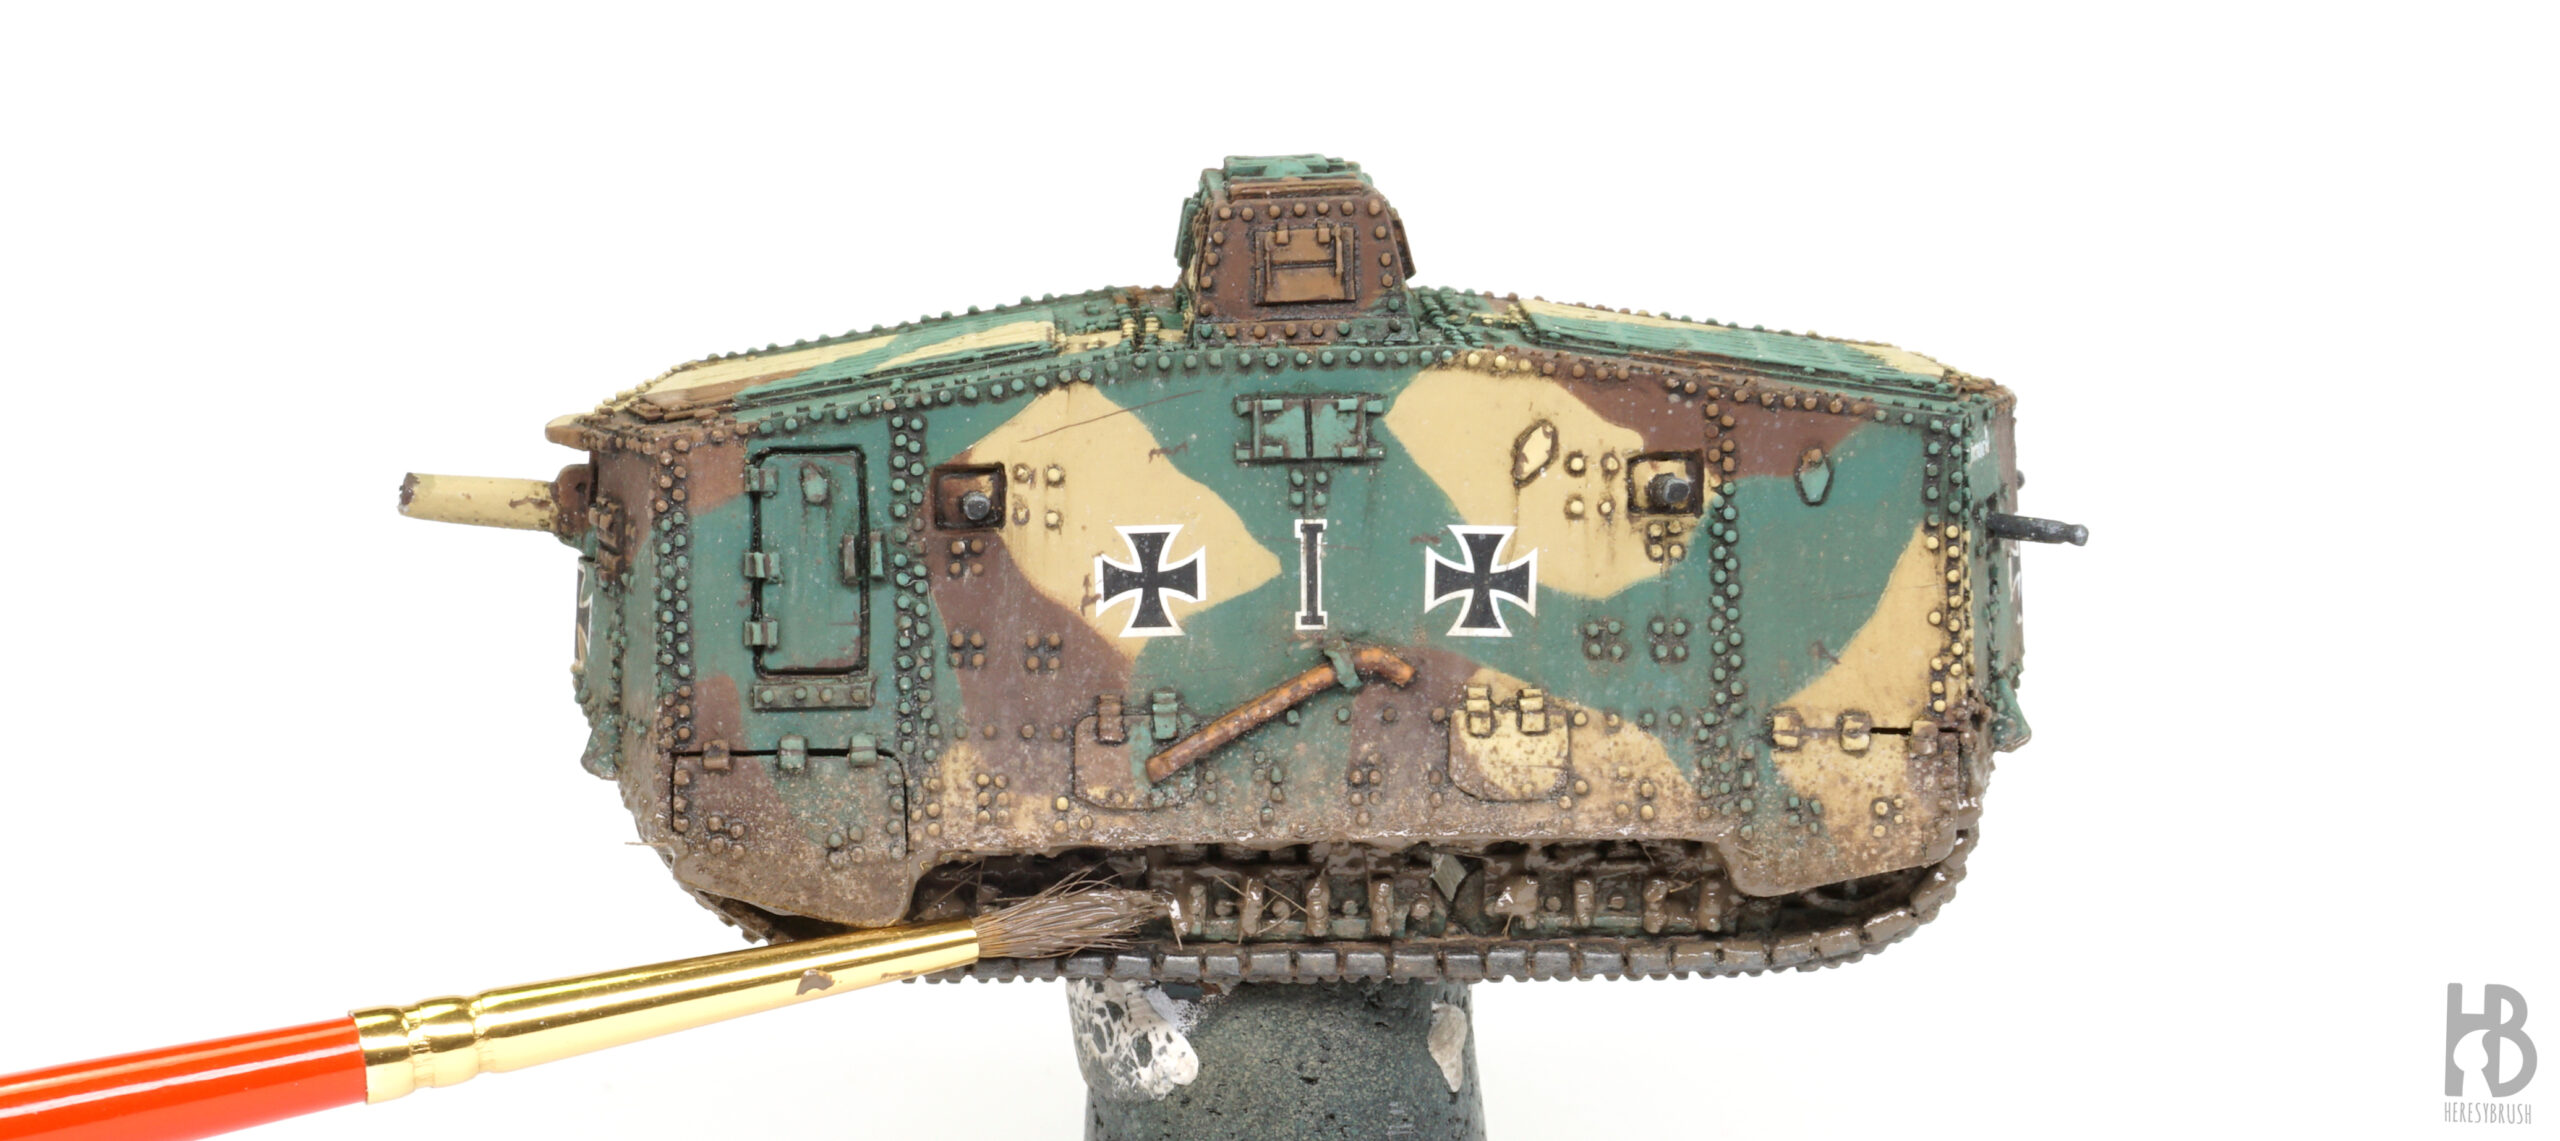
With a thin brush, we apply this mixture to the lower part of the mudguards and running gear, simulating wet mud. It is advisable to apply more on the front and rear mudguards, where the movement of tracks is likely to stir up more mud. Since enamels dry slowly, we can go back and forth, adjusting the effect until we are satisfied with the outcome. We let the products dry for a couple of hours.
Step 11: final touches
The preceding mud effects tend to be matt. Optionally, to introduce a glossy effect resembling very fresh mud, we can now add touches of a glossy mud product, such as Splashes Wet Ground A.MIG-1755. Using a thin brush, we carefully apply it to the recesses of the tracks and randomly on the heavy mud texture we just created, taking care not to disturb or drag the previous work. Then, we let dry all the enamel products over night.
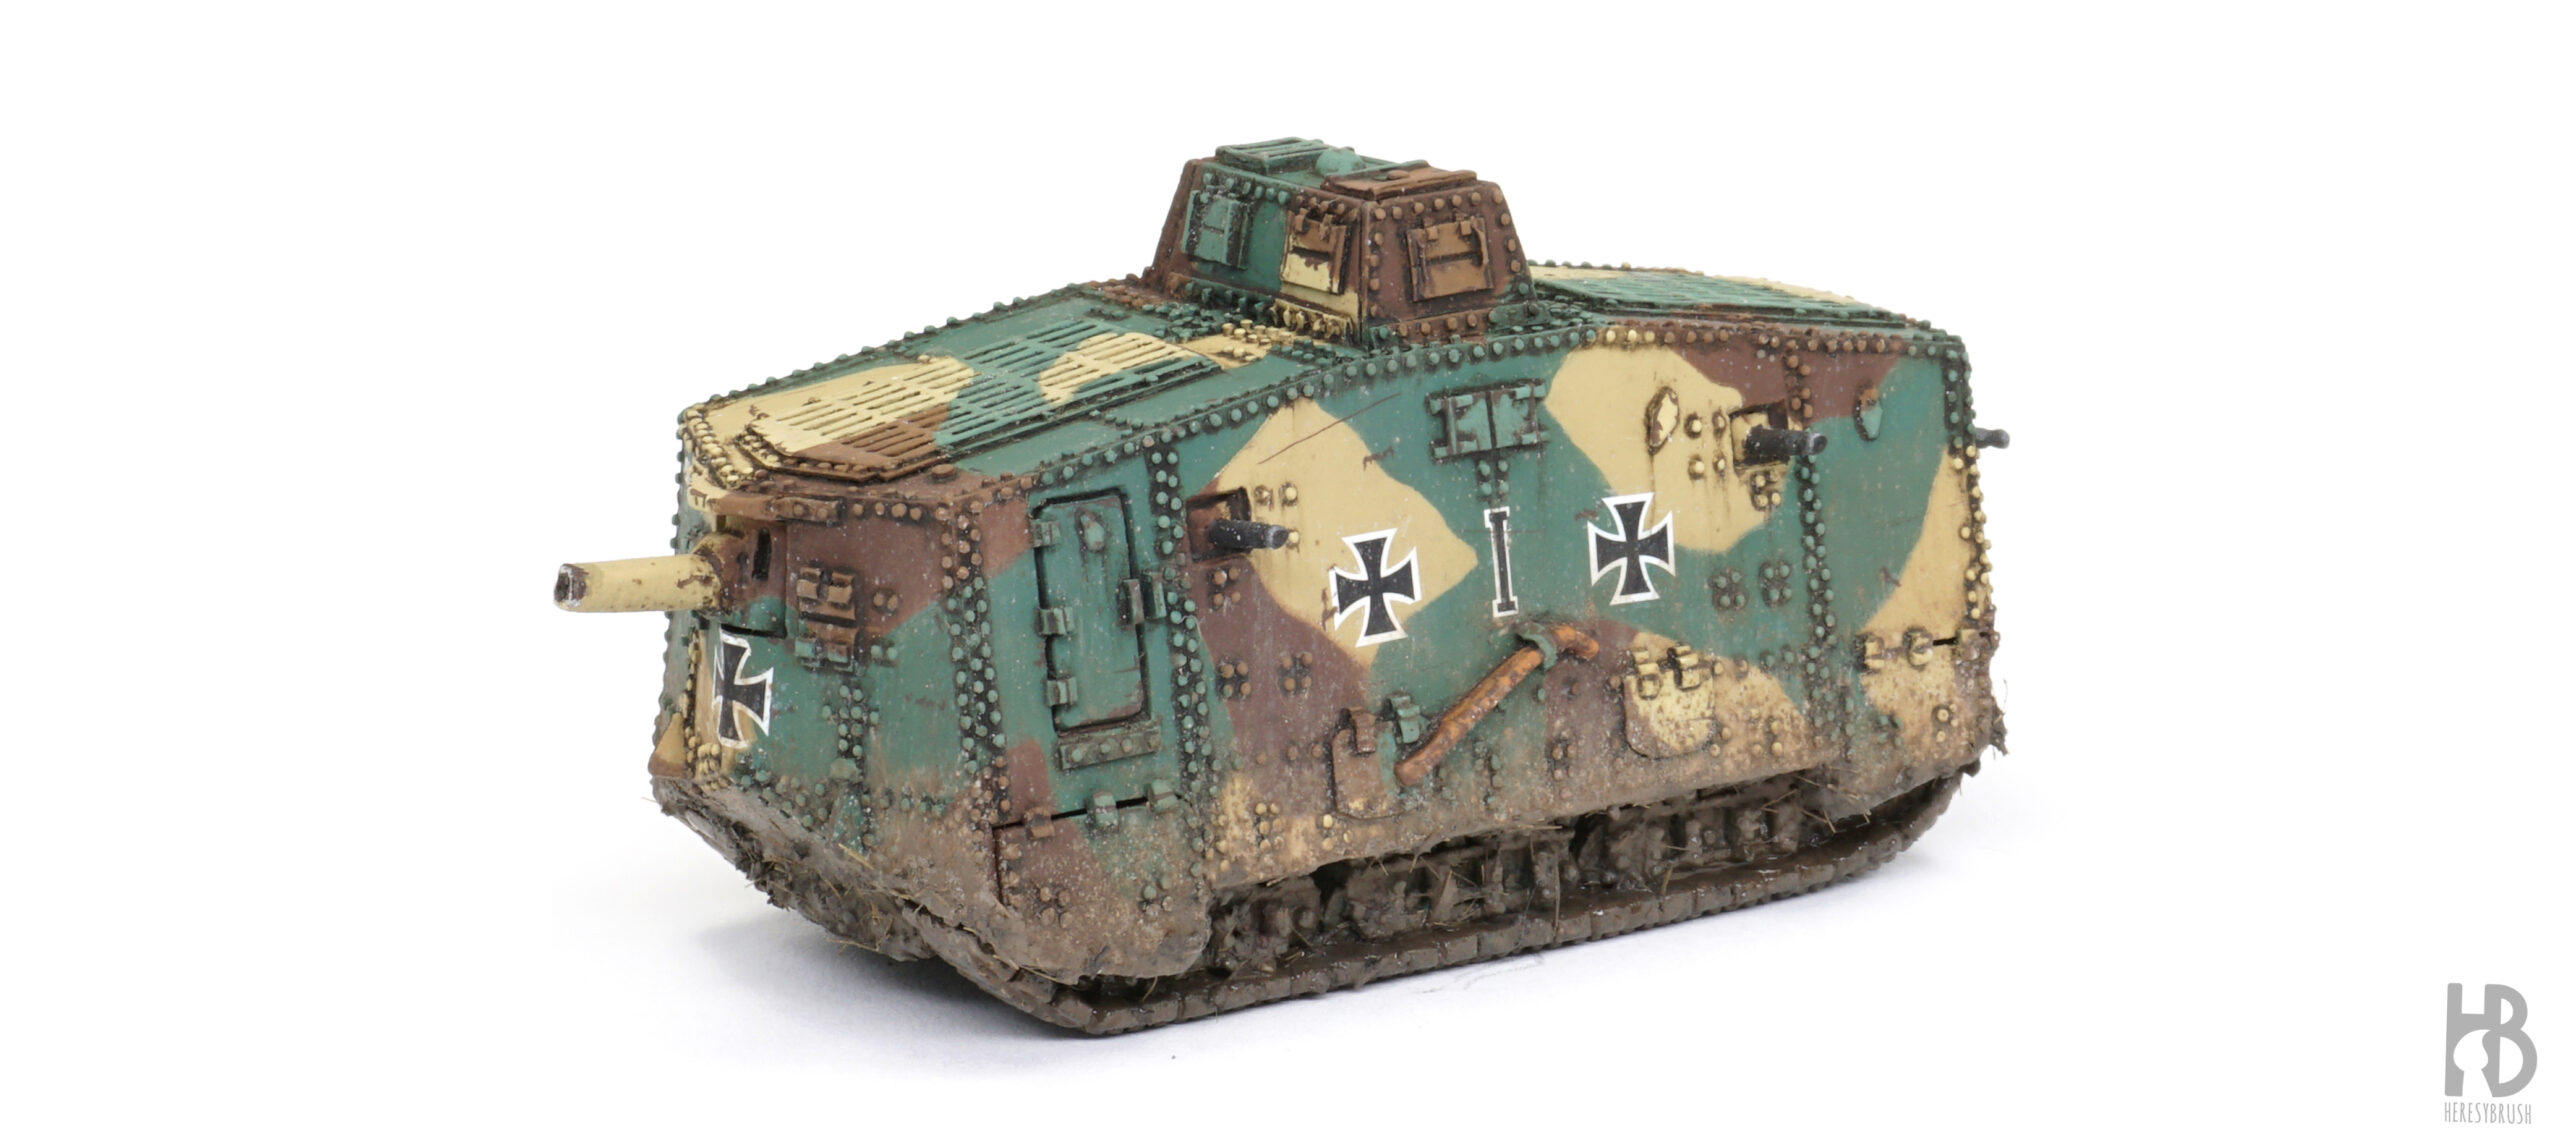
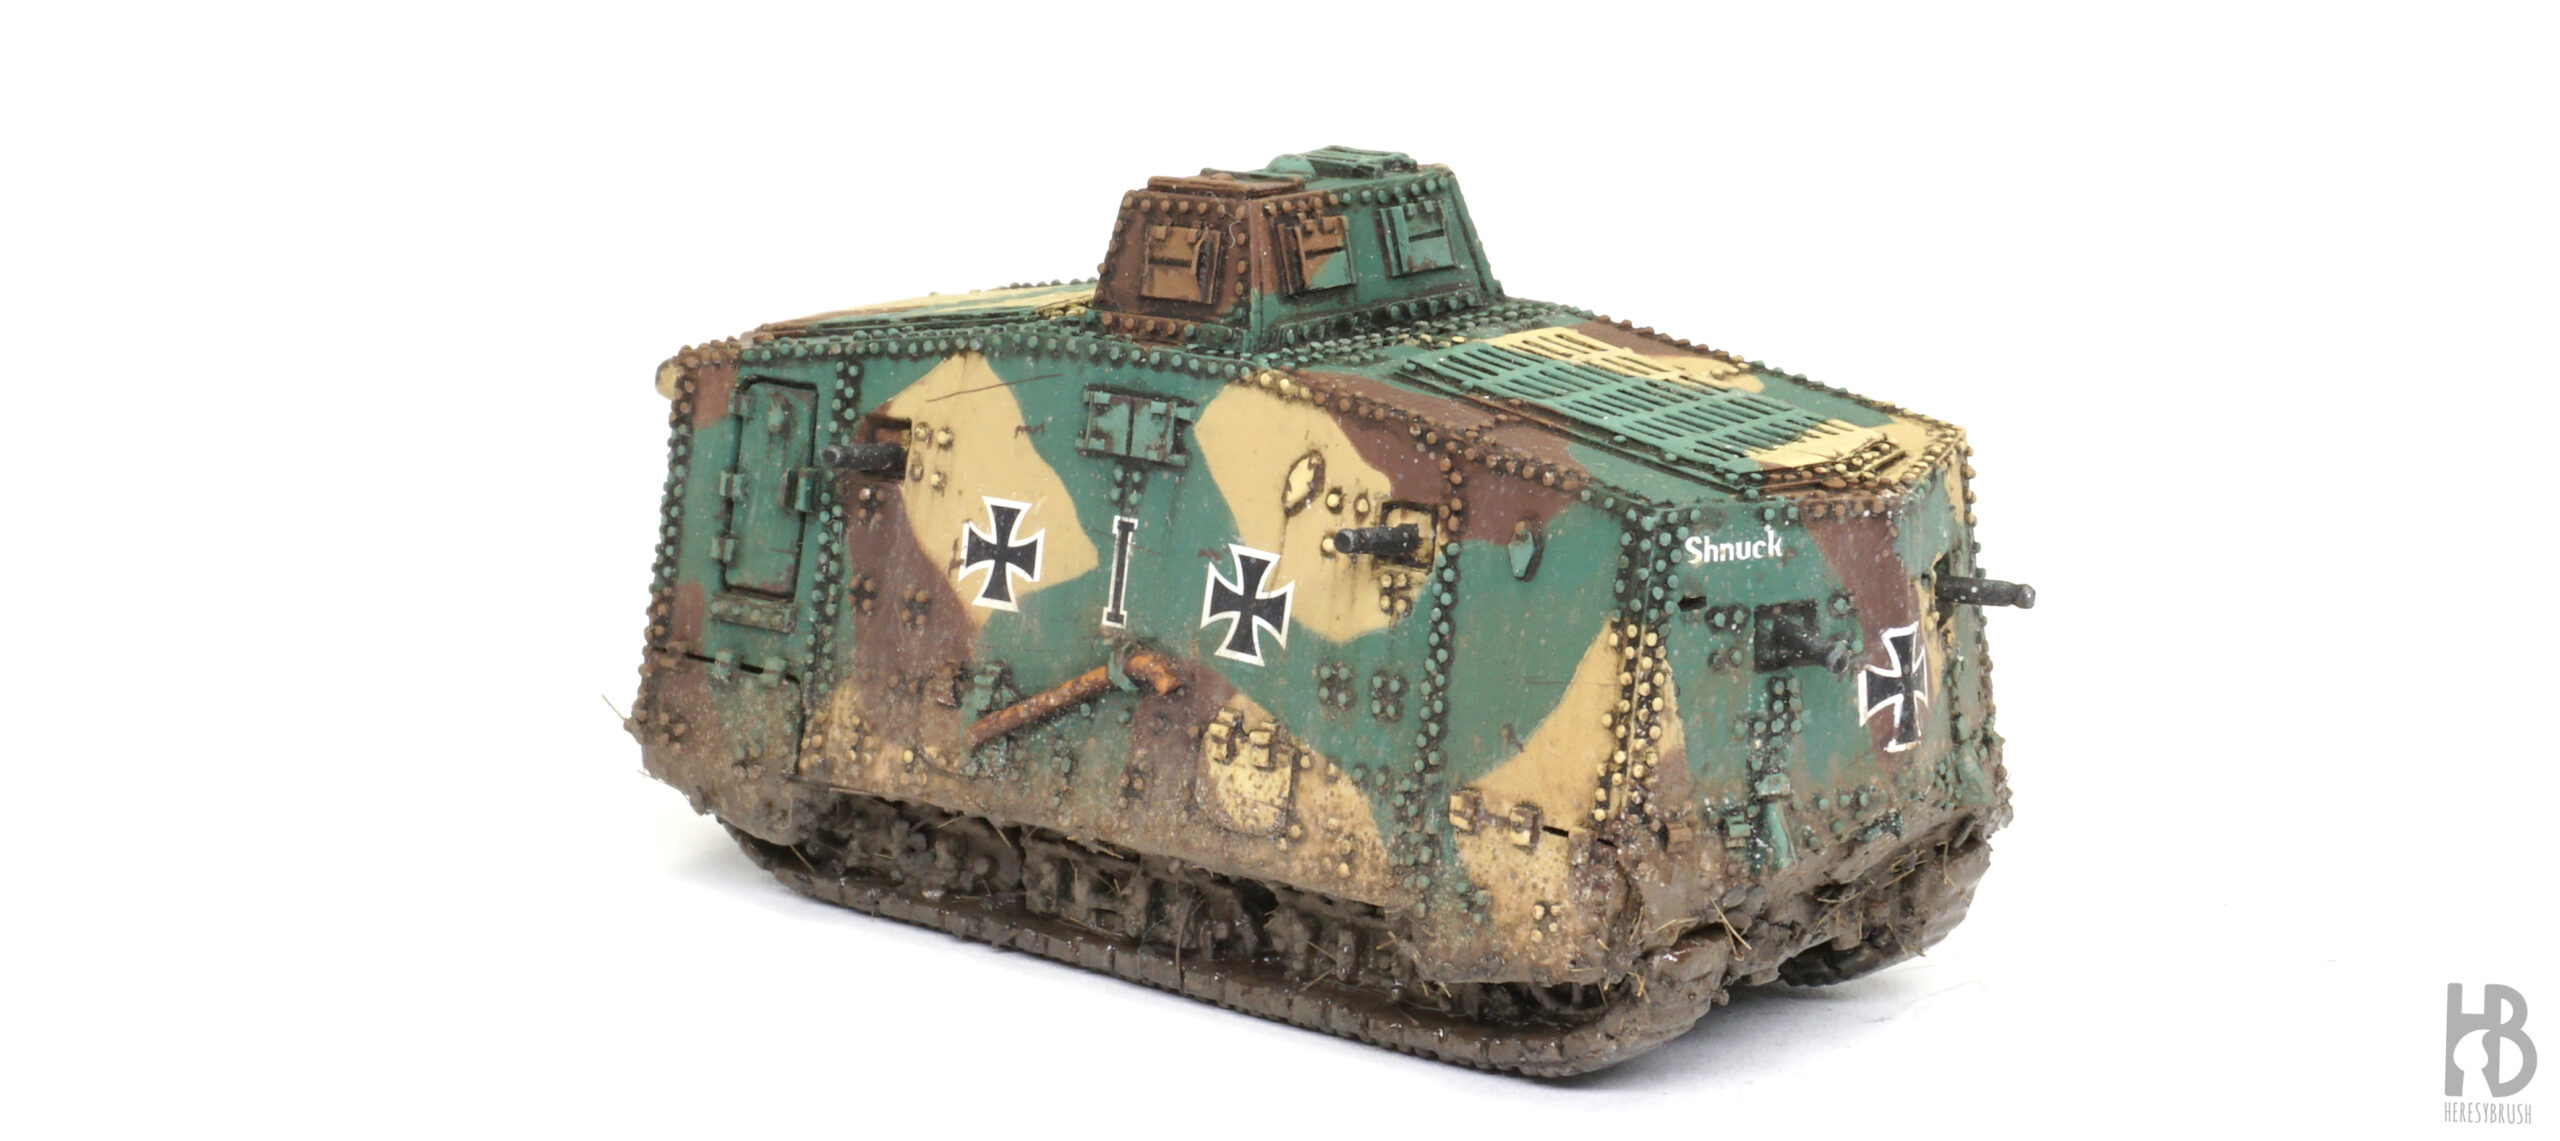
In summary, we have explored the process of creating mud effects in multiple layers using enamel products (remember, their slow drying property is very powerful when applying weathering effects, compared to acrylics). Initially, we focused on creating splash or light mud effects, followed by the application of heavy mud. The number of steps can be adjusted based on time constraints and specific project goals. Additionally, the choice of colors should be tailored to the type of terrain being represented.