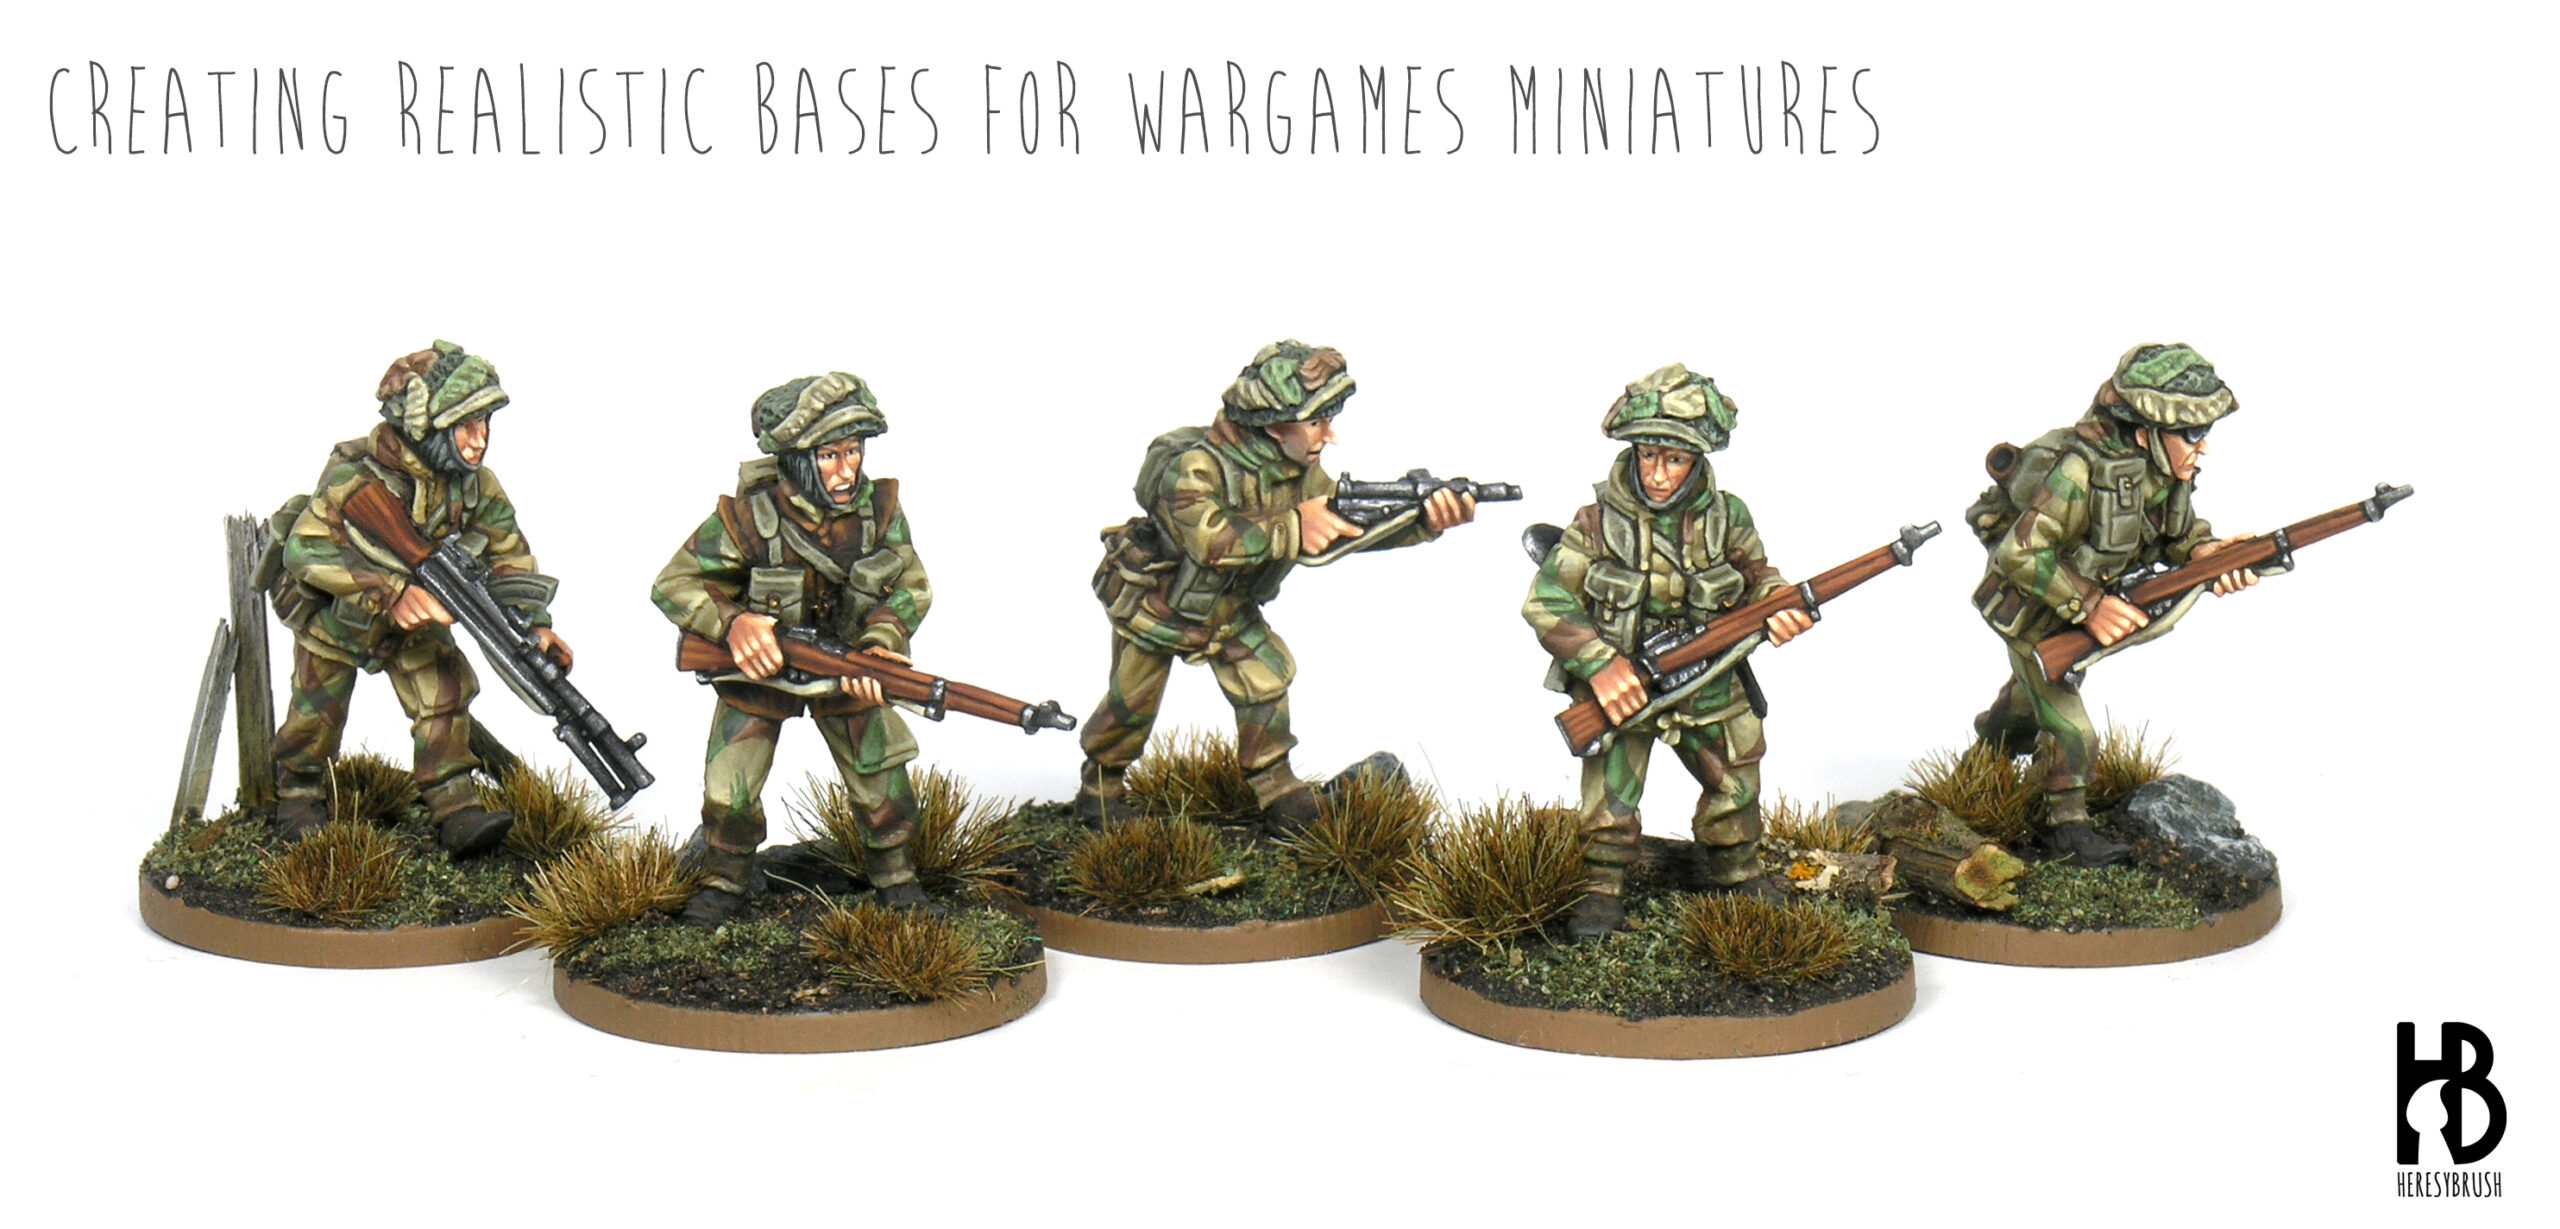
It has been a bit since my last blog post, but that does not mean I have forgotten about it. I am working on some neat stuff that I hope will be ready to share soon. In the meantime, I have put together a short and simple article explaining how we can create bases using simple materials while still achieving very realistic results. The trick is to utilize natural elements, such as soil and small branches. We save time because we do not need to paint them, plus they look precisely how they are supposed to on our tiny models. This is just one example of how to create bases simulating an autumn landscape, but similar ideas can be used to create whatever you have in mind. Just keep an eye out when walking in the forest to collect interesting materials. We discussed something in this line in this other post about natural plants. The miniature used in this step by step is from Empress Miniatures.
After we have determined the scenario we want to prepare, we need to find the appropriate soil or substrate. It should provide the texture and color we are seeking. In my case, I wished for dark soil to simulate a wet area. I gathered dark sand from a nearby park and acquired small roots to add extra texture to the base.
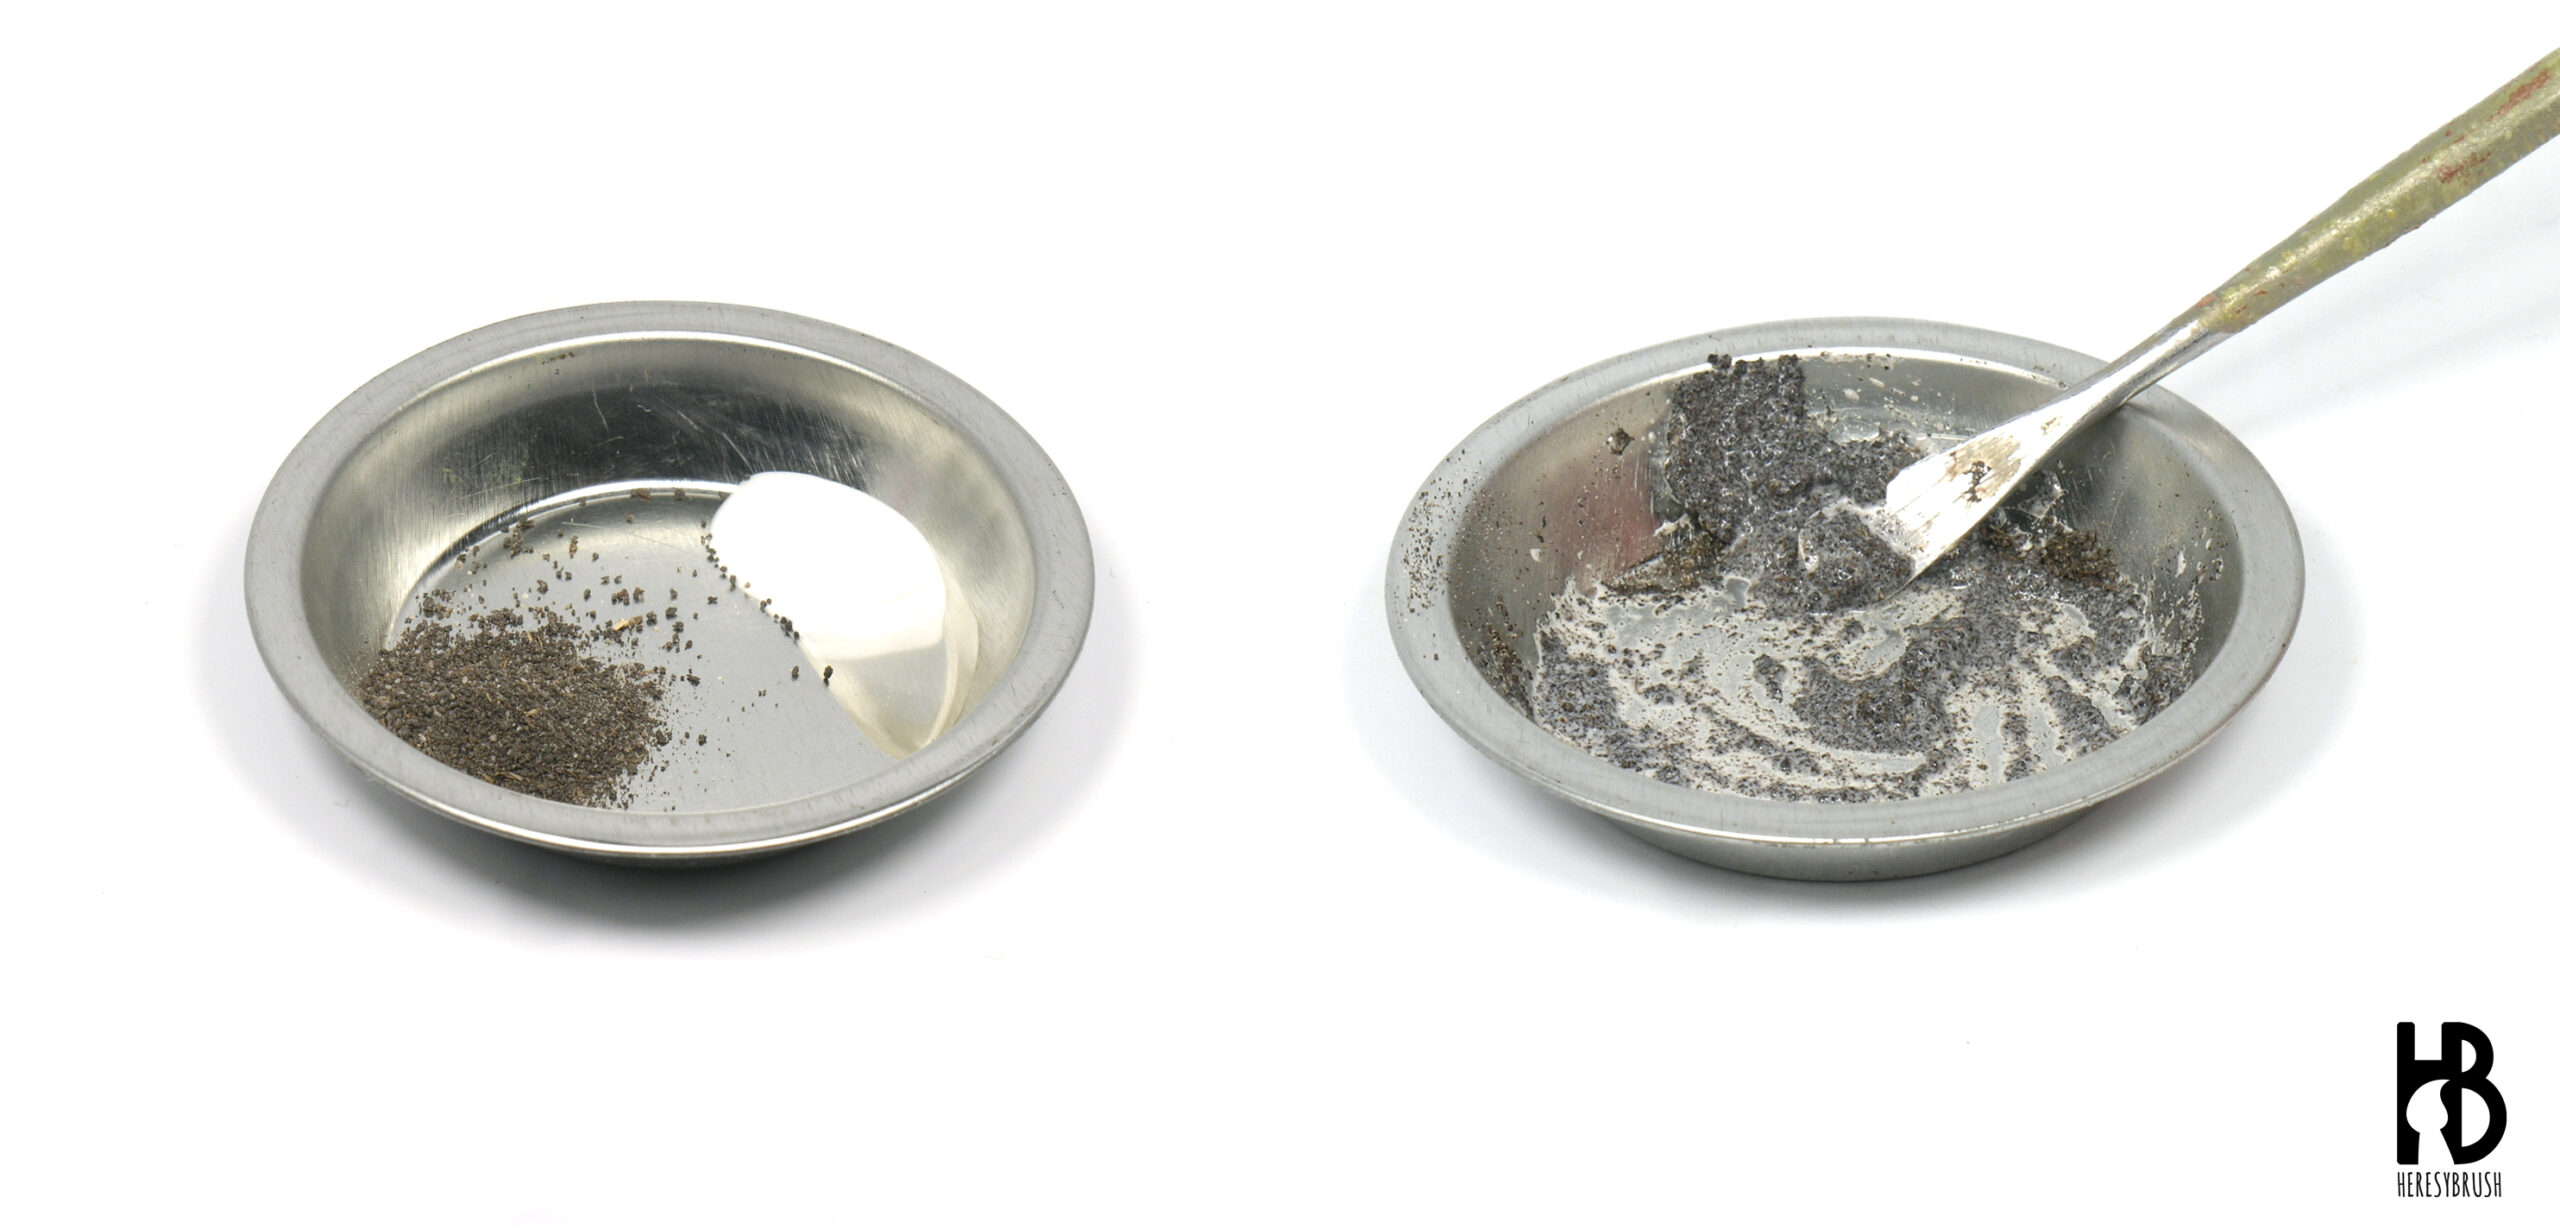
To create the texture on the base, we prepare a paste by mixing soil, Ultra Glue A.MIG-2031 (a powerful acrylic glue), and water in equal proportions. In this post I go into more detail about the topic of substrates. I store soils of different colors and textures in small jars for future projects.
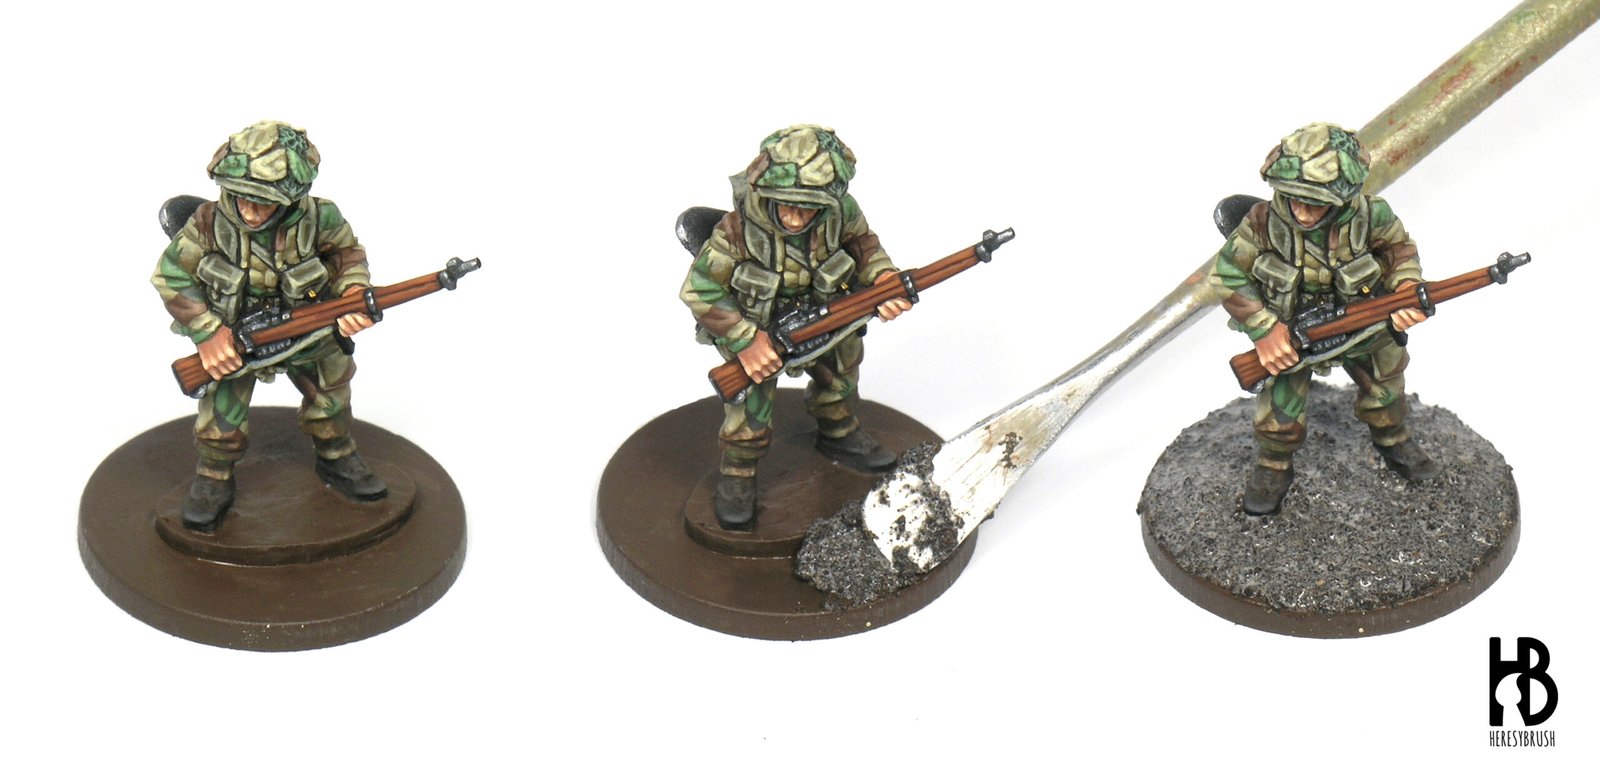
As we will not paint the texture later on, it is a good idea to begin by painting the naked base in a color similar to the final result. In this case, opt for dark brown. The idea here is to ensure that any areas not entirely covered with soil do not display a contrasting color. After that, we spread the freshly mixed paste of soil, glue, and water across the entire base using a small spatula. Normally, the base is created at the end, once the miniature is completely painted. Therefore, it is essential to handle this step carefully to avoid any mishaps.
Additionally, it is worth considering adding weathering effects to the miniature while keeping the scenario in mind. In this particular case, we introduced wet and muddy effects on the lower part of the trousers and boots by applying sporadic glazes of a dark brown color.
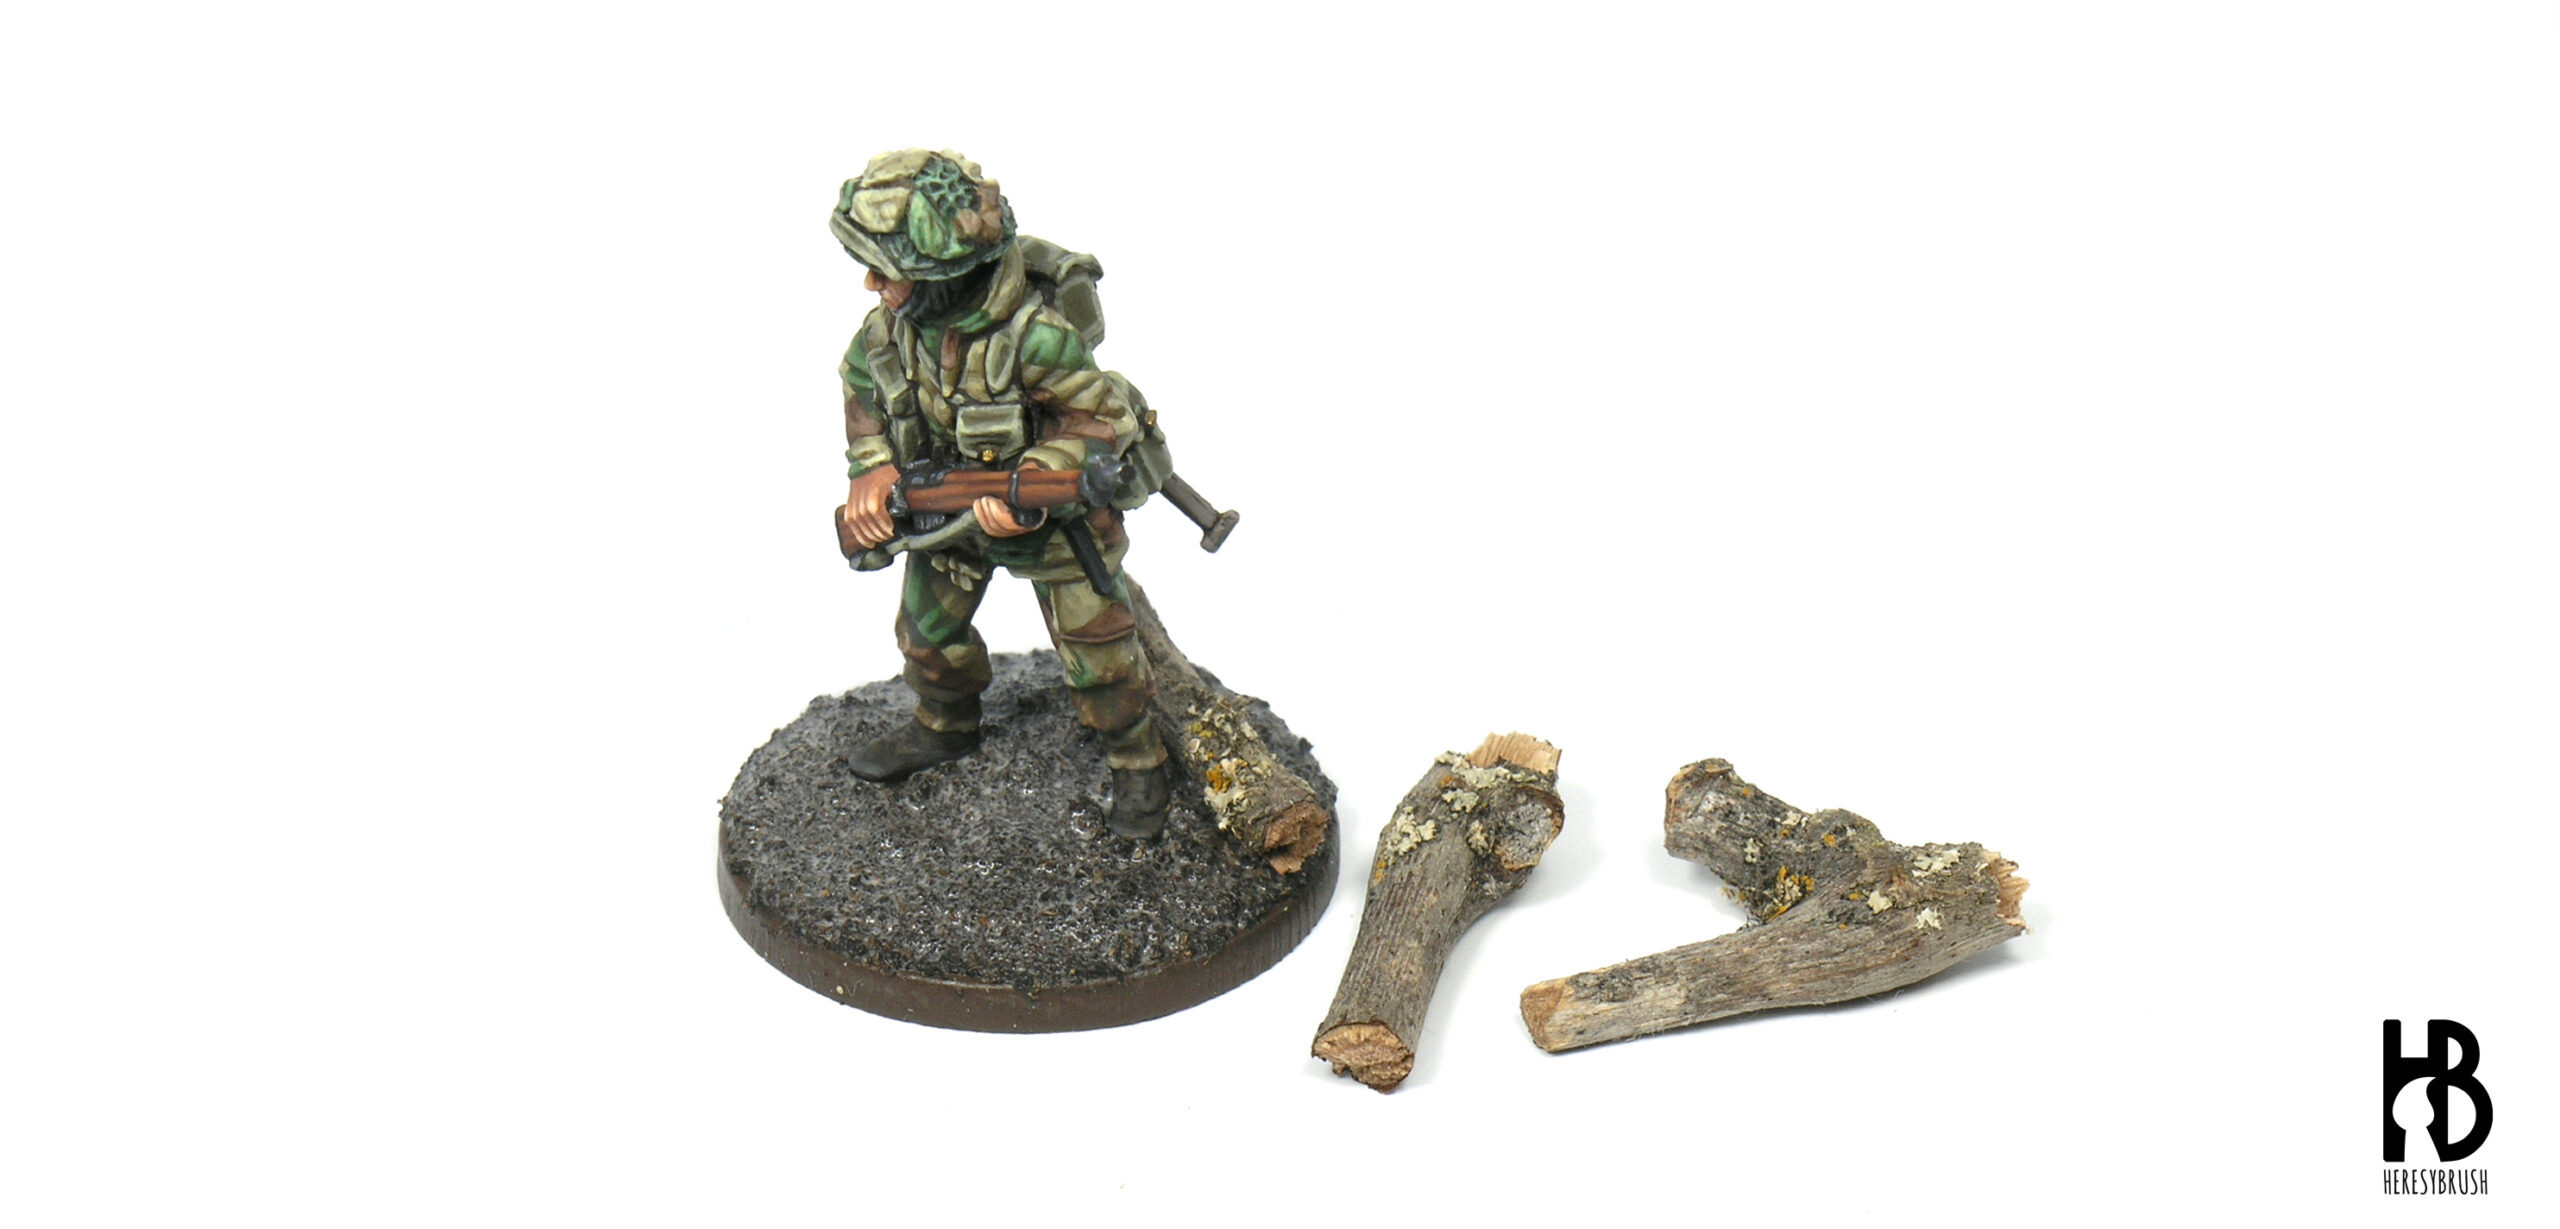 Optionally, while the glue is still fresh, we can add some elements. For instance, in this case, we added small branches covered with yellow lichens gathered from a nearby forest (I usually leave these natural elements untreated, just let them dry thoroughly). Additionally, we can include small rocks or vertical elements like fence posts created with balsa wood. These extra elements will require painting at a later stage, but the branches are ideal just as they are. The yellow hue will provide a striking contrast!
 Allow it to dry completely for at least one hour. As you can see, the resulting texture and color are exceptional, requiring no further work. The small roots provide a pleasant additional touch, and the branch with the lichen add context. Optionally, you can add artificial vegetation, either fibers or, in this instance, thinly dyed green sawdust. Secure it in place with a dab of Ultra Glue. Moreover, you can also add grass tufts. Ensuring a consistent color choice is crucial. Since we are aiming here for an autumnal appearance, we have opted for golden tufts, even though the grass still maintains a hint of green. However, the green is subdued, avoiding a vivid tone.
 The same initial texture can serve as the foundation for creating vastly different types of bases. In this instance, we opted to simulate a jungle by incorporating dyed and affixed natural plants from Diorama Presepe, together with some synthetic grass tufts.
Always enjoyable to read.