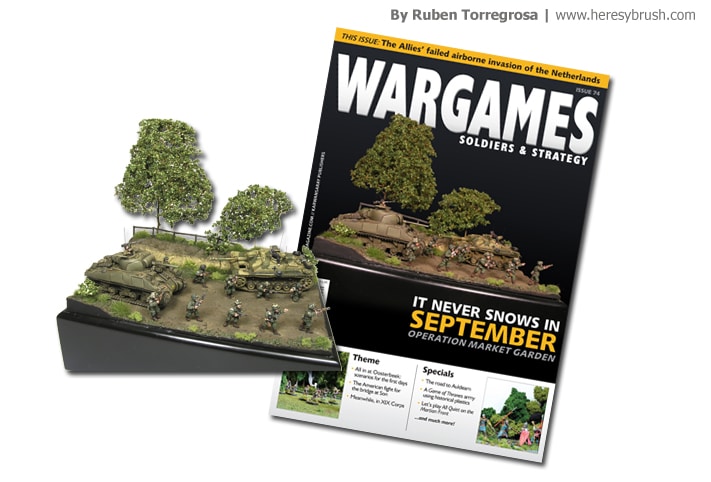
There are many ways to represent the sand base in our models or dioramas. We can just fix modeling sand with white glue and then paint it, we can use ready-to-use products, we can sculpt the texture, etc. In this post I want to explain another simple way using sands and clays from nature. You can find more information about how I preprared the vignete in the last issue of Wargames: Soldiers&Strategy.
This way is not the best or the worst, it is just another way. I like it because I don’t have to paint the sand and therefore I save time. And at the same time, I think is more real. Some effects cannot be painted, they have to be created (i.e. mud)!. To use this method we only need to collect different sands and clays from the closest green space. A couple of years ago I was in a friend’s in Asturias (North Spain) and when we visit the fantastic mountains of this place I collected some material. Any excuse is nice!. We basically need sands, but if we collect some clay we can use to create interesting effects. Therefore, I took three bags. First I took some yellow clay from an escarpment. After toking dark sand from a grass mat (where there are plenty of small roots which we can also use). And finally I took a grey/light sand from the road. Beware!, we need sand and NOT gravel. The different is the size of the small rocks. Gravel is compose by rocks you can easily see and they cannot be broken (well, if you use a hammer you can). Meanwhile sand is compose by very small rocks, similar to dust. We need the second one!

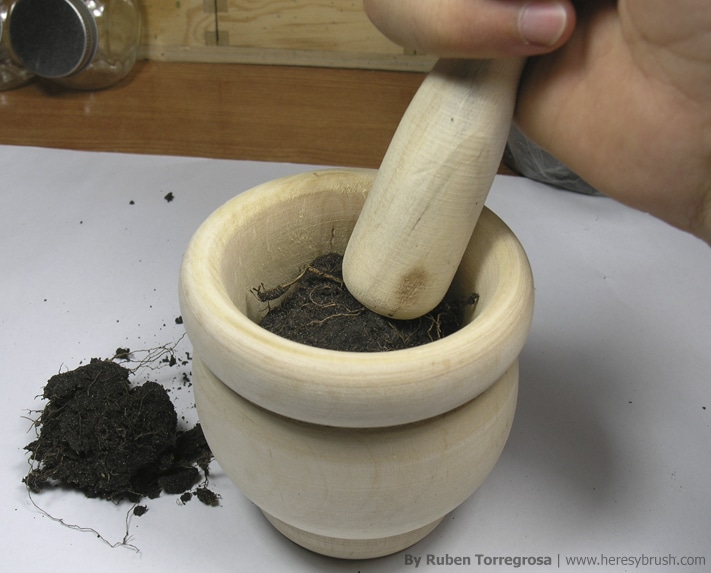
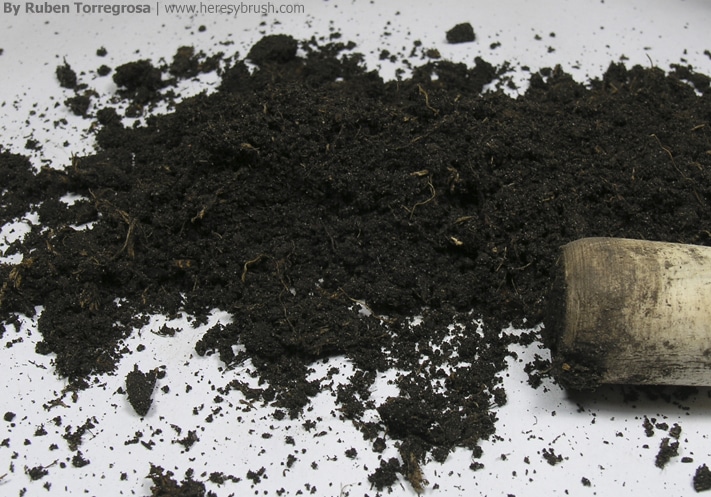
However, collecting these materials is not enough. We have to work them a little. As I said, we need something like dust, and therefore we need to crush the sand and remove the big traces (big rocks, wood traces, etc). We can easily crush the sand using a mortar (I don’t really know if this item can be found only in Spain). But you can use any other method to disaggregate the sand in order to obtain a “dust” composed by very small rocks. Depending on when and where you have collected the materials, you should wait more or less until the sand is totally dry before crushing it. If it’s wet, the sand form aggregates and therefore it’s too complicated crush it.
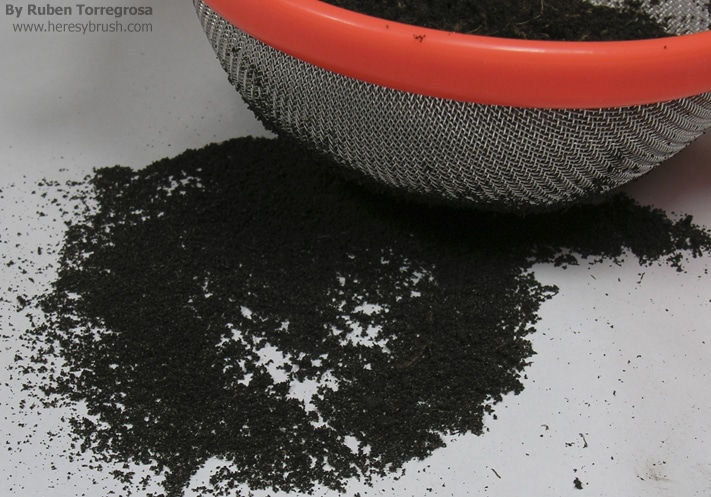
After smashing the soil we can use a sieve or colander to obtain only the very small particles. Because some sands can contain small roots (especially if we take the sand from plants like grass), we can collect them in this point. Take them and save in a small bag!.

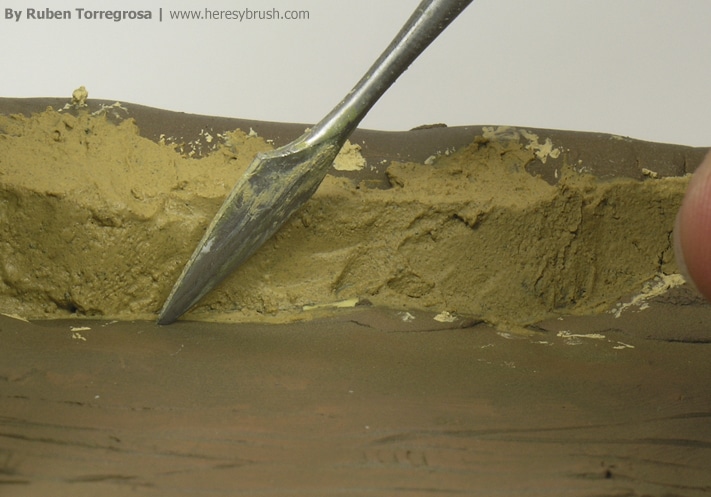
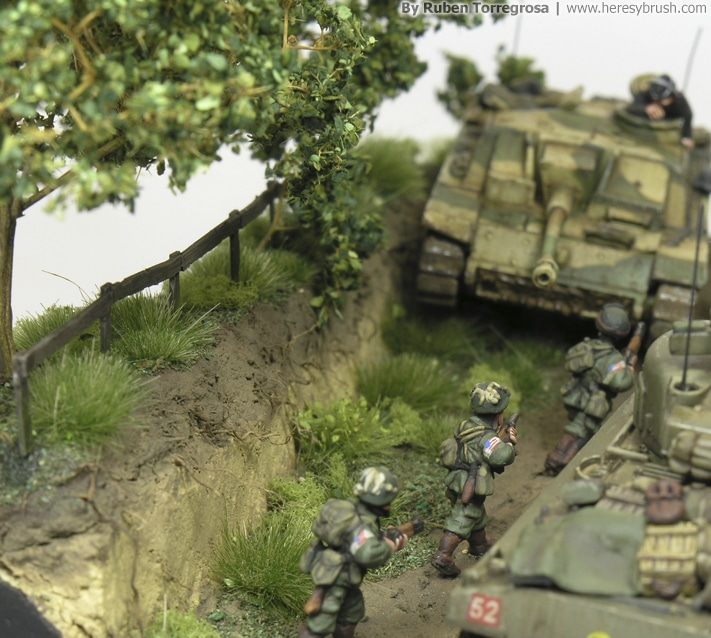
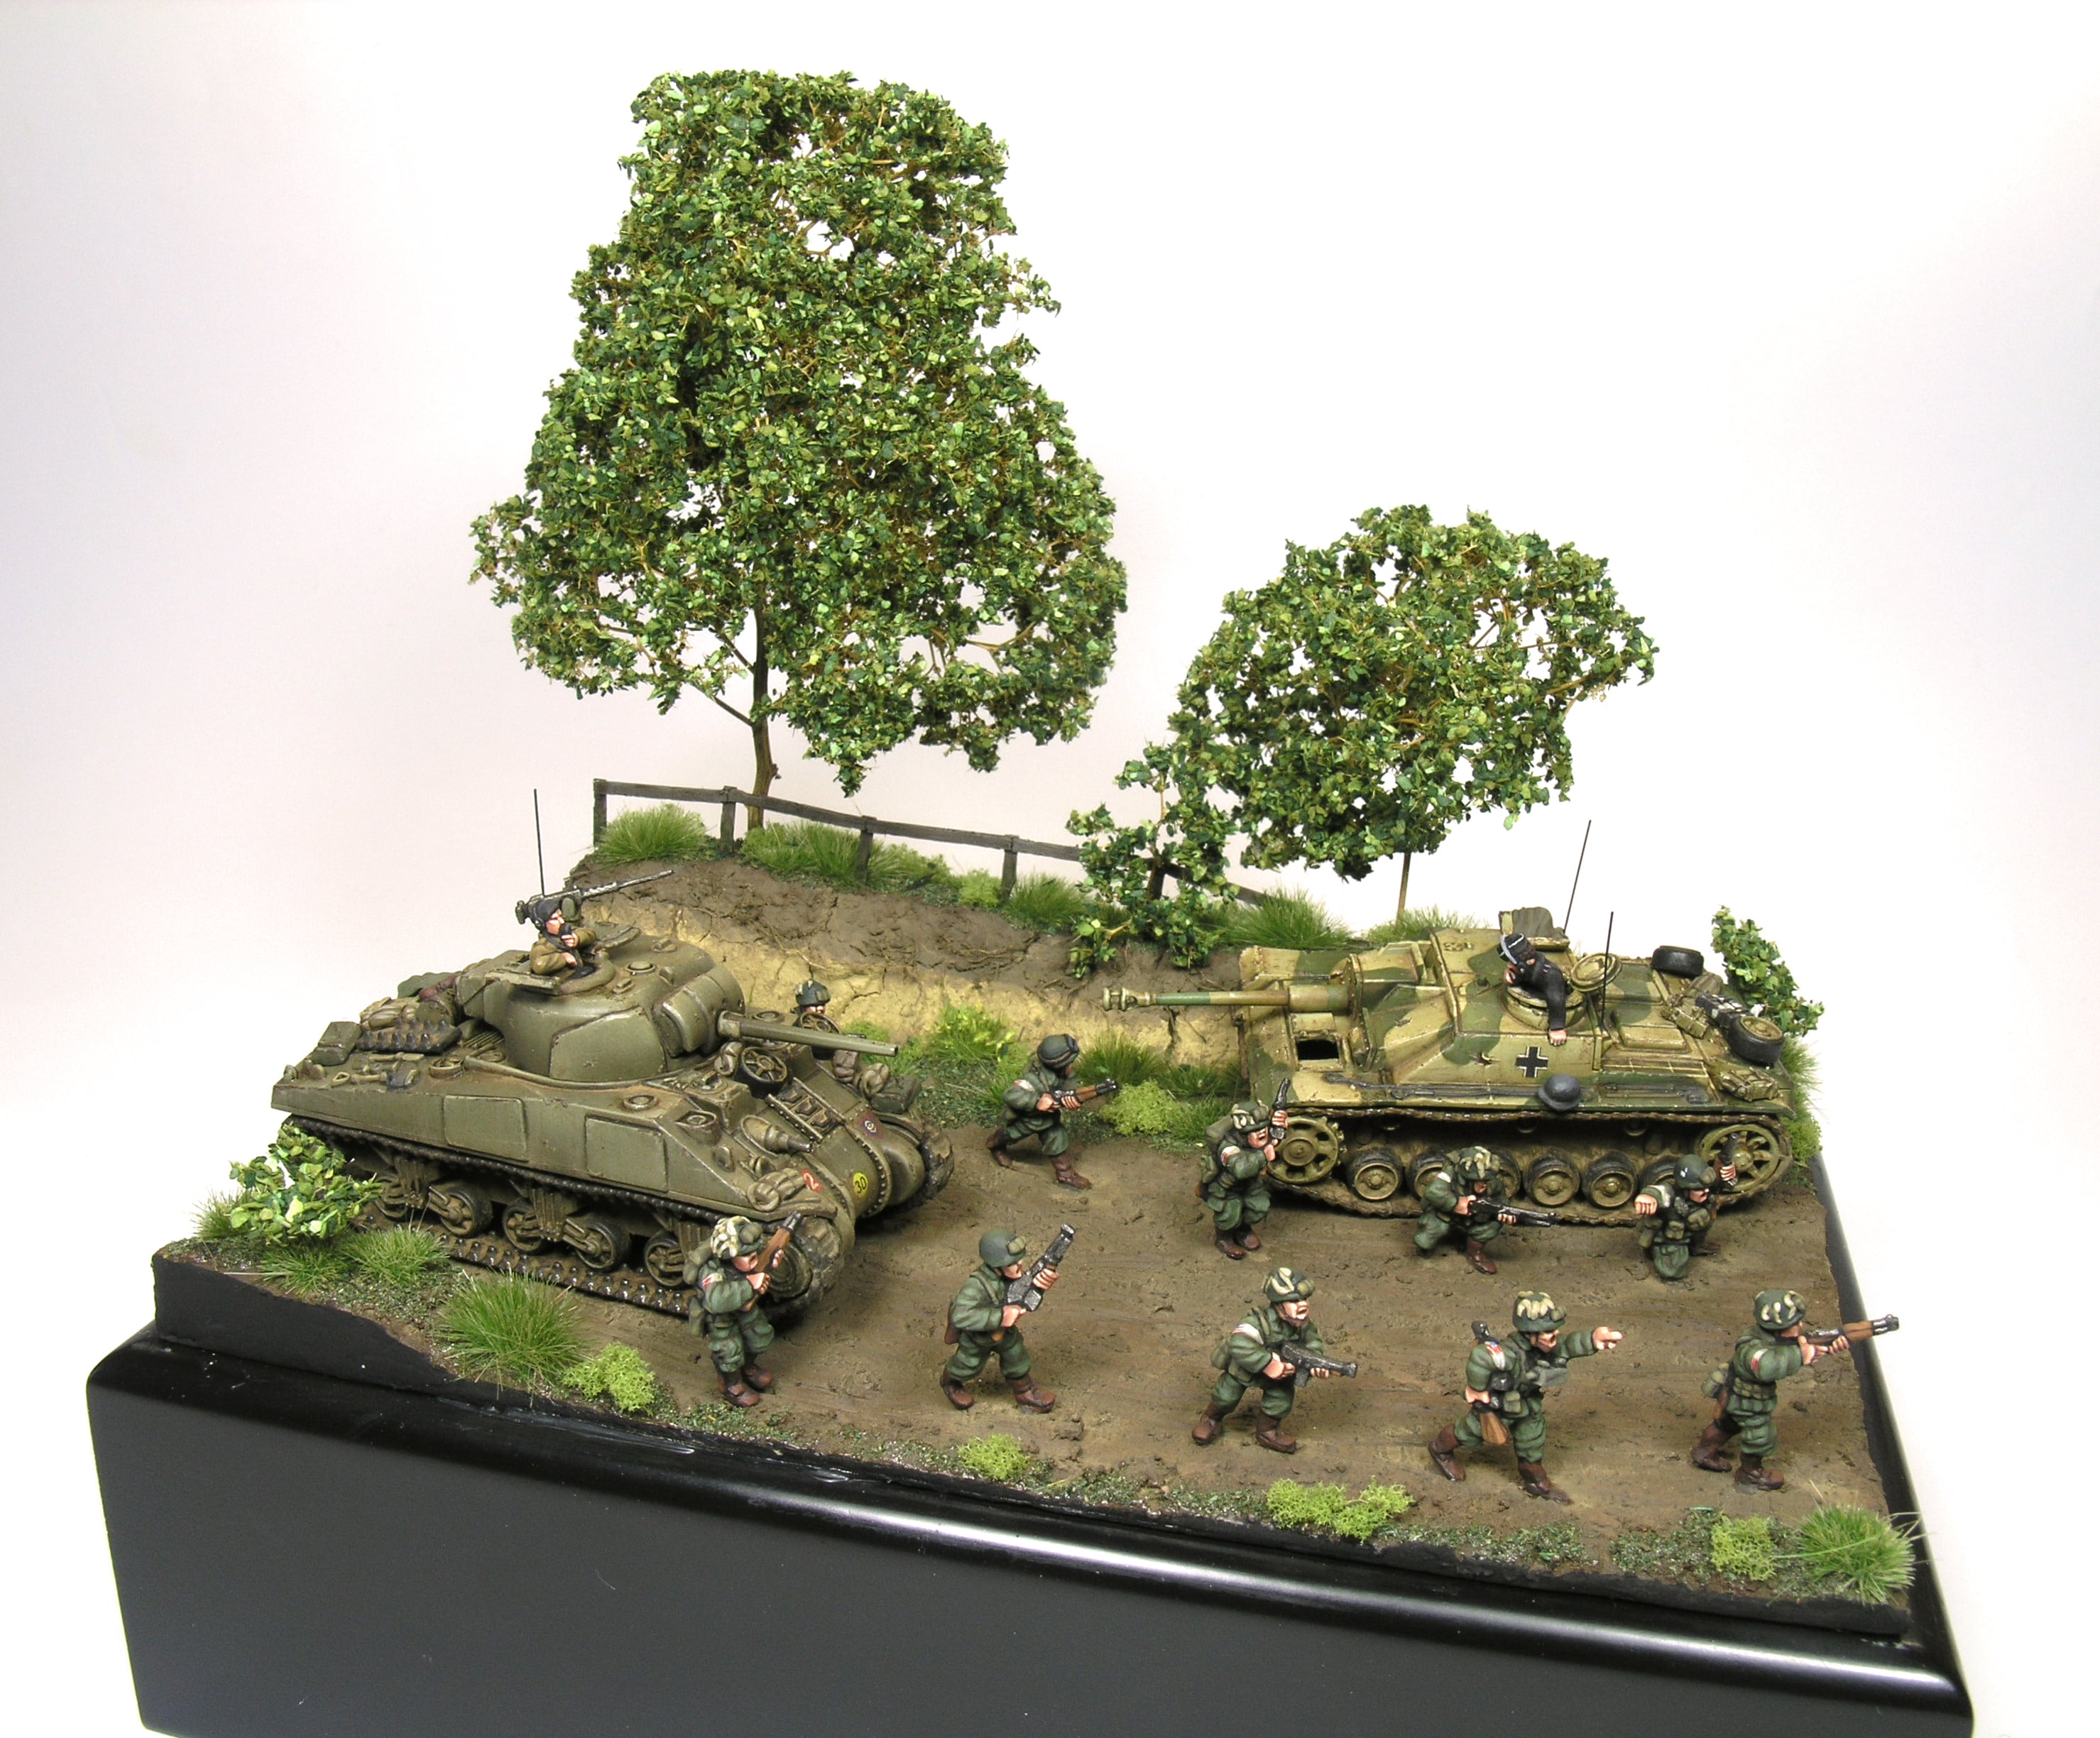
Now we can start working on the surface of our model/diorama. First we have to prepare the general shape of the surface with putty or modeling clay. I mean, we can create small heights and irregular volumes, although is not mandatory. Because we are not going to paint the sand, it’s recommendable to paint the initial surface with a brown color. I will start explaining how to create escarpment using the clay obtained from a real escarpment (I think it cannot be more real!). Remember, the clay is totally dry in our jar. So first we have to wet it with water. We can add white glue to reinforce the agglutination process. Thus, we mix the clay with water and white glue until create a texture similar to the liquid cheese (or do you know Nocilla/Nutella?). And with a spatula we add this mixture to the vertical surface of our escarpment. We don’t need to add several layers. Don’t be afraid if after drying some cracks appear. It’s normal since the clay constrains when drying. When the clay is TOTALLY dry (hours later) we can use the spatula and some water to fill these cracks. But don’t cover all gaps, because this effect also occurs in the nature. In my case meanwhile the clay was drying, I continue working the sands.
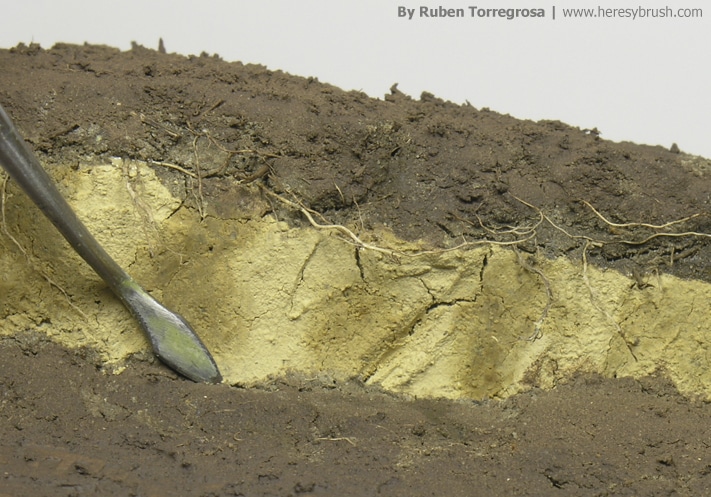
So, while the clay is drying we prepare a new mixture with a sand. Depending on our diorama/base, we can use one or other sand tone. In my case, I have use a light/grey one. Once more we prepare a mixture with the sand, water and white glue. Although with clays we don’t really need to add white glue, it’s totally mandatory when we work with sands. They don’t easily form resistant aggregates!. We spread the mix with a spatula. To represent a field, we can cover the whole surface. But in a road, if we have marked three tracks and wheels, we can add it randomly. So we don’t lose the marks but we obtain the sand texture. In addition, in my case I wanted to represent the phreatic layers on the escarpment, and therefore I worked several layers of sand. I increase about a centimeter the height!. You should work little by little these layers, because if the mix is not dense enough the work can crumble.

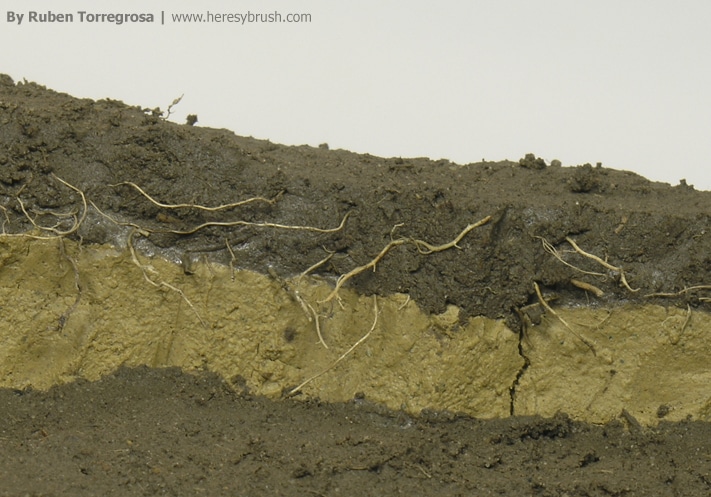
Because we work the phreatic layer in several steps, we can exploit it and include the small roots we collected between layers. You can simply fix them with a little of white glue after finishing a sand layer. Then you add a new sand layer, and repeat the process.
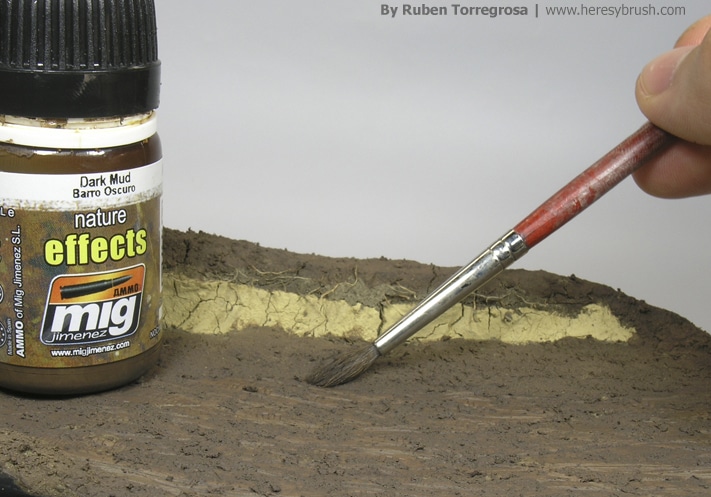
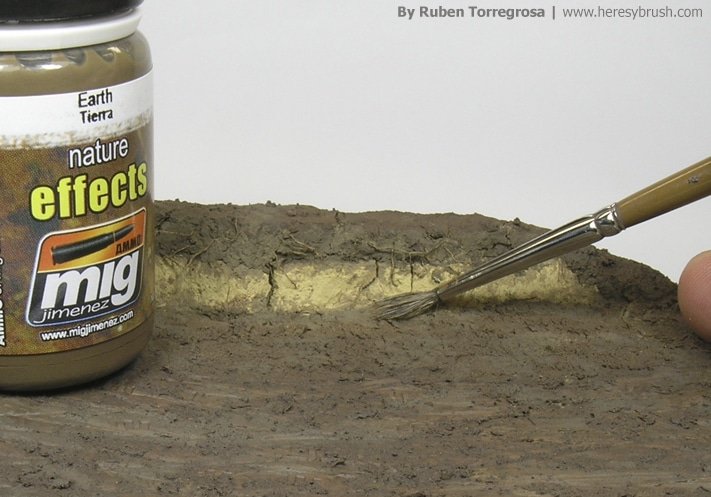
Now we can create interesting points and effects with enamels. In my case, I have applied a dark brown tone on the whole road to blend the wheel and track marks (note these are originally painted with an acrylic brown). And then I have use a neutral brown to create some variety and most importantly, to reinforce the phreatic layer effect. That’s, to blend the edges of the different colors.
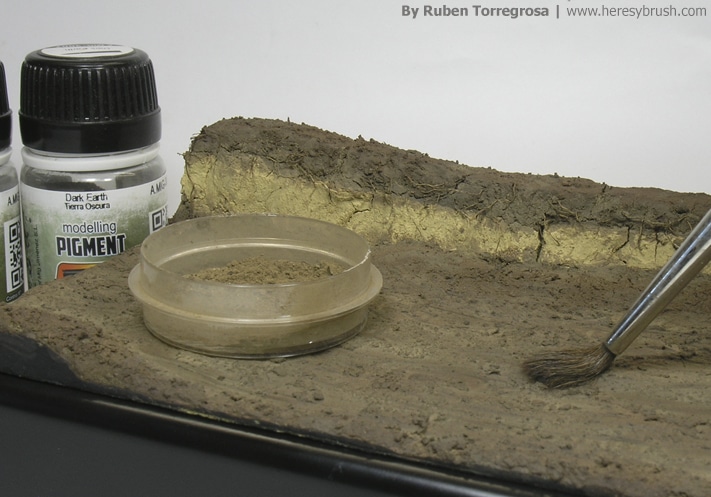
Finally, with some pigments I apply the last effect: dust. With a couple of tones and an old brush I apply them “in dry”, directly from the jars. In my case, I’m especially interested in the track marks. I reinforce the effects on the marks by adding the pigment directly on the crannies. I also apply a smooth dust effect on the scarp to increase the blending intensity between the different tones.
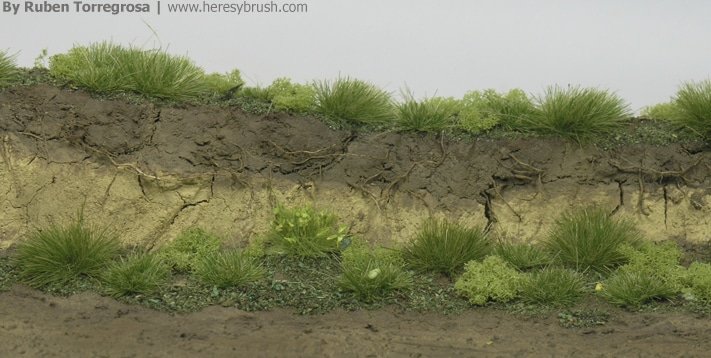
At this point, we can start working on the vegetal layer. First we add the grass. I have add a very fine mixture of green sawdust. I don’t know from where is, since I “stole” a bag to my father too many years ago. But it’s the texture is very nice. Anyway, you can use modelling grass. We don’t have to cover the whole surface. We can create some clear areas without grass.

Next step is the foliage. Following the advices of the comrade Ivan “Groogh”, I have used different types of “grass” of different colours, including grass tufts (from Tajima1), sponge, etc. Finally, we can add some trees. This is especially important if we have added roots on the escarpment. This roots are “big” in 1/100 scale, and it can be only explained if there are trees on the ground. I have done the trees with seamoss and modelling leaves from Notch.
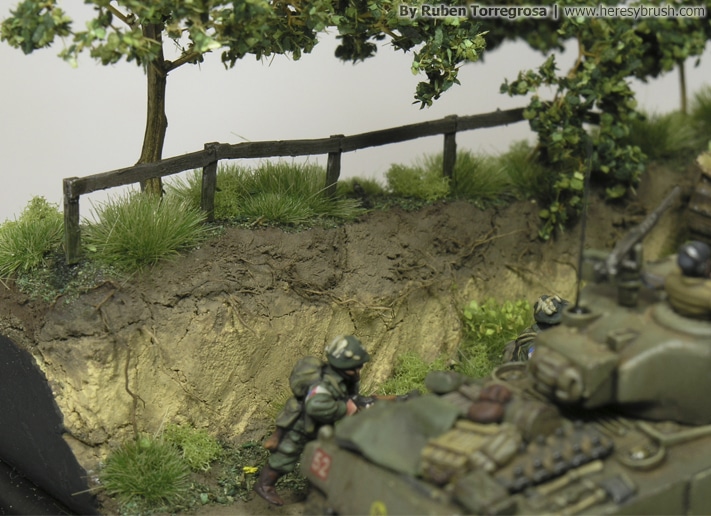
As I commented at the beginning, you can find a complete article about how I prepared this scene in the last issue of Wargames: Soldiers&Strategy, where it has the honor of occupy the cover. Thank you very much to Guy and Jasper for the opportunity!