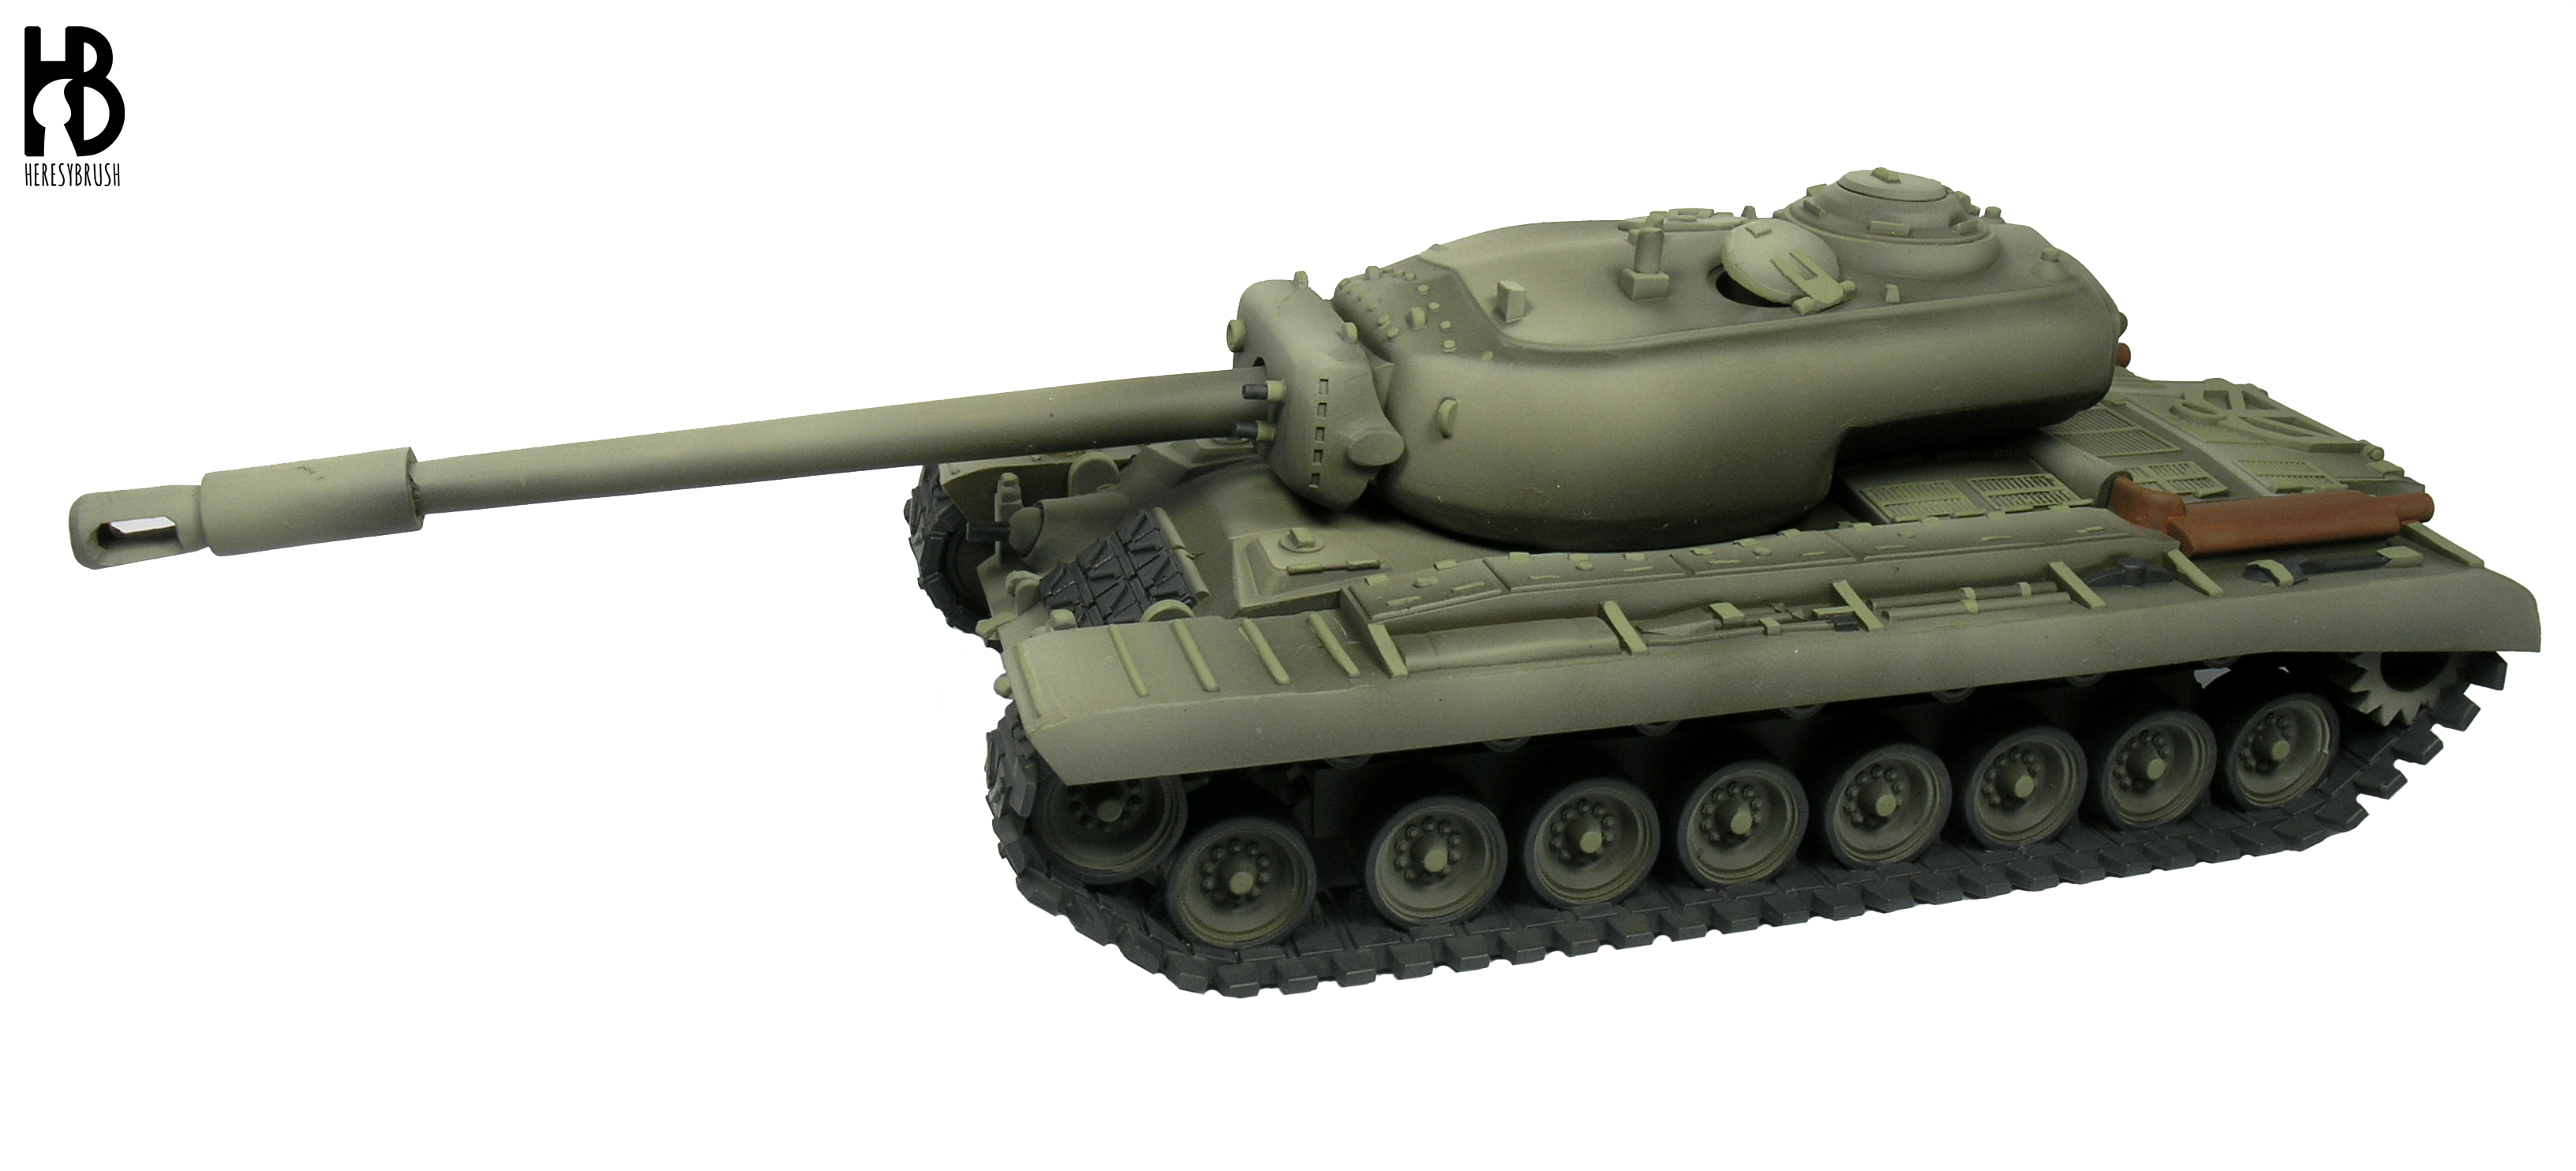
 Today I bring something new to the table. Even though I have explained many times how to paint and apply weathering effects on 15mm vehicles (scale 1:100), I have never done it using a historical 28mm tank (1:48-1:56 scale); although I have explored previously bigger scales when painting Warhammer 40 000 vehicles (here and here). Taking advantage of a very nice resin model of an American heavy tank M34 from Khurasan Miniatures, I would like to give you some tips about how to paint your tanks for Bolt Action (or any other 28mm wargame), and specially to add a little bit of spice to your tanks by using weathering effects with enamels and oils.
Khurasan decided to named the tank as M-34 Taylor instead of T-34 because the “T” is a designation used by the US military only for tanks in the developmental stage, and if it had been put into production for the battlefield it would have likely been called M-34. In addition, T-34 is confusing due to the soviet counterpart. Finally, “Taylor” is a general and president’s name never applied to a tank.
Remember that there are several types of paints depending on the solvent or medium. Acrylic paints are thinned with water, the brush is easily clean with water and they dry in a few seconds. On the other hand, oil or enamel paints are thinned with an organic solvent such as White Spirit or turpentine, the brush is cleaned with this thinner, and it takes hours for these paints to dry. We will need the following paints:


Summary
- Pimer coat
- Basic colors (i.e. color modulation)
- Decals
- Satin varnish to protect the acrylic paint
- Filter
- Wash
- Chipping effects
- Streaking effects and horizontal surfaces
- Pigments
- Oil/grease effects
 As usual, we start removing the mold line and flashes from the model with a modelling knife and files. To remove the mold releasing agent, it is recommendable to wash everything with soap and water. Once it is dry, we can use cyanoacrylate to glue the different resin parts. Finally, we apply a generous layer of a primer coat with an airbrush (or spray) and let it dry overnight. I regularly use a Renegade Krome airbrush from Badger.
 To paint the main color, dark green or olive drab, we can follow different lighting methods. I used an airbrush to apply a color modulation, which I have explained previously here. Basically, we force lights and shades in each panel to create striking contrasts. I used the corresponding set of paints from AMMO, which includes several bottles ready-to-use colors for the highlights. I applied three highlights. The last one was applied with a brush on rivets, grids, and other small details or surfaces. The tracks and rubber were painted with a dark grey color. Using different acrylic colors we also paint now the gear.

To apply the color modulation it is important to use masks to create the contrasts, such as masking tape, Blu-tack or just a piece of paper. Sometimes, you do not need a mask since you can just tilt the model and airbrush only the edge of a panel.

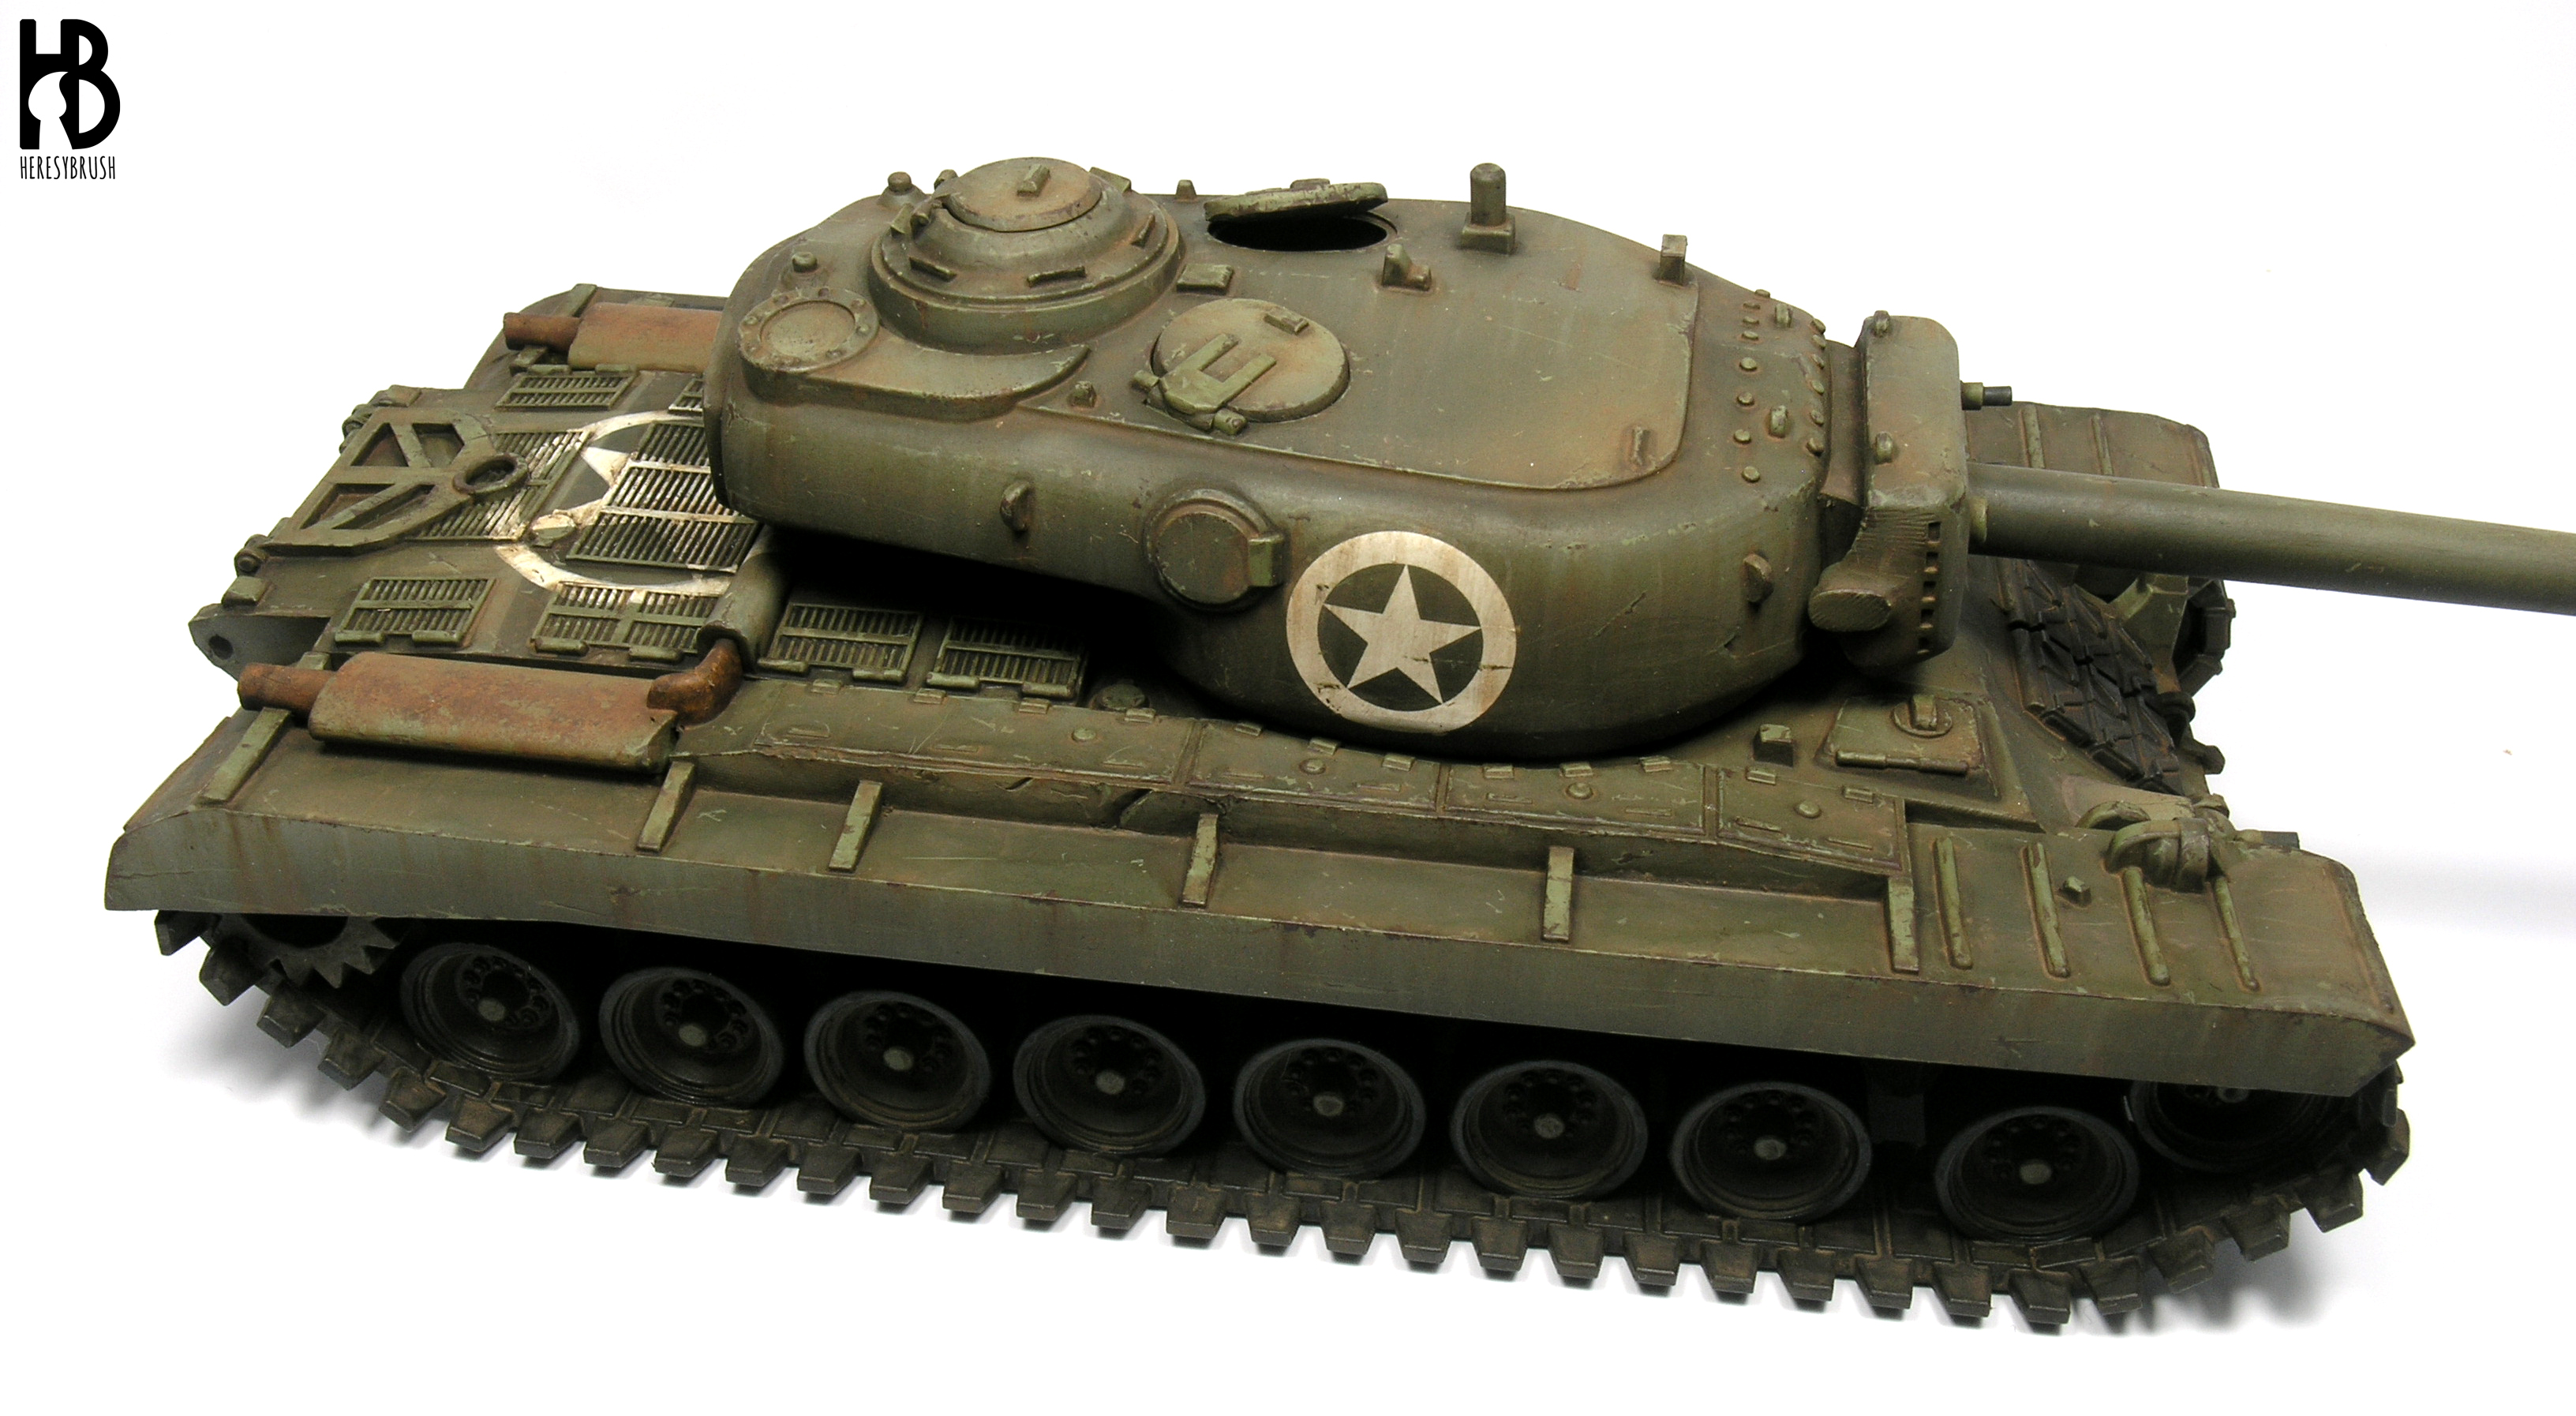
I applied two big decals with the American star on the turret using Micro Sol and Micro Set (check this tutorial). I also wanted to place a very big star in the rear, on top of the engine. However, I did not have such a big decal and the surface was highly irregular. Therefore, I decided to paint it by hand. It was kind of easy because I used the grid of the engine as a reference to maintain the proportions.
 To add a little bit of color, I simulated rust exhausts using the sponge technique. First, I painted entirely the exhausts with Flat brown 984 (Vallejo). Then I added some scratches or just rust with a lighter color, Orange brown 982 (Vallejo), and a dark one, Dark oxide 302 (Vallejo), using a sponge. Finally, I applied the lightest green / olive drab color I used before with a sponge on the edges (where the paint did not fall off).
Before continuing with enamels and oils, it is ESSENTIAL to apply a generous layer of satin varnish with the airbrush. The main idea is to protect the acrylic paints from the solvent used with enamels.

The first enamel we are going to use is the filter brown for green vehicles from AMMO A.MIG-1006. A filter is a thinned paint and the idea is to very slightly change the color of the surface. I used a dark brown color here because I wanted to correct the excessive highlights and also add a small dirty effect. To apply a filter you only need a brush moistened with the filter. That is, discharge most of the paint first on a piece of paper. I usually let it dry for one hour or so.

The next enamel effect is the wash Brown for dark green from AMMO A.MIG-1005. The goal of a wash is to highlight all the recesses with a dark color. We apply a pin-wash, which means that using a thin brush we will carefully apply the washes only on the recesses. Do not cover the whole surface!

Let it dry one hour or so. Then, using a brush moistened with White Spirit or turpentine, remove the excess of wash by applying vertical strokes from the top to the bottom in vertical surfaces (the idea is to create some streaking effects already at this stage). For the horizontal surfaces, the direction of the strokes are not important.

Now we return to the acrylics. To simulate the chipping effects we need two colors: a light color (such as a beige color since our tank is green / olive drab) and a dark rust color such as dark rust 302 (Vallejo). The former serves to simulate superficial scratches, while the latter is used to simulate heavier damage where the bare metal is seen. To apply chipping effects we can use both a thin brush and a sponge. Do not abuse of this effect! You can read more about this effect here.

Let´s go back to enamels now! The following weathering effect are the streaking effects. I usually pick a few colors related with what I want to represent (in this case dust and rust, so I took brownish and reddish colors) from the range of streaking effects of AMMO, and using a thin brush I apply vertical lines only on the vertical surfaces. I cover more or less the whole surface, but focus on some areas such as hatches or chippings.

Immediately, using a brush moistened with White Spirit we blend the streaking effects using a flat brush and vertical strokes. Once it is dry, we can repeat the same process in some areas to get a more interesting effect. Or for example, we can directly paint a line dropping from a chip, which is almost not blended (and therefore is very intense). Once again, do not abuse of this effect.


Similarly, we can use the same streaking effects or just oils on the horizontal surfaces. Here we cannot create streaking effects. Instead, first we can apply a little bit of enamel/oil on recesses or areas of interest, and then blend the edges with White Spirit. The color of the oil/enamel will depend on what we want to represent. For example, to create some rust we can use a red color, while for dust we could use a ocre or whitish color. Check this post for more information.
We can stop here or if you want we can add an extra level of weathering with pigments

Here, I prepared a wash with pigments by dissolving couple of brown pigments with White Spirit in a proportion 1:3 (triple amount of White Spirit). The more diluted, the less intense the effect will be. And vice versa. We apply this wash carefully on the recesses and some horizontal surfaces. You can add more dry pigment on top of the wash in some areas if you want to increase the intensity of the effect. Let it dry 1-2 hours.

Once the White Spirit is totally evaporated, with a cotton swab we remove the excess of pigment so that this will look like accumulated in the recesses. We can apply the same effect on tracks and wheels.
 Finally, we add some oil effects using the corresponding product from AMMO. We can play with different dilutions using White Spirit to create softer or stronger oil effects. These effects are particularly interesting on top of the pigments since the oil effect is glossy but the pigment is ultra mat. Do not abuse of this effect either. One or two stains here and there are more than enough.
Galery


