In this article I would like to discuss in detail filters and washes, two painting techniques that although apparently similar fulfill very different objectives. This topic deserves its own article as many people mix up what is what. Indeed, to make it even more complicated, quite often these two techniques are confused with two different types of paint (acrylics and enamels). However, filters and washes (painting techniques) can be applied using either acrylics or enamels (types of paint).
First, it is important to clarify that we can use two different types of paints on our scale models: water based and oil based. The former includes acrylic paints, whereas the latter covers the classical oils as well as enamels (made with resins and pigments). We can use any of these to paint our miniatures. But they have different features, which if exploited, will optimized our results.
These are the main differences between acrylics and enamels / oils:
Acrylic paints: we normally use these to paint the base colors of the tank, including the camouflage, tracks and stowage.
- Are not toxic
- Are thinned with water
- Dry in seconds
Enamels and oils: we can use these to create specific effects, such as dust or streaking effects.
- Are toxic (due to the thinner, an organic solvent)
- Are thinned with a specific thinner, such as turpentine or White Spirit
- Cure in hours
Said this, there are a number of painting techniques we can use to achieve certain results regardless of the type of paint we use (acrylics or enamels). Two of these techniques are filters and washes. Both can be applied with acrylics or enamels, but in my opinion it is easier to apply them using enamels. Enamels dry after several hours, giving us the possibility to play around with them to adapt the results. Or we can even remove it completely using a brush moistened with thinner if we dislike the results.

Filters
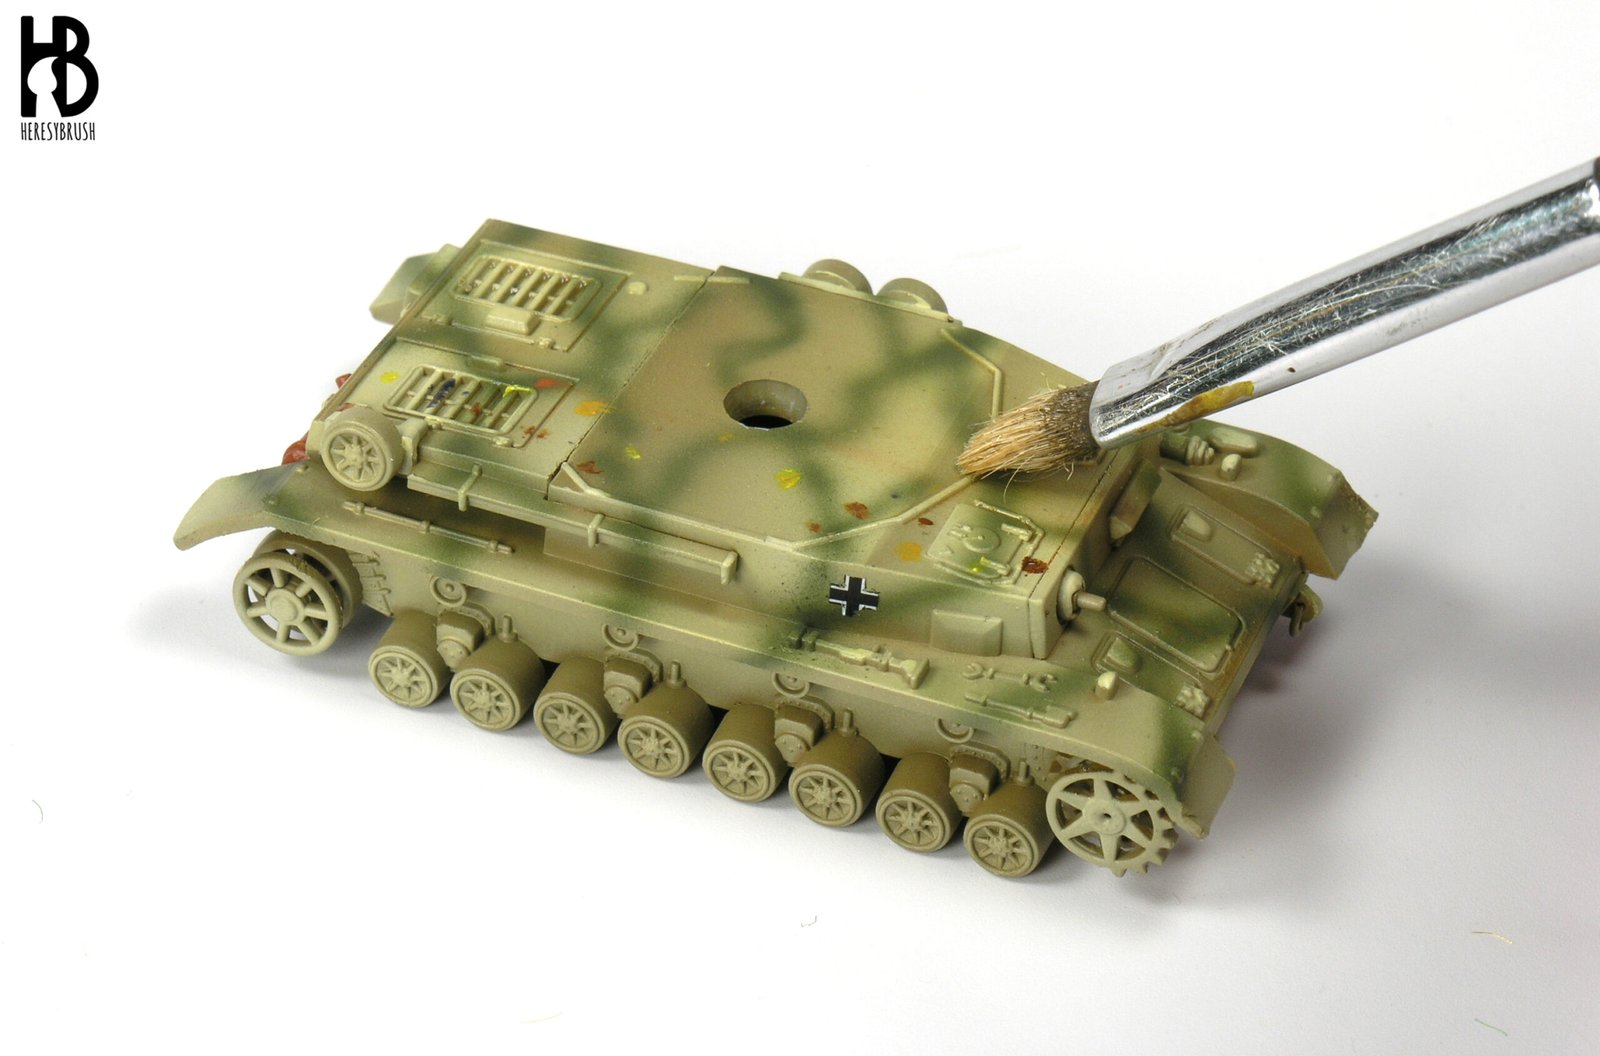
A filter is a very thinned paint. We can create it by thinning down one drop of paint with 9 of thinner (that is, 1:10 proportion). The resulting paint is almost transparent and we can use it to slightly change the color of a surface. For example, when highlighting the dunkelgelb (dark yellow) of a German tank sometimes we might use too much white to lighten it, creating a very pale dark yellow (desaturated). In this case we can use a dark yellow filter to recover the original color. On the other hand, if we have a tritonal camouflage we can use a filter of an intermediate tone to create a more uniform looking. We can also use a filter to create weathering effects. For example, we can use a sand color filter to create dusts effects.
When applying a filter we should NOT puddle the surface. The filter is not meant to accumulate on the recesses (this is a wash, as we will see later). The filter is applied in very thin layers, almost transparent, over a given surface. We can use the airbrush or a regular brush. If we use the airbrush we simply apply a thin coat paying attention to avoid applying to much paint. If we use the brush, first we should brush off the most part of the filter on a piece of paper or cloth, and only then we gently apply the filter over the tank. The more layers of the filter we apply, the most opaque or intense the effect will look like. If we apply several layers, we need to wait until the previous one is dry. If we use enamels, we should wait at least 30 minutes so that the most part of the solvent is already evaporated (but the enamel is not dry yet!).
I usually apply the enamel filters with the brush, but the acrylic ones with the airbrush. The biggest issue regarding acrylics is that they dry in seconds, meaning that they can leave some undesired marks when applied with a brush. This is avoid using the airbrush because we can apply a thin and uniform layer of paint. Conversely, enamels dry in hours so that if we detect a similar issue we can easily apply a new brush stroke to remove the marks. Or we can even remove the whole thing using a brush moistened with thinner. I do not like to airbrush enamel filters because they are toxic, and when airbrushed we can easily breath the aerosol.
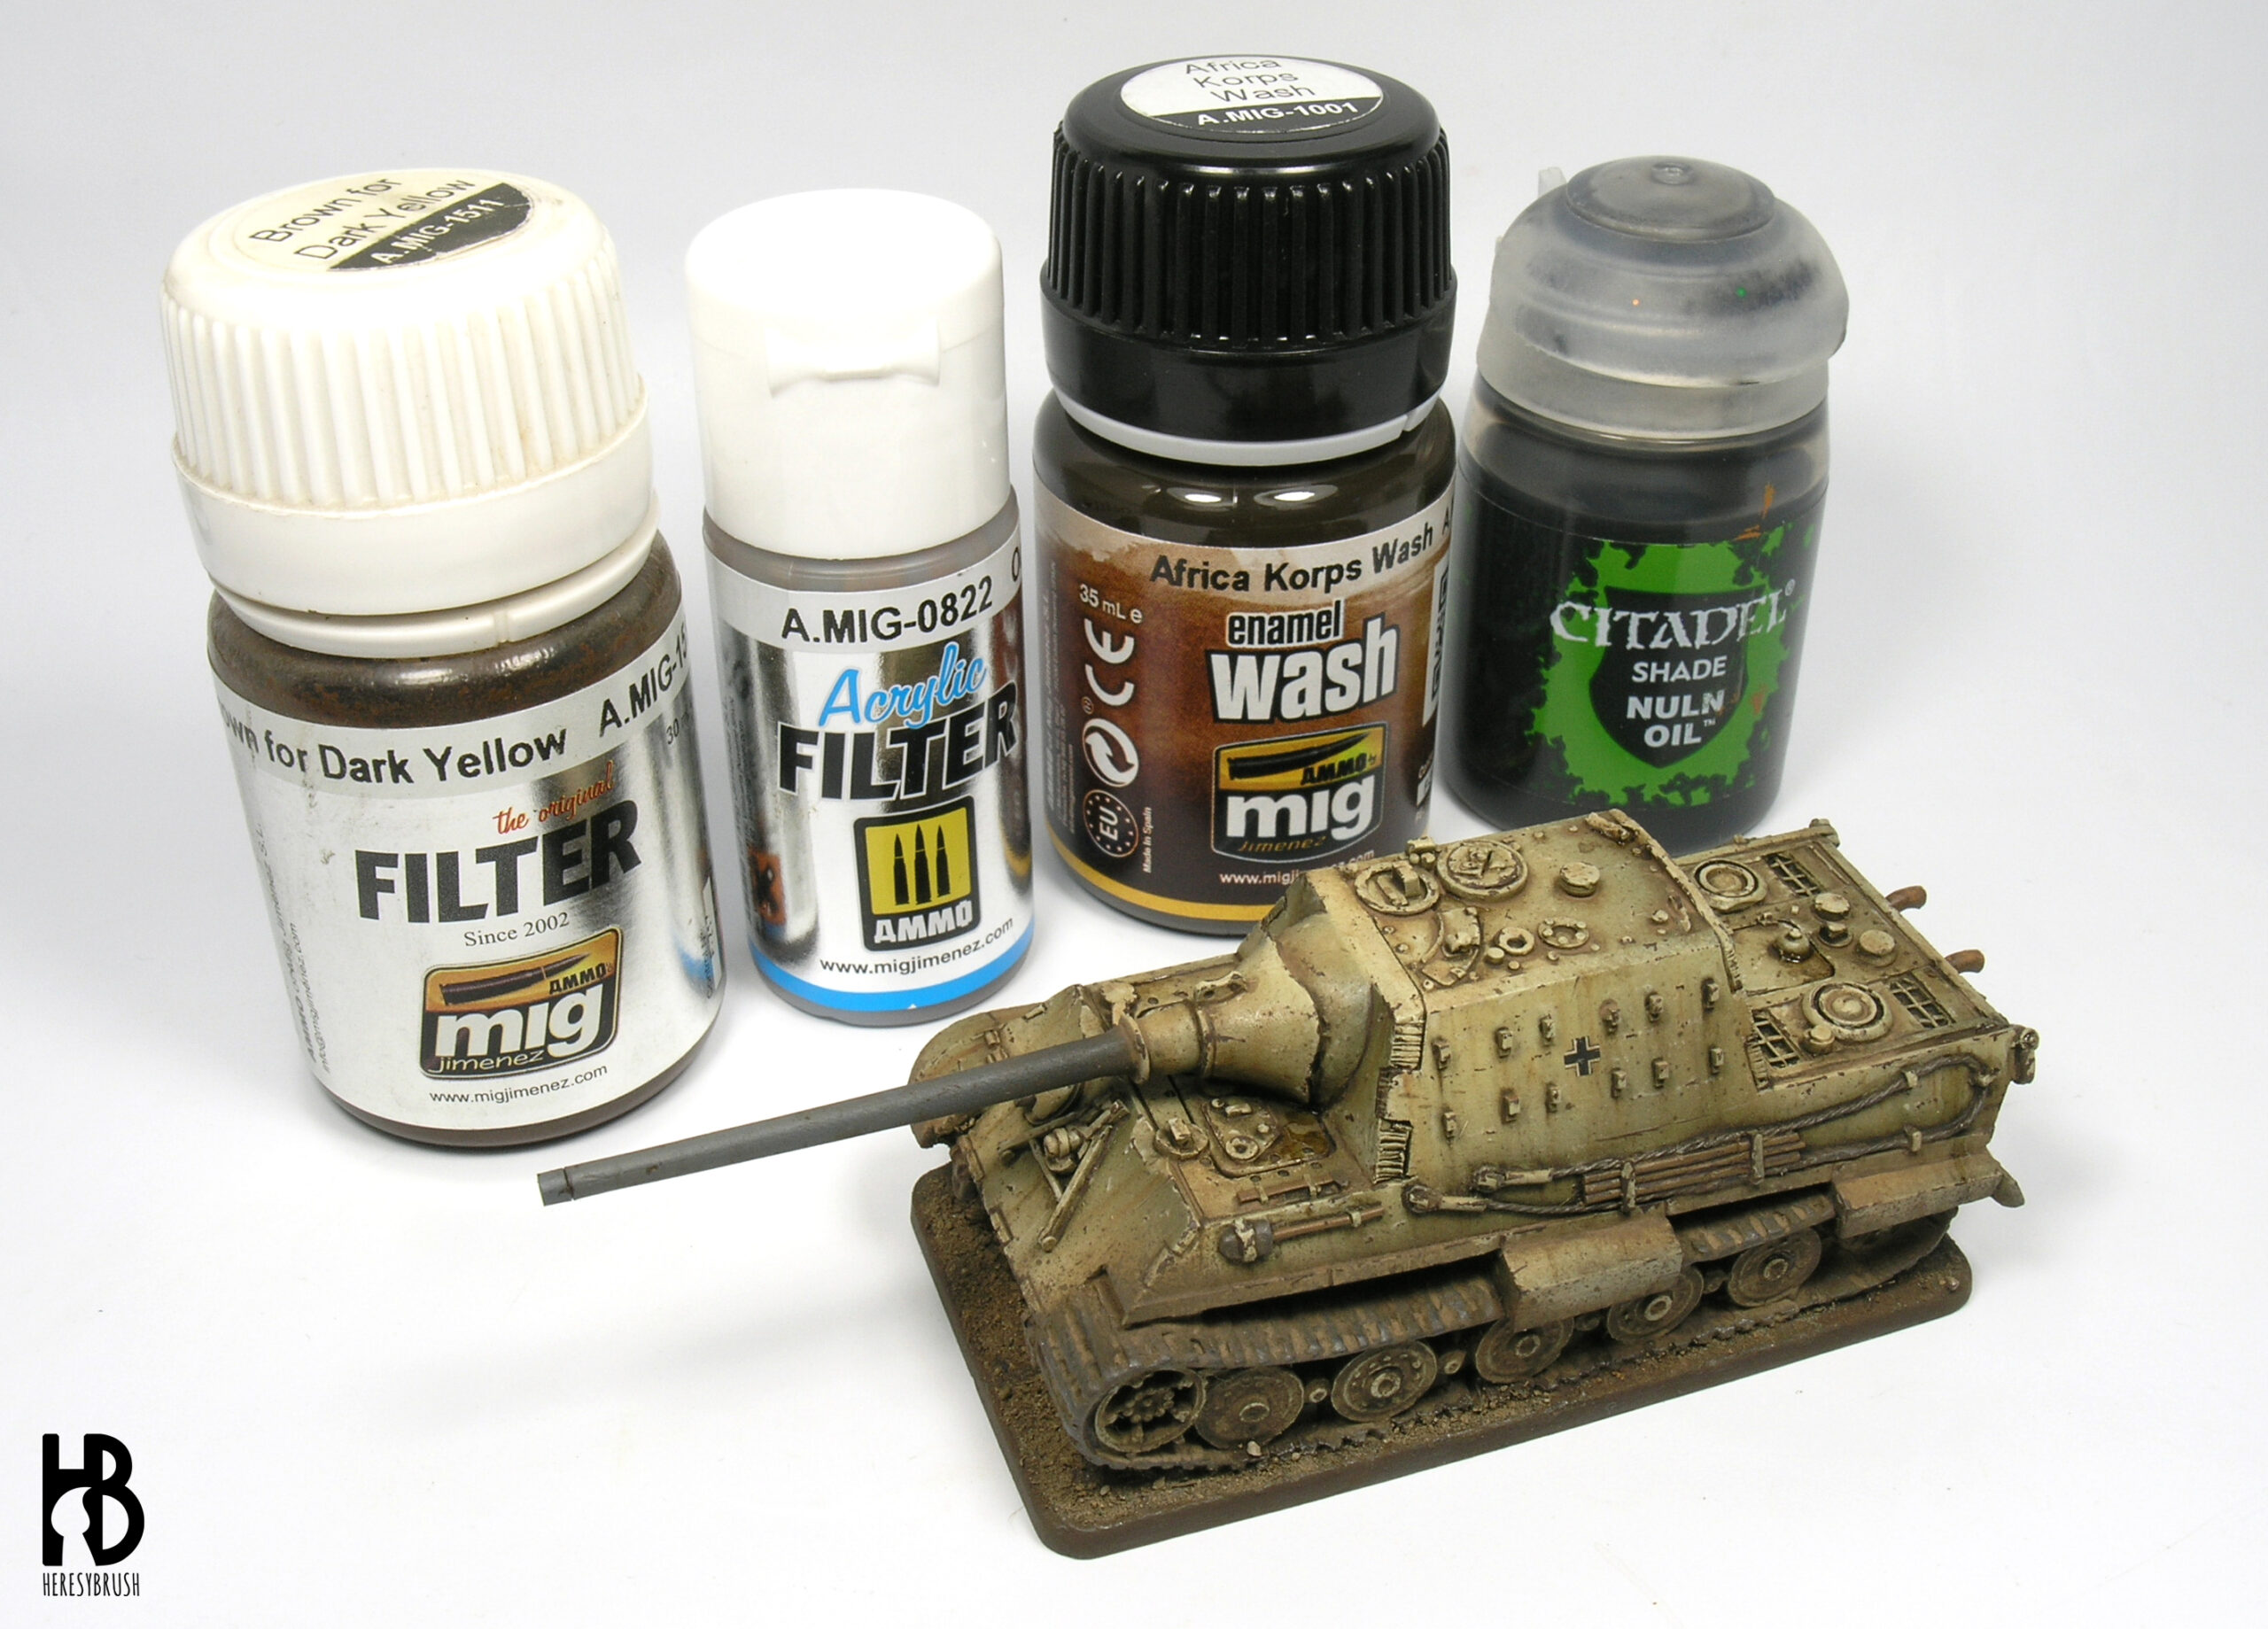
Although we can create a filter by simply thinning down the paint 1:10, we can also use specific products designed for this particular technique. For example, AMMO has two ranges of filters: enamels and acrylics. We only need to shake the bottle and apply the paint.
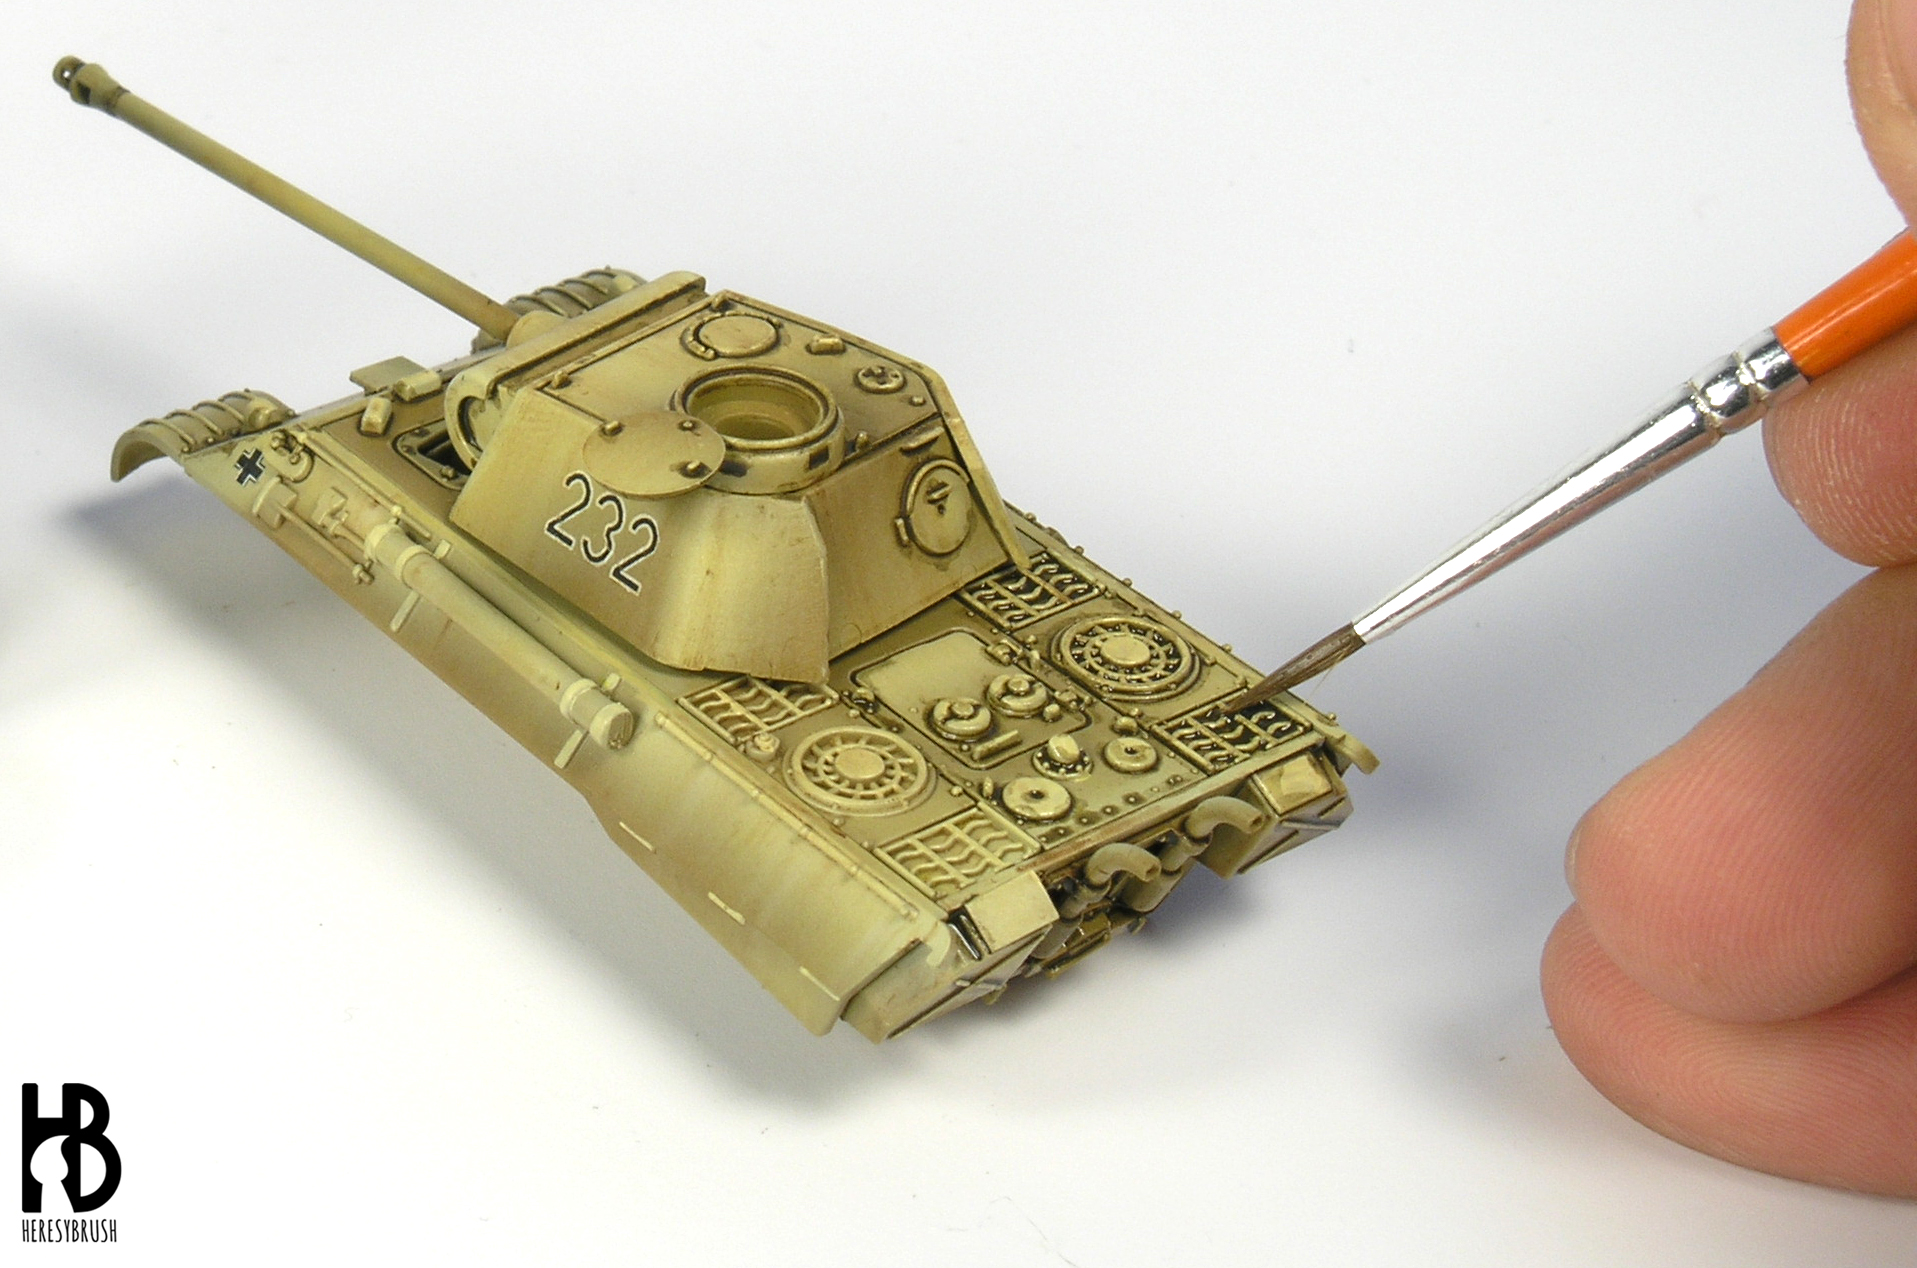
When is the filter applied? We can apply it at any stage of the painting process. I normally do it after painting the basic colors and applying the decals. I apply it over the whole vehicle so that I can recover the original color if it was lost during the highlighting process and I also integrate the decals better. If I use an enamel filter, then I do it after applying a layer of satin varnish to protect the acrylic paint from the enamel thinner. Sometimes I apply filters also by the end of the painting process to create certain effects such as dirty or dust. These are applied only on some specific parts, not over the whole tank. For example, we can create a layer of dust only in the lower part of the tank. Sometimes I do not apply filters at all: it will depend on my needs and the story I want to tell.
Finally, I wanted to mention that filters were classically applied on scale models by putting on small dots of different oil or enamel colors, and then blending them with a brush moistened with thinner (turpentine or White Spirit). Although this an old fashion method, it stills offers great results and very interesting chromatic variations.
Washes (inks or shades)
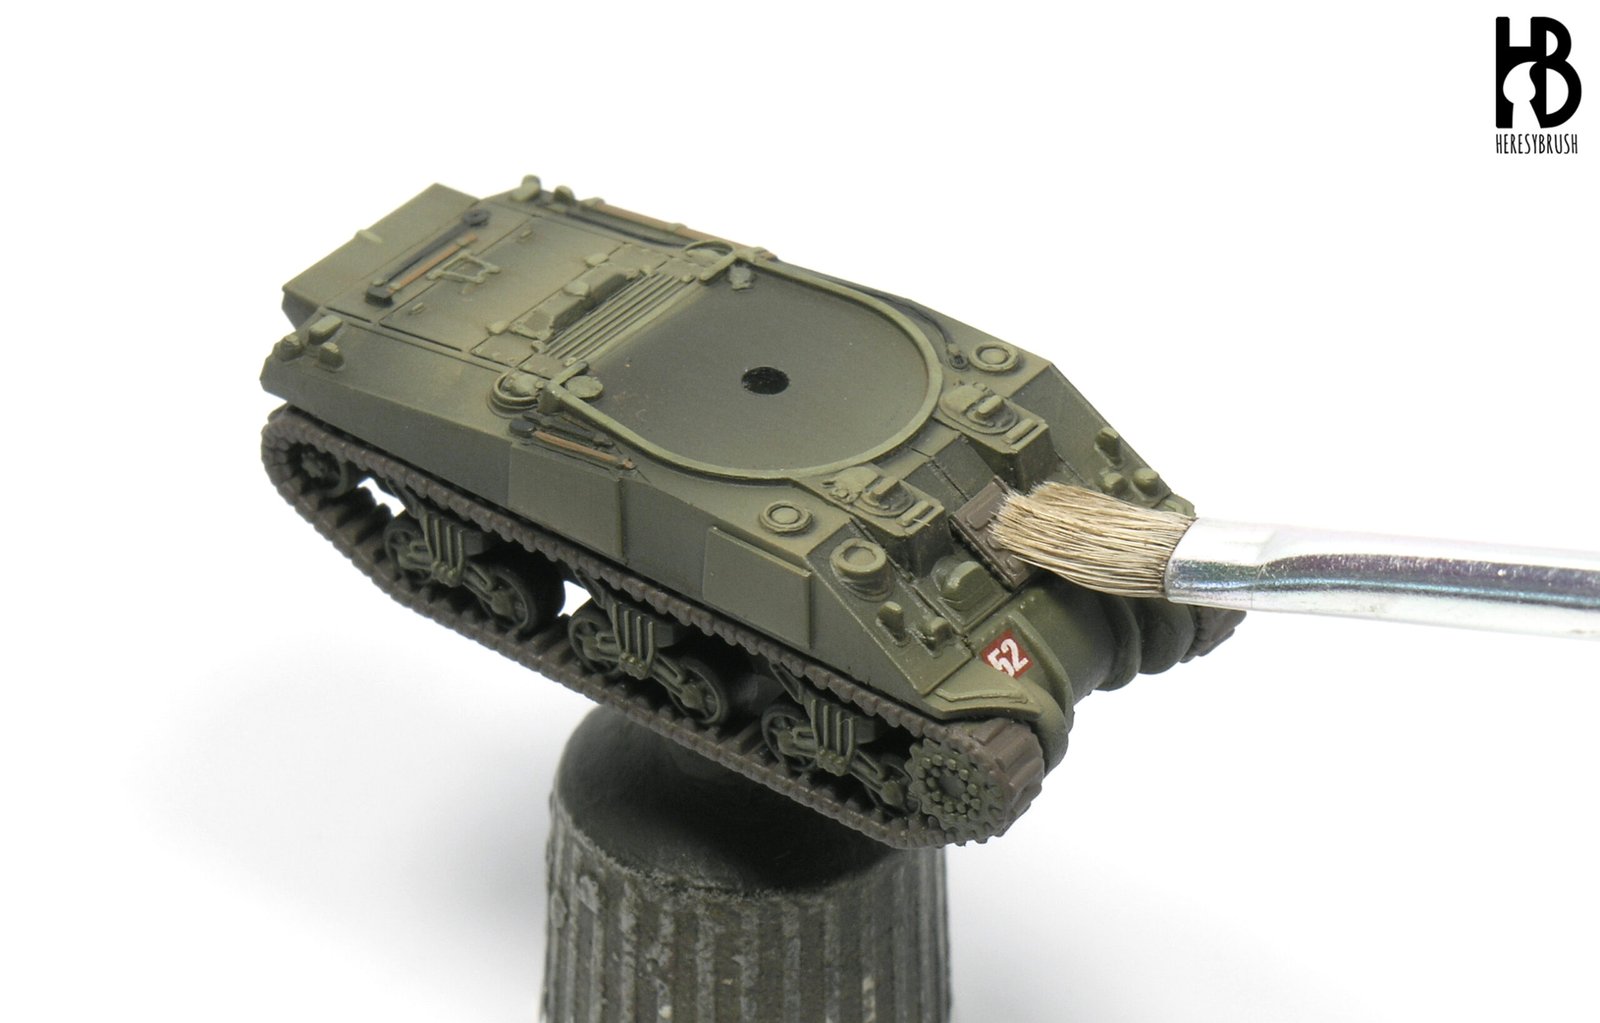
Washes are paints thinned more or less in the same proportion with the corresponding thinner (that is, 1:1 proportion). Compared with the filter, the aim of a wash is to stand out all the recesses, nooks and details. We normally use dark brown washes, but never pure black because this is too artificial. For tanks painted in dark base colors, such as the British bronze green, we would use a dark brown wash darker than that used for a dark yellow tank.
In contrast with the filter, the wash is applied puddling the surface so that it accumulates on the recesses. However, we do not apply it over the whole tank. We apply a selective wash only on the recesses and around the details. This is what we call “pin-wash”. By doing this we avoid darkening and dirtying unnecessarily the tank.
Once more we can create our own wash by thinning down the paint 1:1 (we use water for acrylic paints and solvent for enamels). However, we can also use ready-to-use washes. For example, we can use acrylic washes from Citadel (called Shades) or enamel washes from AMMO. Although I prefer to use acrylic washes for miniatures, when painting tanks I find enamel washes more useful than acrylics due to its slow drying process. The problem of acrylics is that they drys too fast and can create some ugly marks, which are impossible to remove. This creates a dirty and poorly defined result. In contrast, enamel washes dry completely only after several hours, so that we can easily remove the excess of wash using a brush or swab cotton moistened with thinner. After this, the enamel was will remain exclusively on the recesses. However, enamels are toxic and not family-friendly.
When is the wash applied? we can do it once we have painted all the basic colors of the tank, including tracks and accessories (although these can be done later). If I want to apply a filter after painting the basic colors, then the wash is the following step.
To sum up, regardless of the type of paint (acrylic or enamel):
- The filter serves to slightly change the color of a surface.
- The wash is used to stand out the details and nooks.