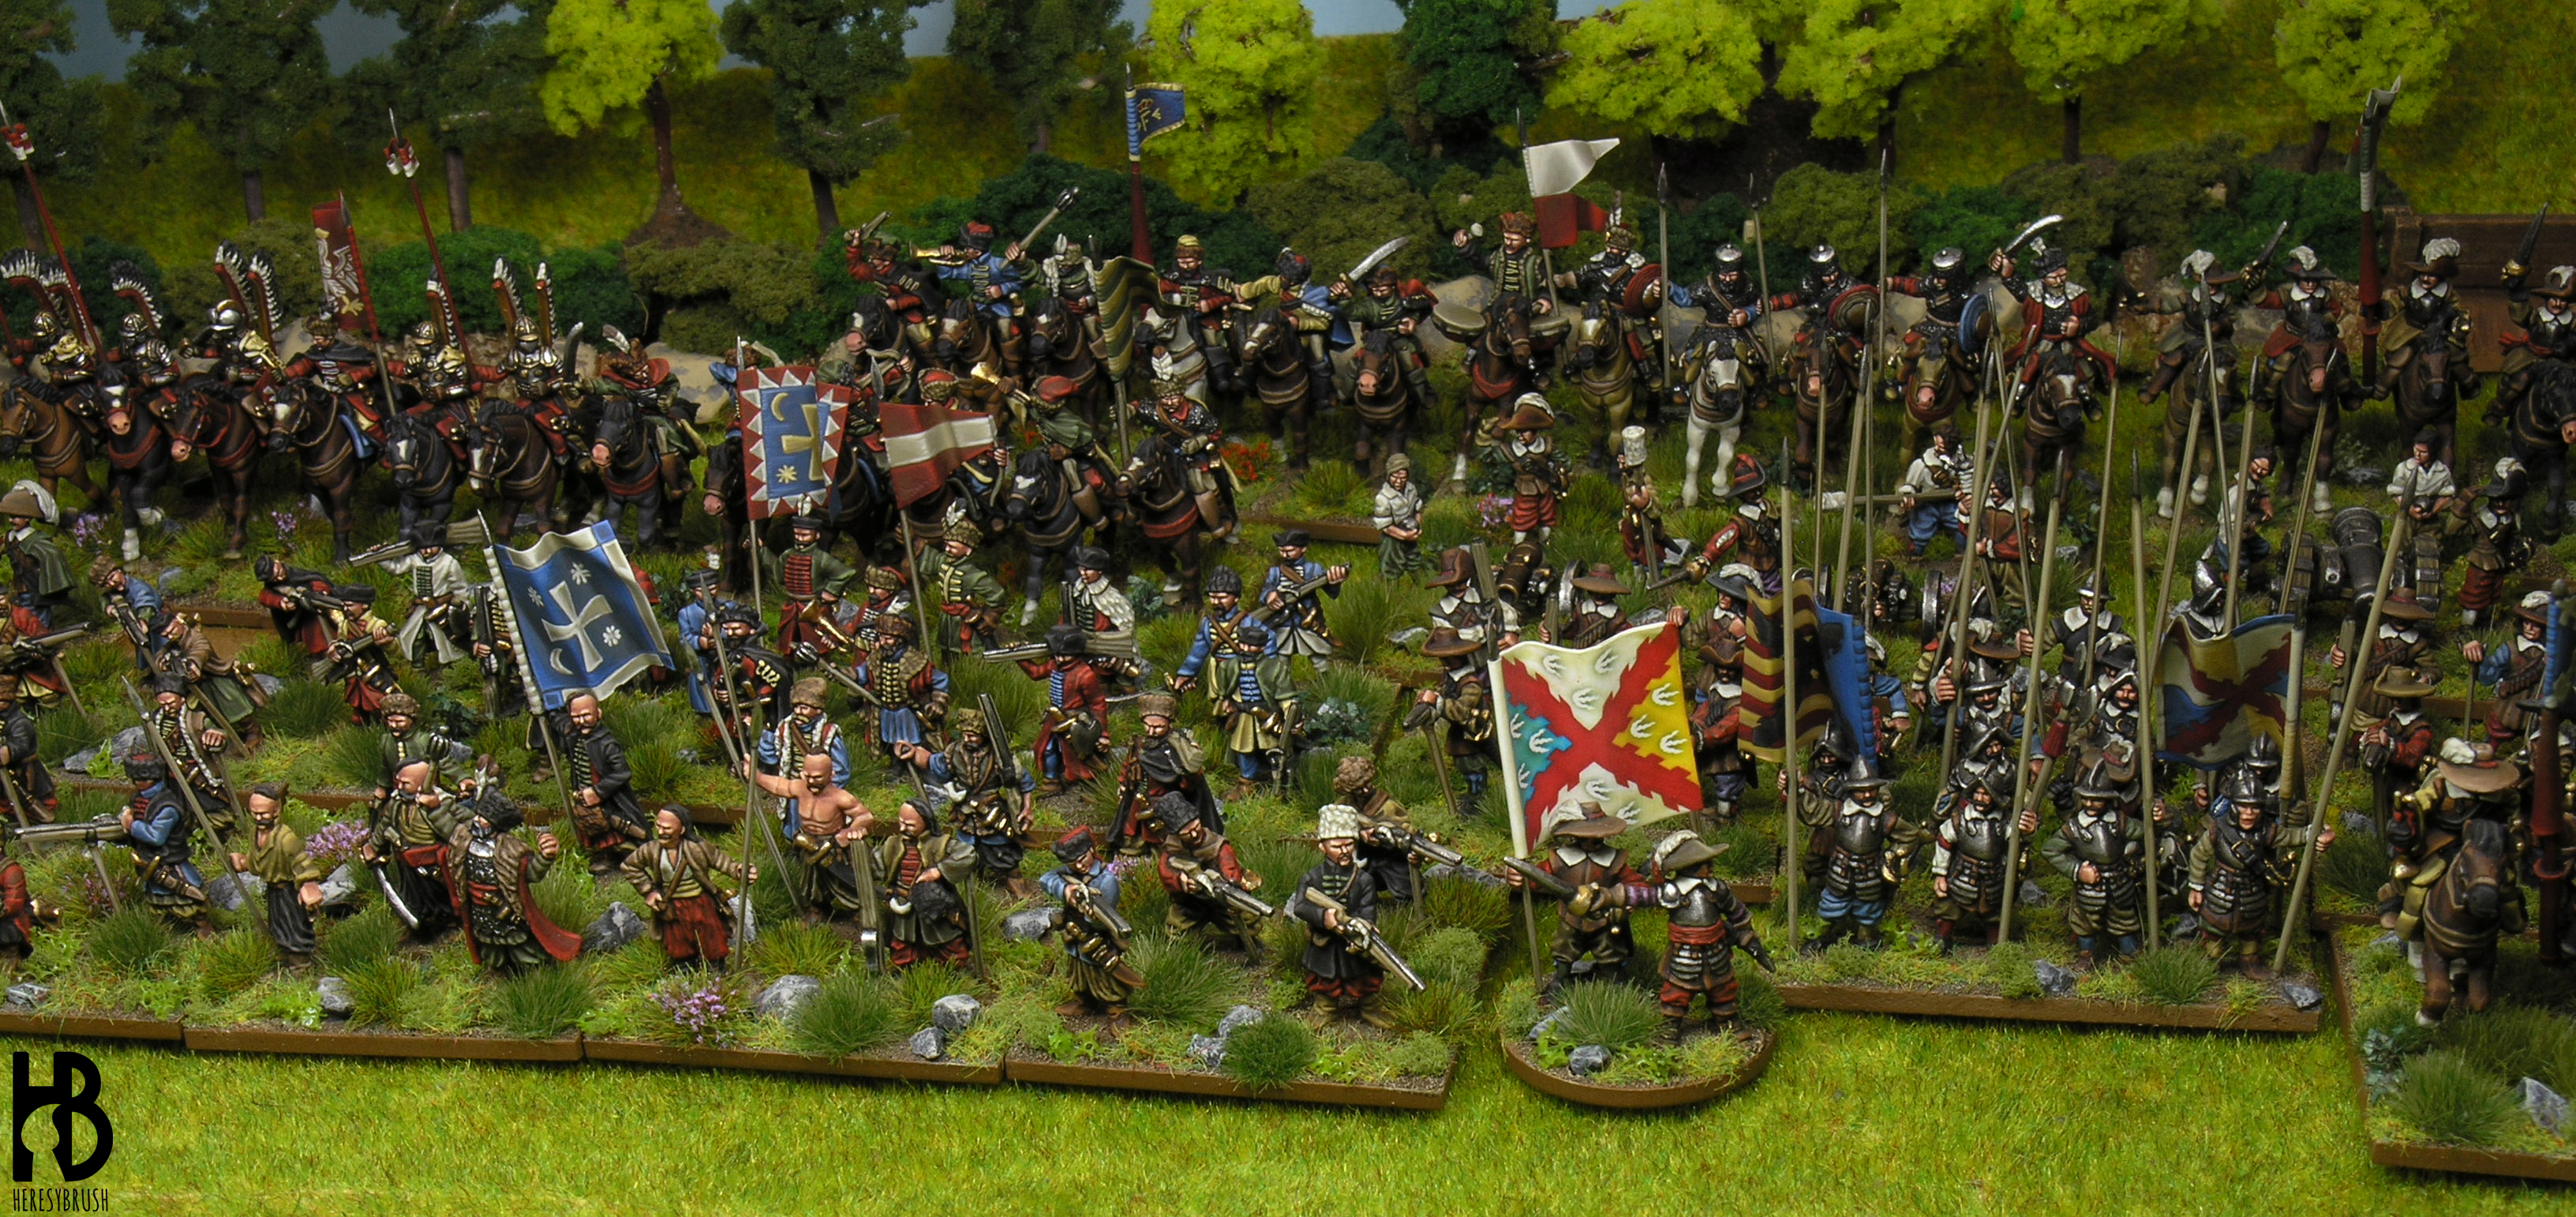
The WW2 has dominated my desk for…several years! And you have probably noticed that the last entries in my blog were focused exclusively in this period (but the last one is about the SCW). However, I want to bring back today my second preferred historical period: the Modern era. I mean, the era dominated by the pikes, black powder and religion wars (sadly this is not so different from our current “modern era”). And the main reason is that a new 15mm brand has appeared: Totentanz Miniatures, which has totally captured my hearth! The second reason is a new rulebook released by the BreakingWar and El Kraken fellows, Tercios Liber Millitum. Thus, I’m preparing a Spanish/Imperial army to play Tercios! And I would like to share with you a painting guide to paint a battery of medium cannons in 15mm, from Totentanz Miniatures. If you are interested, you can find another complete painting guide to paint pikemen and musketeers in Wargames: Soldiers&Strategy 76 .

In case you are interested, you can find a review of Totentanz Miniatures here. The battery I’ve painted in this tutorial is formed by two medium cannons; and following the Tercios ruleset, I based the guns in 4x4cm bases. After surfing on internet for a while, I decided to simulate cast iron cannons rather than bronze ones.

As usual, the first step is to remove the flashes and mold lines with a modelling knife and files; and then we can apply the primer. I like using black primer when painting 15mm infantry because I can use this color afterwards during the “black profiling” step. I will explain first how to paint the crews; and then, the cannons. You can find some example color charts above.
ARTILLERYMEN


After applying the primer, I like to paint the “base color” of every element of the figure. By “base color” I mean the shadows. Take into account that I paint by layers: from the shadows, to the highlights. However, before continuing, I would like to comment something. When I painted these figures, I wanted to simulate a dark or “black” atmosphere. Think about it. These battles were probably very dirty; with thousands of black powder guns shooting simultaneously, a dense black smoke should cover the battlefield. Therefore, to simulate this “dark” or “black” effect, I basically mix the most part of the colors with dark brown; and I use this mix as the shadows or base color. For example: I mix blue, purple and green with Brown chocolate (872, Vallejo), red with Flat brown (984, Vallejo) or yellow with Goldbrown (887). For the white elements I usually use German Cam. Beige WWII (821, Vallejo). But I don’t use white. Instead of white, I use Ivory (918, Vallejo). And I use this wide color palette to paint the miniatures in very different ways. The “uniform” didn’t exist at this point, and therefore, we are free to use any color combination. Anyways, the red color was the dominant one in Spanish troops. On the other hand, to paint the “bufala” or vest, gloves and shoes I usually use Dark oxide (302, Vallejo Panzer Aces), Beige (875, Vallejo) mixed with Chocolate brown or even black. Once more, I try to paint combine differently these colors in the same unit. I also use Chocolate brown to paint the wooden parts, as you can see below when I show how to paint the gun.

At this point, I work the lights color by color. To highlight the colors which were mixed with brown (i.e. green, purple or blue) I start adding a bit more of the life color to the mix; and I apply the light on the reliefs/wrinkles. These miniatures are exceptionally sculpted and therefore we only need to follow the sculpted lines. Next, I add ivory or white to the mix and I apply two or three of these highlight layers. It’s important to dilute the paint with water in order to get smooth transitions. Furthermore, we should reduce the painted area with every new highlight; and the last highlight must mark just the edge of the wrinkle. To highlight the white parts, such as the shirts, I usually mix German Cam. Beige WWII with Ivory in the same proportion. And I directly use ivory as the last highlight. On the other hand, if you remember we mixed red with flat brown for the red shadows. Thus, to highlight the red elements I simply add more red to the mix; and the last highlight is applied directly with this color. You can also add a bit of white to highlight the red, but it’s risky since you can easily simulate an abusive pinkish tone. I prefer to use vermillion as the last light. Finally, I paint the brownish colors. In this example I have used two different brown colors: light (ochre) and dark (chocolate). To highlight the chocolate brown I normally use English Uniform (921, Vallejo), which indeed is subsequently mixed with ivory to apply the last light. On the other hand, to highlight an ochre brown, I usually use Iraqi Sand (819, Vallejo). Find how to paint the leather below.

After painting the bigger elements of the miniature (i.e. trousers and shirt) I do a “black profiling”. Basically, I use diluted black and a thin brush to paint a flimsy line between the different elements. For example, between the trousers and the shirt. Or just surrounding the belt or webbing. Take a look at the picture. To clarify this point I have indeed painted all the remaining unpainted elements with black.

Now, I paint the remaining details but the flesh. To paint the leather of the webbings, vest, boots, and so on I usually combine three colors: brown leather (dark and light ) or black leather. To highlight the black I usually use pink , but I only apply one or two layers because I don’t want to lose the real black tone (if the lights are abusive, the black becomes grey). To paint the dark leather I start painting with Dark Oxide (302, Vallejo Panzer Aces); and then I use Flat Brown (984, Vallejo) which is subsequently mixed with Orange Brown (981, Vallejo) to apply the last lights. On the other hand, to paint light leather I start mixing Chocolate brown with Beige (875, Vallejo) in the same proportion. Next, I directly apply Beige; and I finally mix beige with ivory to apply the last light.

To paint the metal parts I use Gunmetal Grey (863, Vallejo) as base color; and then I apply a smooth highlight with Silver (977, Vallejo). Whereas to paint golden areas (i.e. sword handle) I use Brass (801, Vallejo); and I mix it with a bit of silver to apply a simple highlight. Finally, to paint the flesh I have basically followed this protocol, but using the following colors: Tan (066, Vallejo Game color) and Dwarf Skin (041, Vallejo Game Color). I use the first one for the shadows, and then I start mixing it with dwarf skin. Finally, I add mix dwarf skin with ivory for the last light.


IRON ARTILLERY GUN

I paint the wooden parts with Chocolate brown (yes, I love this color!) after priming and gluing the cannon. However, as you can see, there is no need to be very careful and we can also paint the metal parts.

This is totally optional, but I like to simulate streaks when painting wooden surfaces. Basically, I paint horizontal lines along the wooden parts. I start painting the lines with English Uniform (921, Vallejo), and I apply a highlight with Iraqi Sand (819, Vallejo) only on the edges or corners.

You can apply a “black profiling” now, as we saw when we were painting the infantry. However, in my case, I omitted it. I preferred to directly paint the metal parts with Gunmetal Grey (863, Vallejo) because I considered this easier. Anyway, we need to be careful and don’t paint the wooden parts.

Now, I apply the black profiling only where is needed. For example, surrounding the rivets or metal sheets in the wheels. On the other hand, I apply some lights with Silver (977, Vallejo) on the edges of the metal parts.

Finally, I work on the barrel in a similar way, but more in detail. That’s, I apply several layers of shadows and highlights. The firsts using black, and the seconds using silver. But always diluting the paint with water to don’t totally cover the previous layer. I also apply a black profiling to remark the different parts or details of the barrel. And that is that! I hope you find useful this painting guide!


3 thoughts on “How to paint Thirty Years War artillery (1618-1648)”