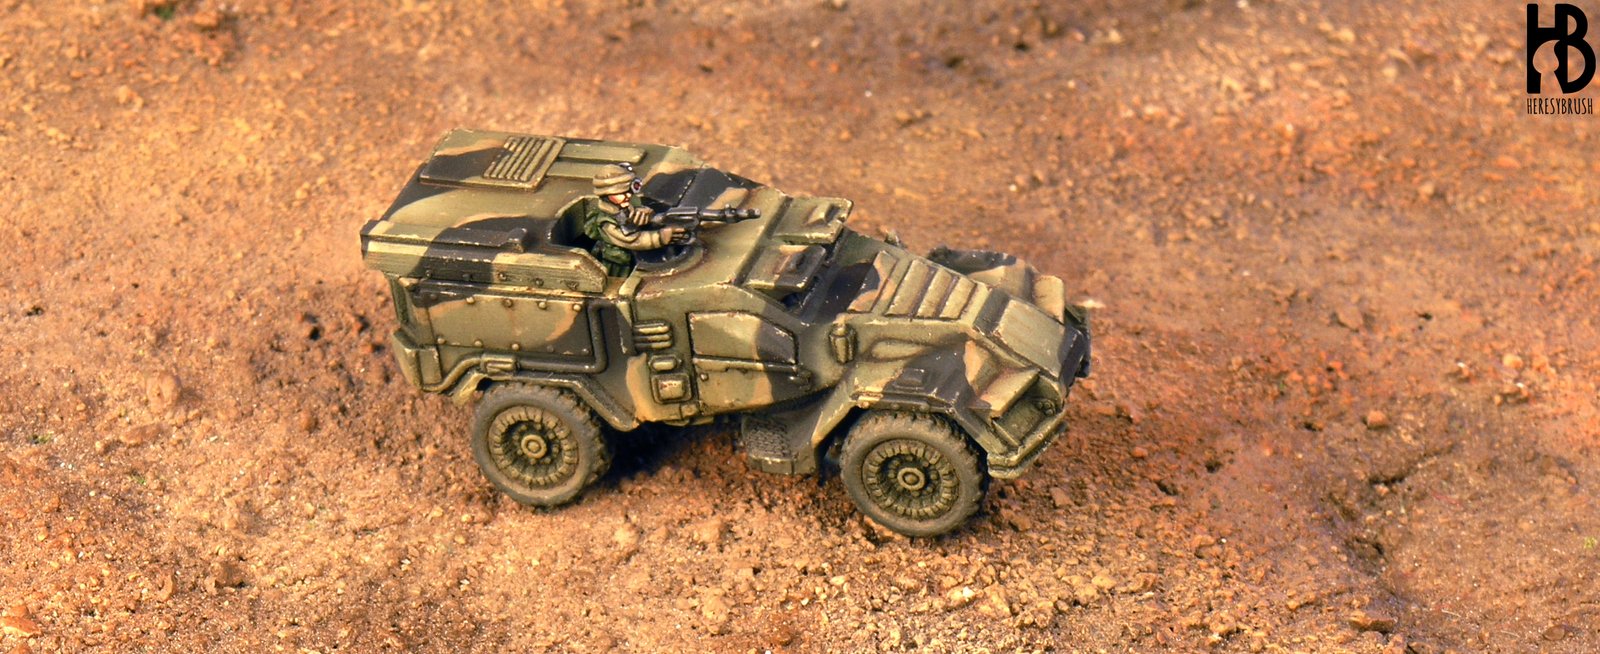
Nowadays, I have less time and opportunities to write a new post in my Blog. But I’m still alive!. So, because I have painted a sci-fi vehicle in 15mm (1:100 scale) from Khurasan Miniatures, I’ve prepared this simple tutorial to simulate the dust on wheels in 15mm miniatures. Also, this is my first entry in English, and my english is a little bad. So, I apologize for any error!.
If we yield to the logic, the ideal tool to simulate dust is a pigment. Because in the nature the dust is generated by small particles, like our pigments, we can get really realistic results using this tool. We can apply pigments directly from the jar, “in dry”, to simulate the dust on vehicle underbody or in plain surfaces without many recesses. But if we want distinguish the tire tread or surfaces with different heights, where we can not apply properly a dry pigment, we have to dissolve the pigment with White Spirit, Turpentine (or Pigment Fixer, of course). Now, we can use this liquid mix like a wash or ink to achieve to all recesses. However, note that the color of a dissolved pigment is darker than a dry pigment.
So, although we cannot see an evident effect once the pigment is applied, when the pigment is dry, the effect will be clearer. This point is very important. If we add more dissolved pigment, to see an effective result at the moment, when the pigment is dry we can get an unrealistic effect. In my opinion, the best option it is applies the mix gradually, waiting between layers, until get the volume or deep wished. To accelerate the solvent evaporation, you can use a hairdryer. However, if we have exceeded applying the pigment, we have an easy solution: with a brush moistened in solvent (any of the aforementioned) we can remove the pigment excess. It is not as simple as remove the excess of an oil or enamel wash, but with patience and after several brushstrokes, we can remove the most part of pigment excess.

Well, after this comments about the use of pigments, probably you have noticed that in this tutorial there are not photos of pigments. Only enamels!. The target of this entry is try to explain how we can get a dust effect, especially in the tire tread, using enamels or oils, without pigments. Why should we use an enamel/oil rather than a pigment? Clearly, the effect got with enamel/oil will be less realistic than one done with pigments. But in my opinion, these paints have two advantages over pigments: the initial color is very similar to final, and their manipulation is easier. And seriously, for our scale (15mm) the difference will be minimal. The first advantage –the color hardly changes between the moistened paint and dry paint– is very useful: we can know in all moment when we have to apply a little more paint, if we don’t have enough, and vice versa. If we have exceeded, we can remove the excess with a brush before the wash dry. The brush will absorb the wash. And we don’t need to wait for it to dry. On the other hand, I think the manipulation of enamel/oil wash is easier because these washes don’t “dye” like a pigment (although we use little pigment, we stain the surface easily) and are much easier to drag to the interesting points, or even directly remove it. While with a pigment we have to give many brush strokes to completely remove the last remains, in the case of enamels/oils, with one or two is enough.
Also, the mix of two pigments is not as effective as the mix of two enamels/oils. Pigments often leave traces of each color, breaking the homogeneous color of the mix (NOTE, sometimes this chromatic variety could be very very interesting). While with enamels/oils the mix is perfect, and we can prepare any tone because the range of colors is enormous. However, too it is true, we can mix a pigment with an enamel/oil to change his color in a very effective form. Anyway, we can use enamels/oils ready-to-use, as used in this tutorial from AK-Interactive, or we can prepare them by ourselves. But remember, for 15mm minatures the ideal dust color is one clear. If we use a dark one, it can be confused with dried mud, or worse, you may not appreciate it.
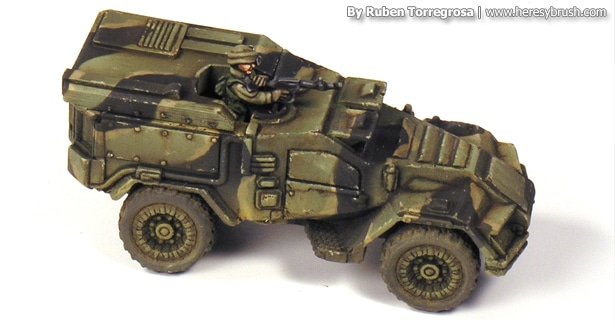
To summarize, how to do dust effect on wheels?
- Paint the wheels in rubber color, like Black grey (862, Vallejo)
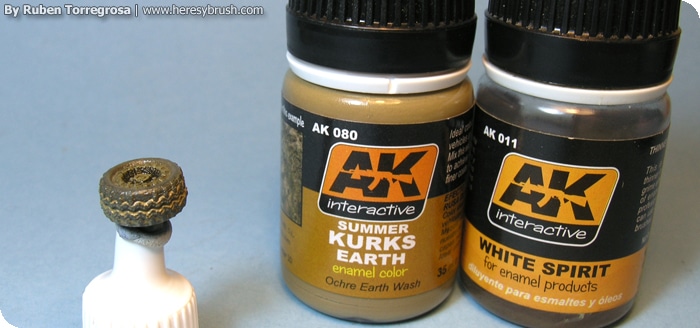
- Apply enamel, oil or diluted pigment of light earth color. I used AK 080 Summer Kurks Earth enamel diluted with a little of White Spirit.
- Wait 20-30 minutes
- Remove the excess with a brush moistened in solvent
- Repeat the process if it is needed