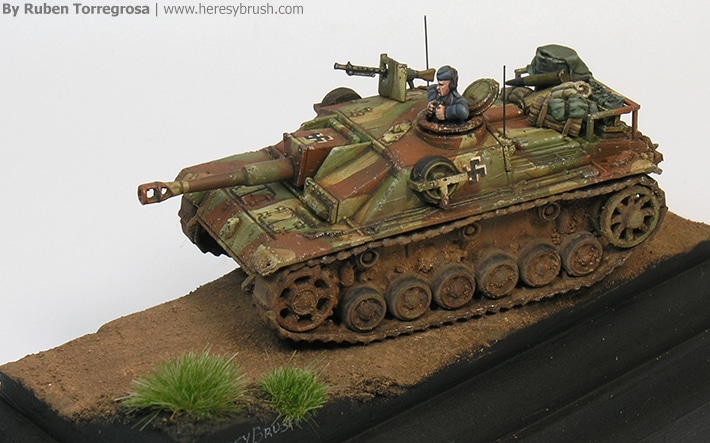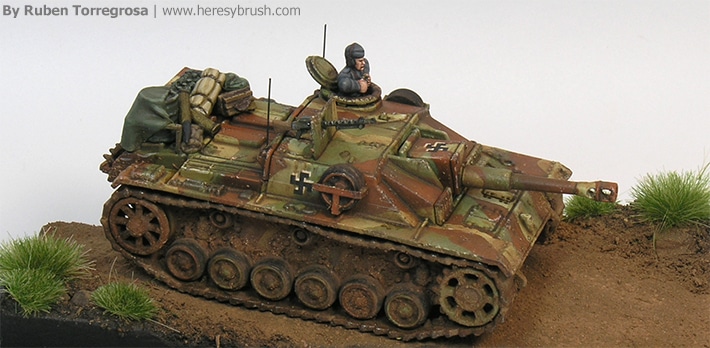
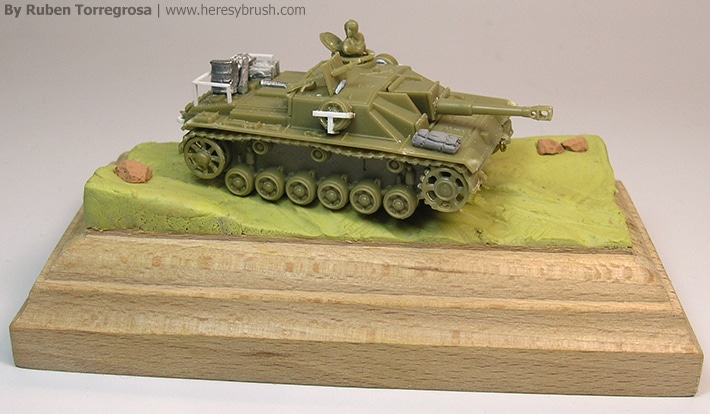
Because I’m currently living in Finland, from a while I wanted to paint a Finish vehicle. First, I thought about a captured soviet T-26 tank. But the Stug III G it’s more impressive!. And I decided to display it in a dusty road.
After gathering some information, thanks to some friends, I decided to paint a tritonal camouflage, very similar to the German one. And although I prepared a mud base when I started this project (because the ambient influence!), the Finish Stug tanks fought in the Continuation War, in Jun and July of 1944. Therefore, I switched the viewpoint of the scene, and I made a new base: a dusty road. In ModelBrush I’ve published an article about how to paint a Finish Stug.
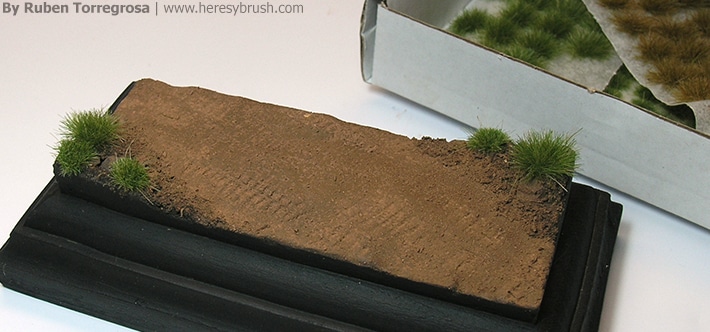
Once I selected a wooden base (because this scene will be a gift), I used a putty to prepare the base. I used Milliput. I presented a diagonal road with two small “hills” in the opposite corners. In order to get an interesting texture, I used the tank tracks to show marks in the road. I pressed the track on the putty when it was still fresh. I also made some shallow grooves with a chopstick to show wheel marks.
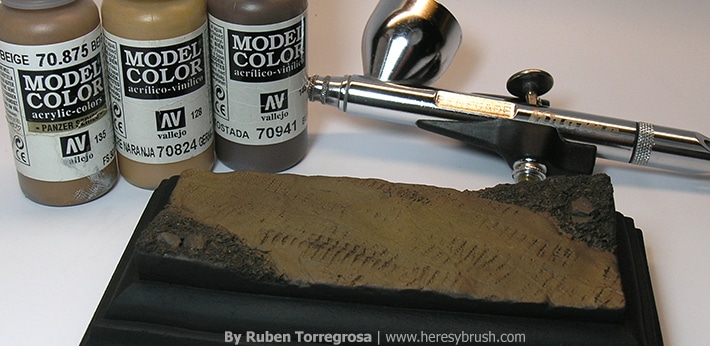
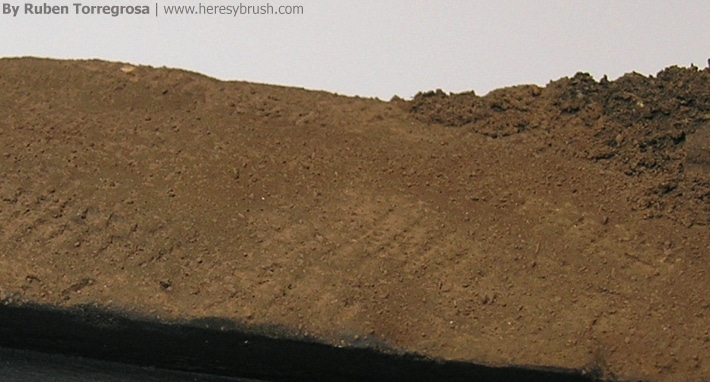
The next step it was painting the road and texturing the elevations. To get the texture I used real earth, mixed with water and white glue. I applied this mixture with a spatula. Then, I airbrushed the road with different earth tones. I used three different tones because the variety is more interesting for our eyes!, and because the result is more real.
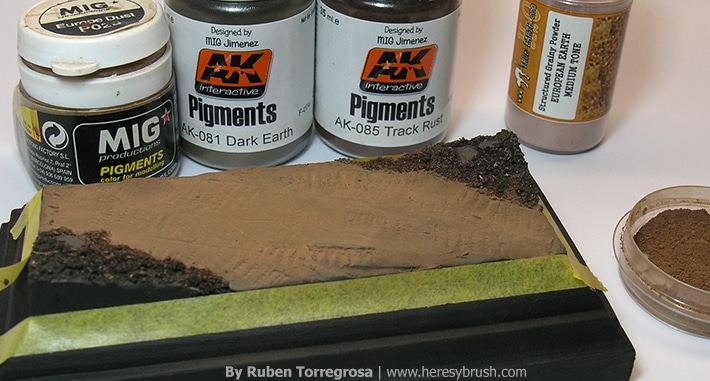
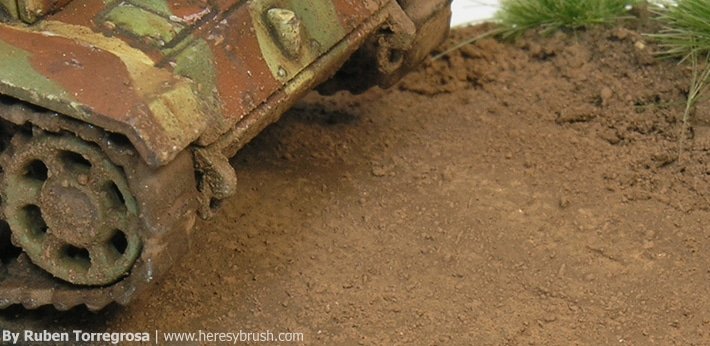
Now is the turn of pigments. It´s been the first time I´ve tried to simulate a dry road. The first approach was to apply a generous layer of dry pigment on the road. Once more, I mixed different tones of pigments to achieve a more interesting result (note TrueEarth product is not a pigment per se, because it’s soluble in water!!!. Pigments from AK, Vallejo, etc are diluted with white spirit or other thinner). Therefore, with a big brush I applied the pigments.
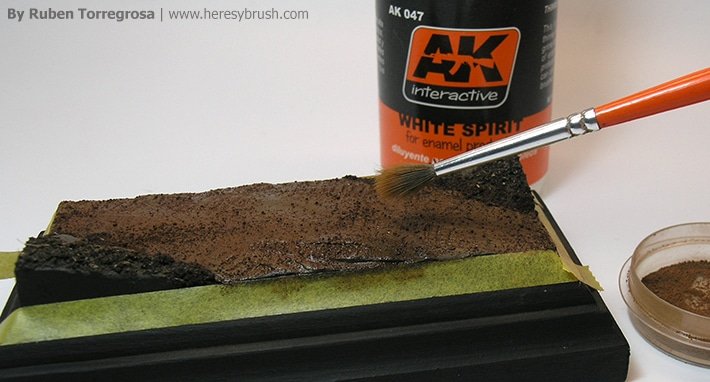
But with only this initial treatment, I didn’t like the result. It was too flat!. Thus, I decided to use a second layer of pigments. But in this second layer, I changed the method. I applied White Spirit with a brush (you can also use Pigment Fixer), and I sprinkled the same mixture of pigments. Once dry, the result it was more interesting, but not enough!. So, I complete the process with another two steps. First, I applied more dry pigment in the track marks, in order to get more contrast. And second, I followed my tutorial published in The Weathering Magazine to make dry mud splashes, using a stiff brush. The combination of these step resulted in something more real!.
Finally, I use some grass tufts from Tamija to break the brown monotony. I used different sizes to avoid the symmetry. Indeed, I put a different number of stuff in each corner because the same reason.