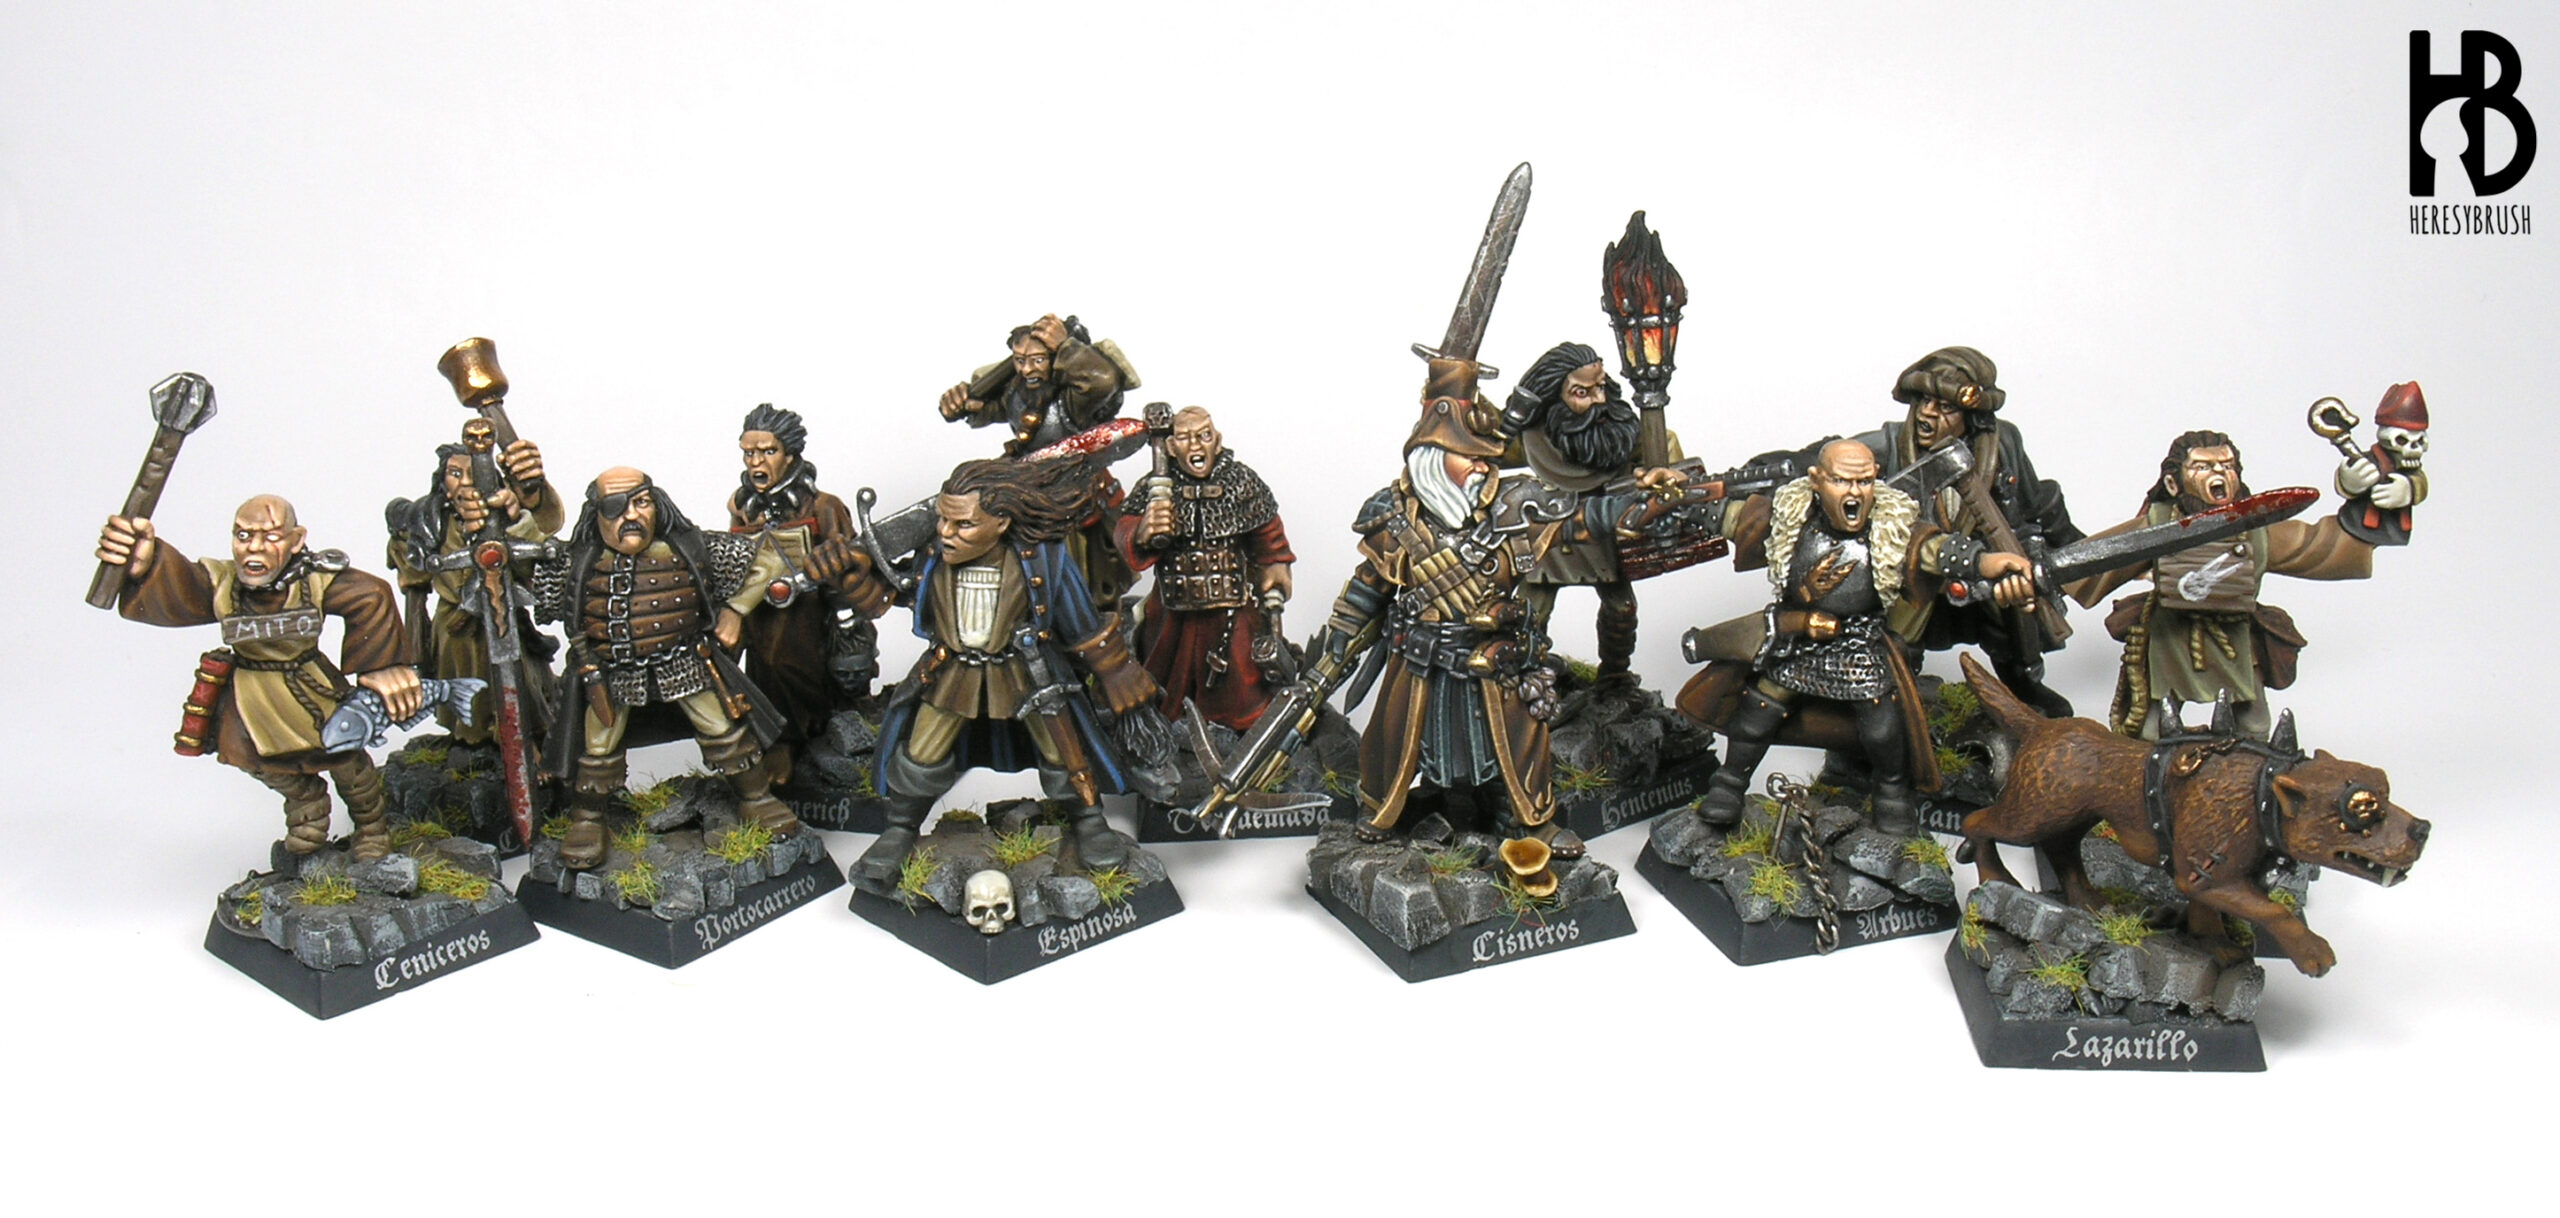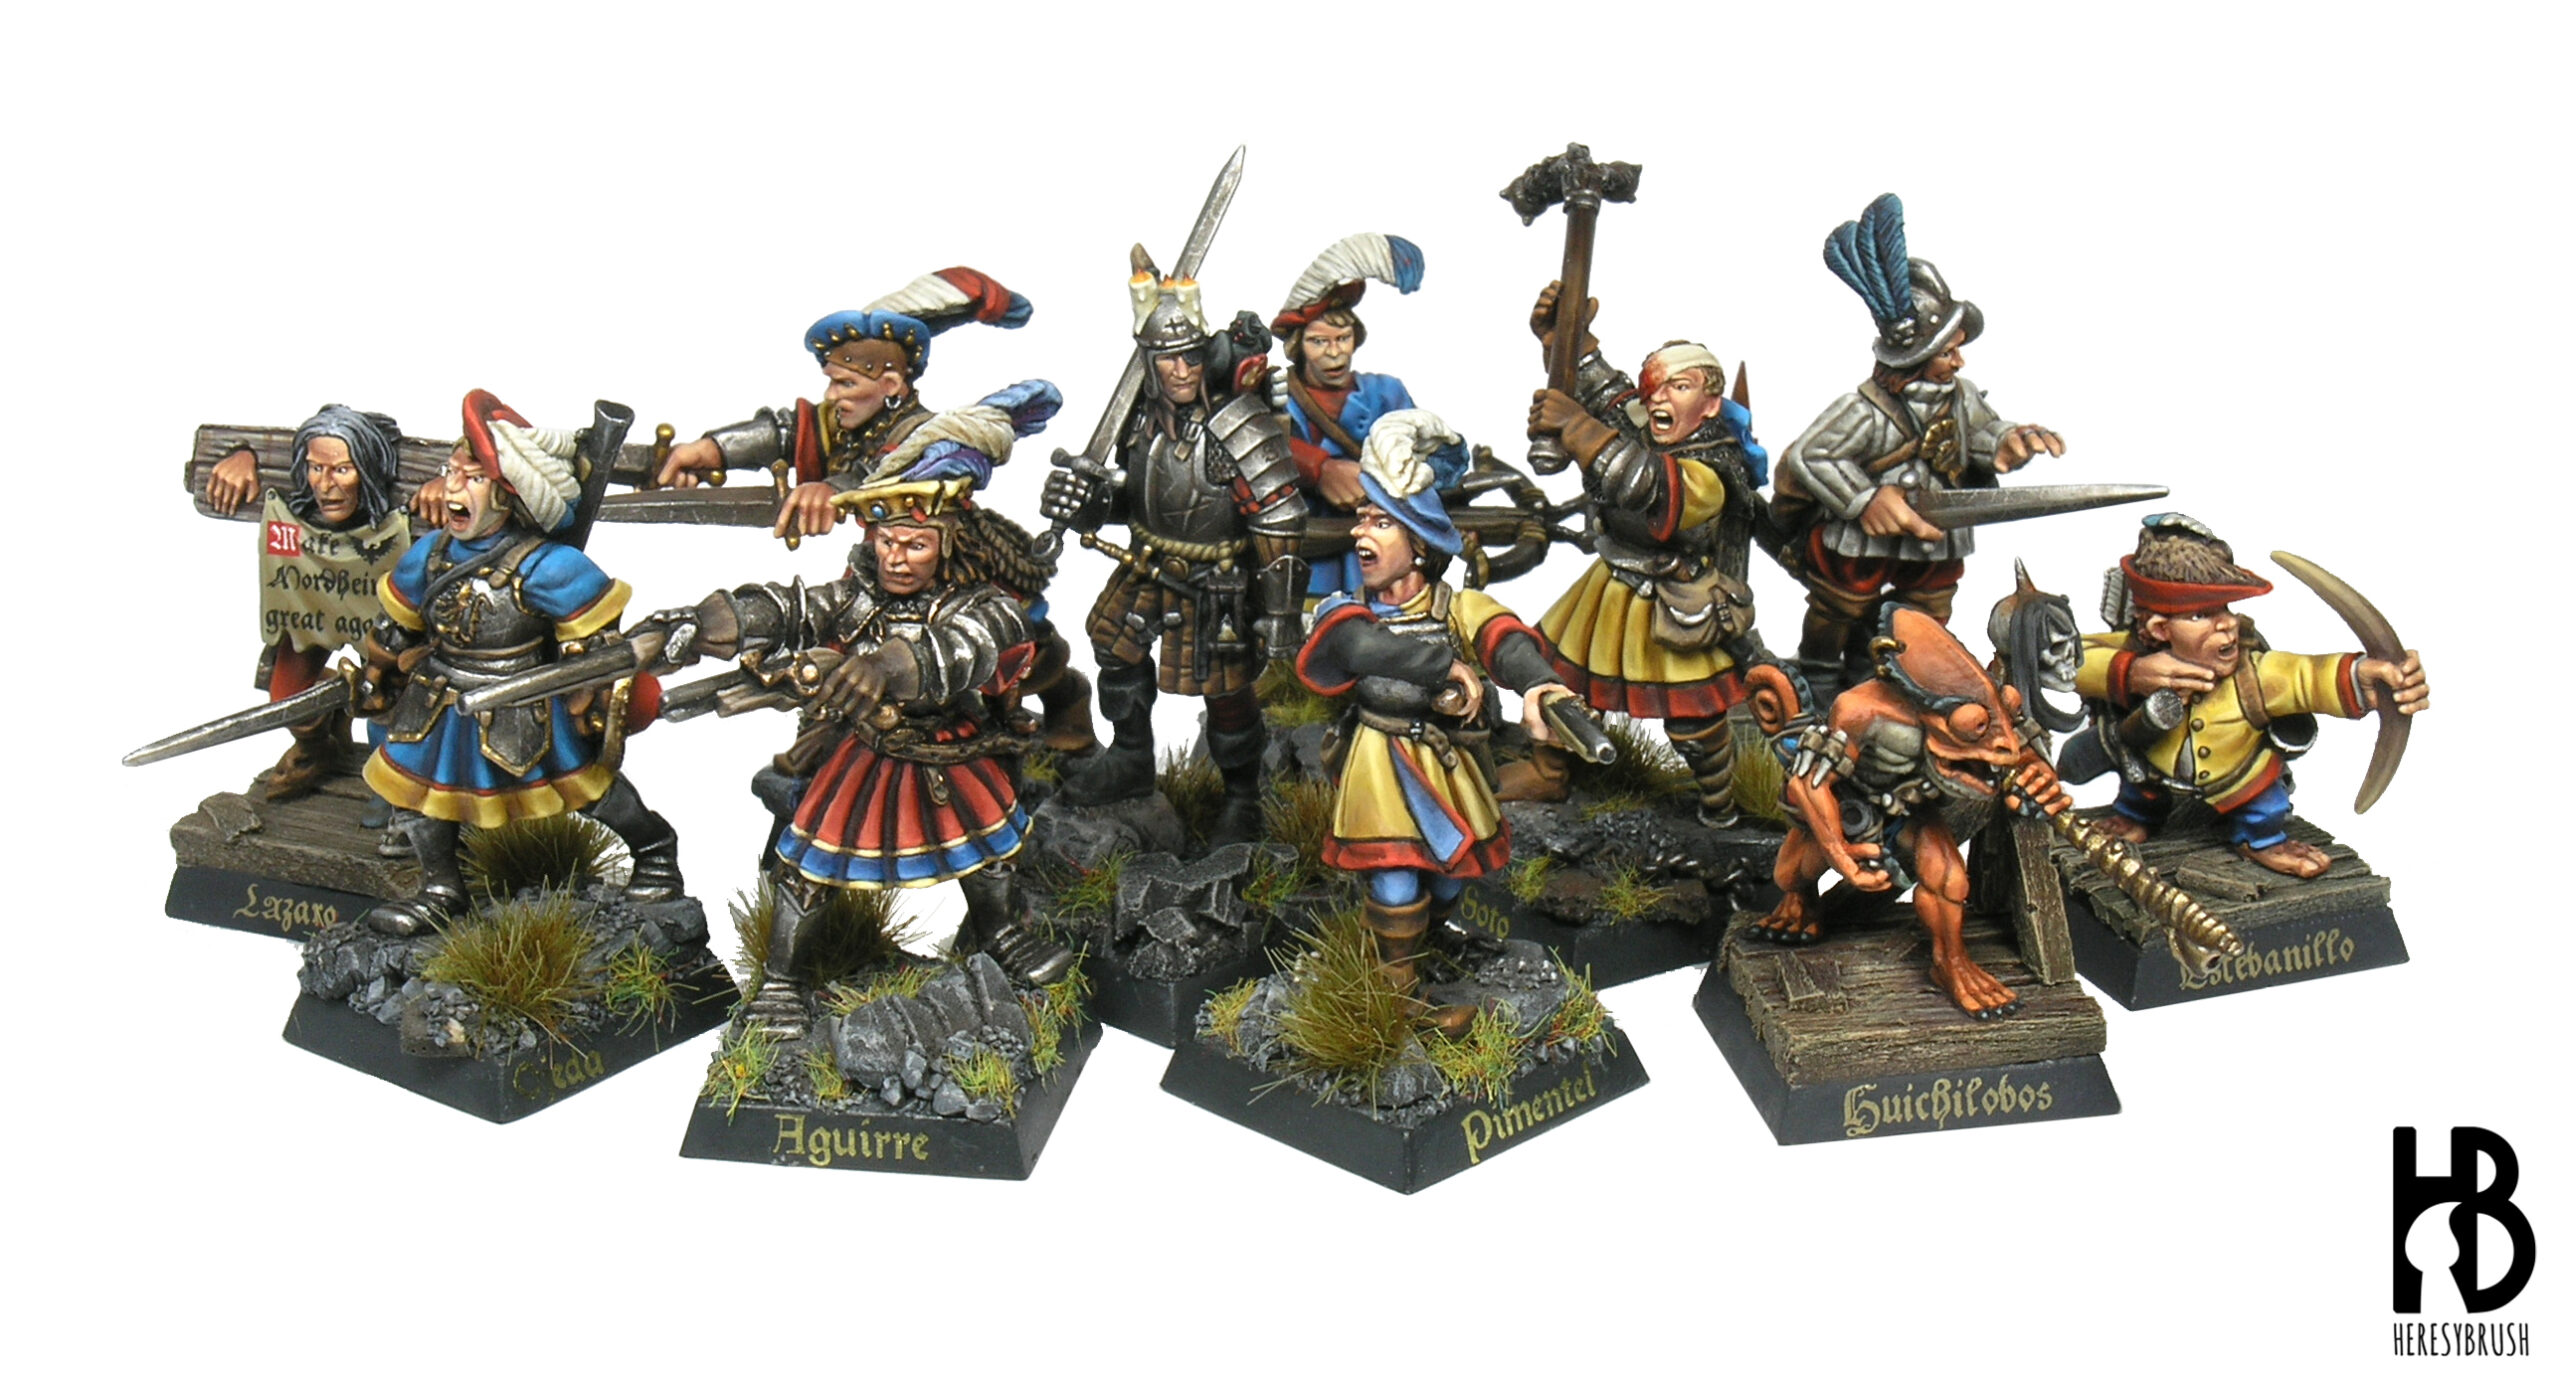
We started a new Mordheim campaign in the local club and I could not resist to paint a bunch of new models for my warbands: some hire swords and more Estalians. But I needed new golden name tags for the new members as I already used all I had. Thus, once more I contacted Scumb4g Kustoms to arrange a new sheet of name tags -gold letters for Marienburgs and Estalians, and silver for Witch Hunters).
Furthermore, I painted a beggar with a paper hanging in the front. For this I wanted something special: a text saying Make Mordheim great again. I really love this game, and this is somehow a statement and silent shout (perhaps someone will hear it?). For this, Scumb4g Kustoms prepared a few examples using the original font of the Mordheim rulebook. I finally picked one with a red box with the first letter of the message and a crow. I have to say that the resolution of the decals is truly amazing.
![]()
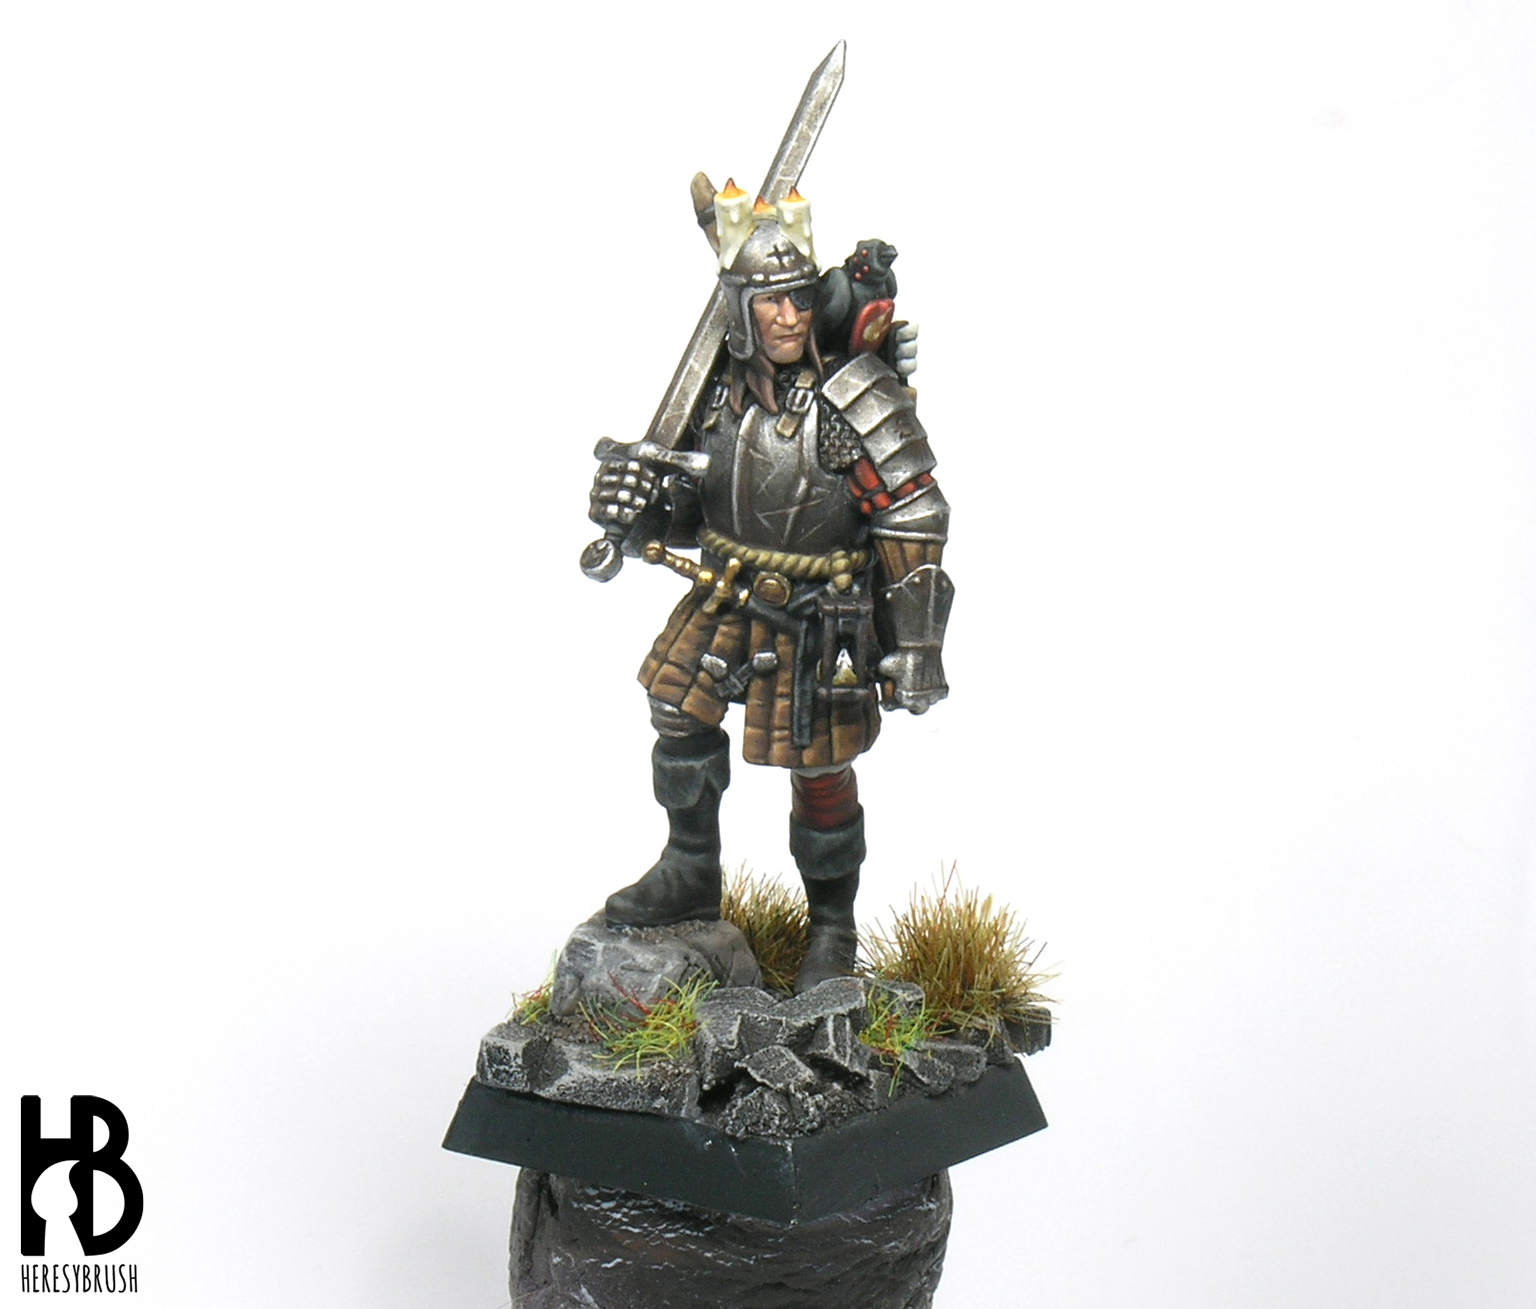
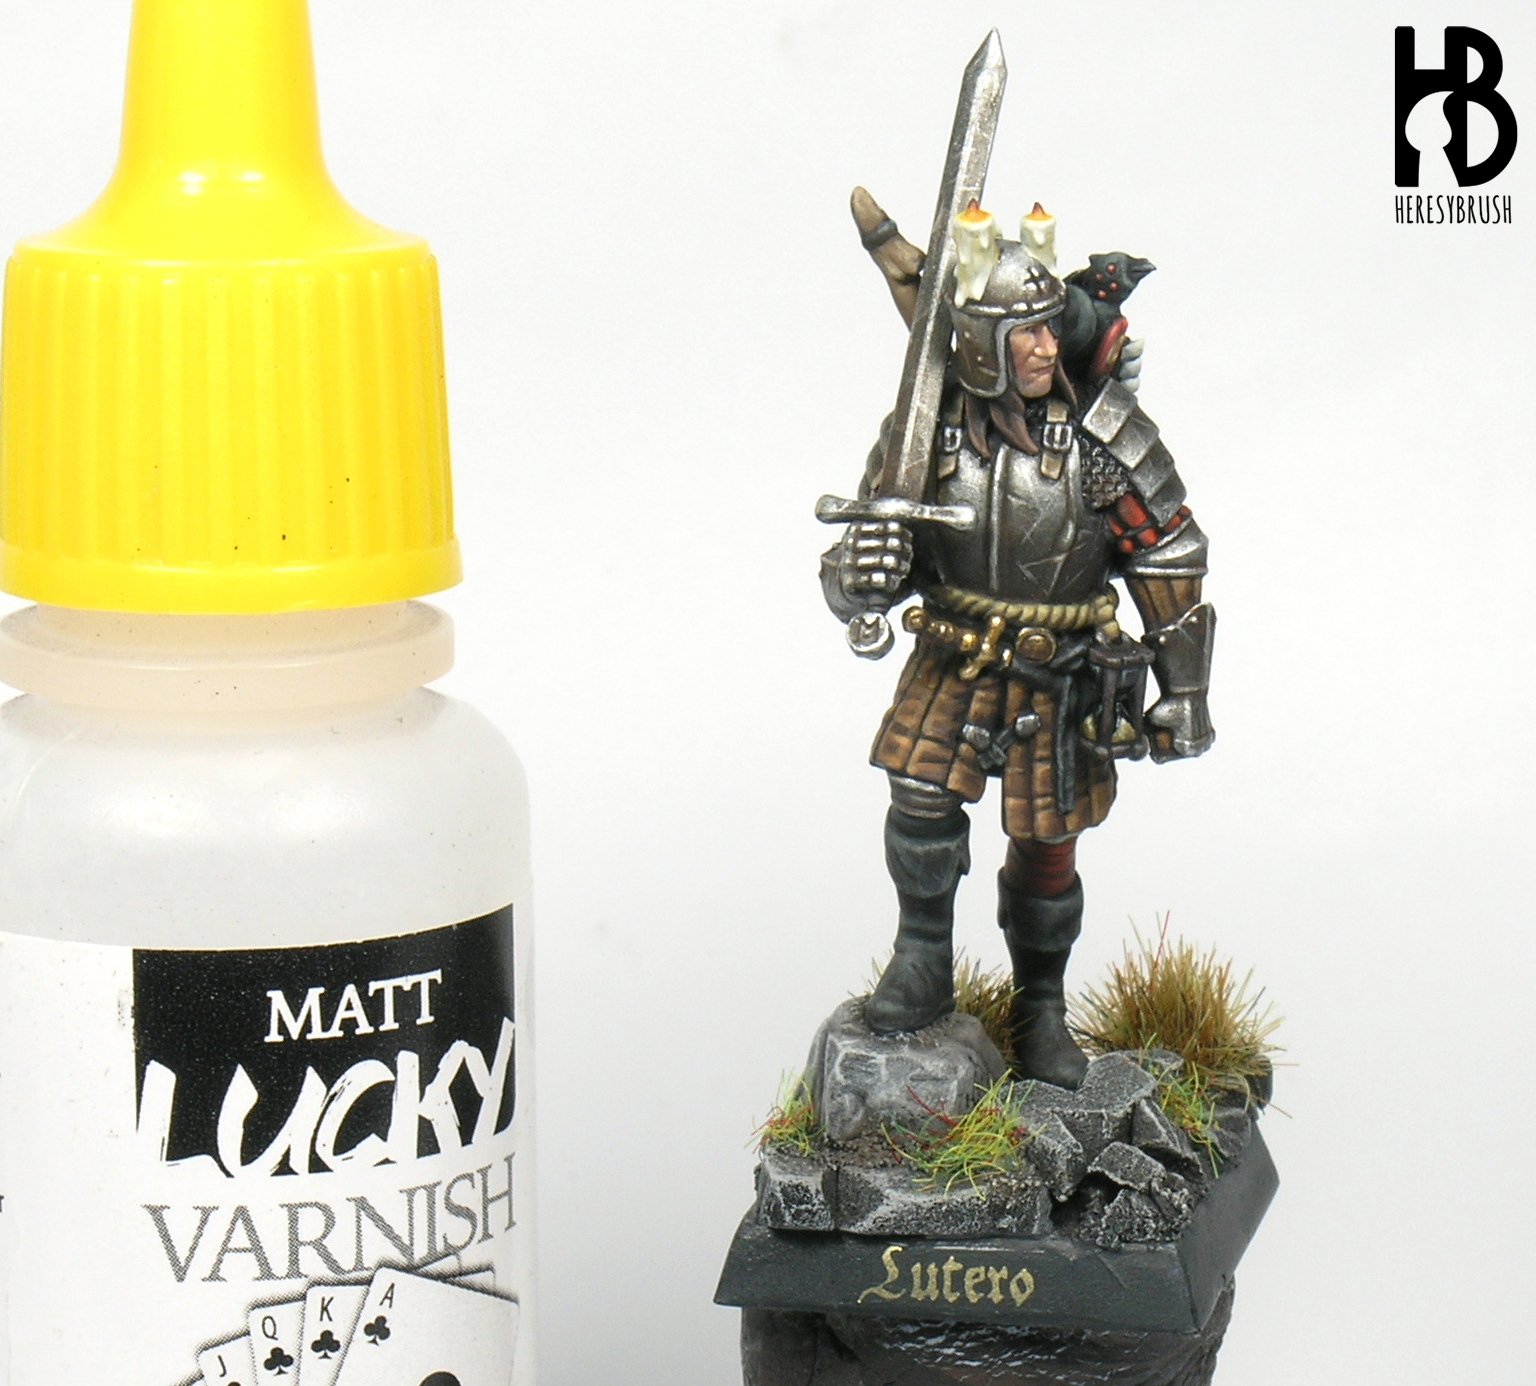
Here, I wanted to share with you an easy and quick guide to apply the name tags decals. You can download it as a PDF o read it directly here. For this guide I have used the Luther model from Citizens of the Old World (HeresyLab).

How to apply name tag decals
Step 1: first, we completely finish the base and paint the edge with the desired colour. Here, I used dark grey. Before applying the decal we should apply two layers of glossy varnish, such as A.MIG-091, with a brush. The glossy varnish will create a perfect flat surface for the decal that will ensure a perfect adaptation of the decal to the surface.
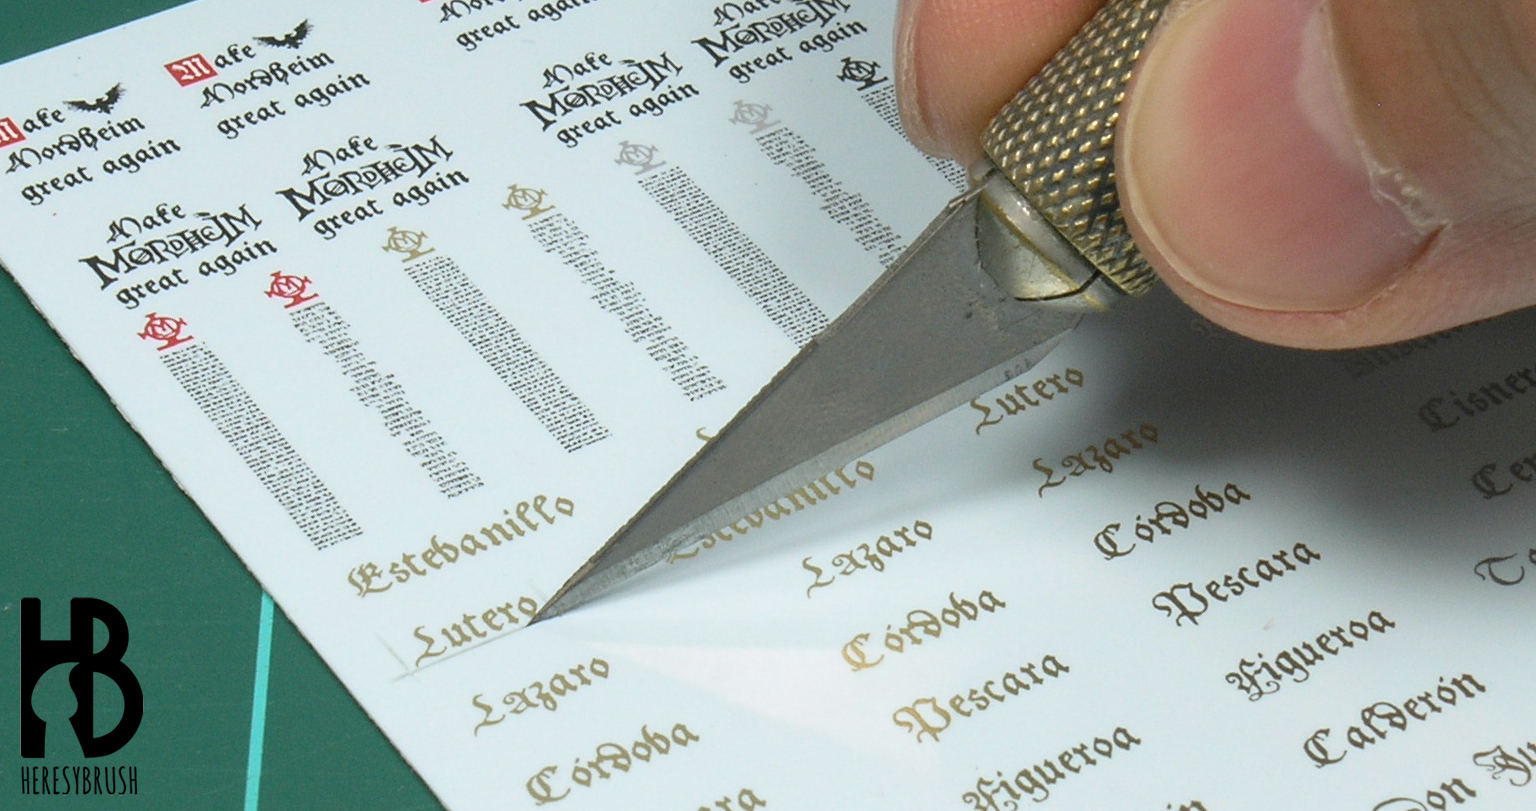
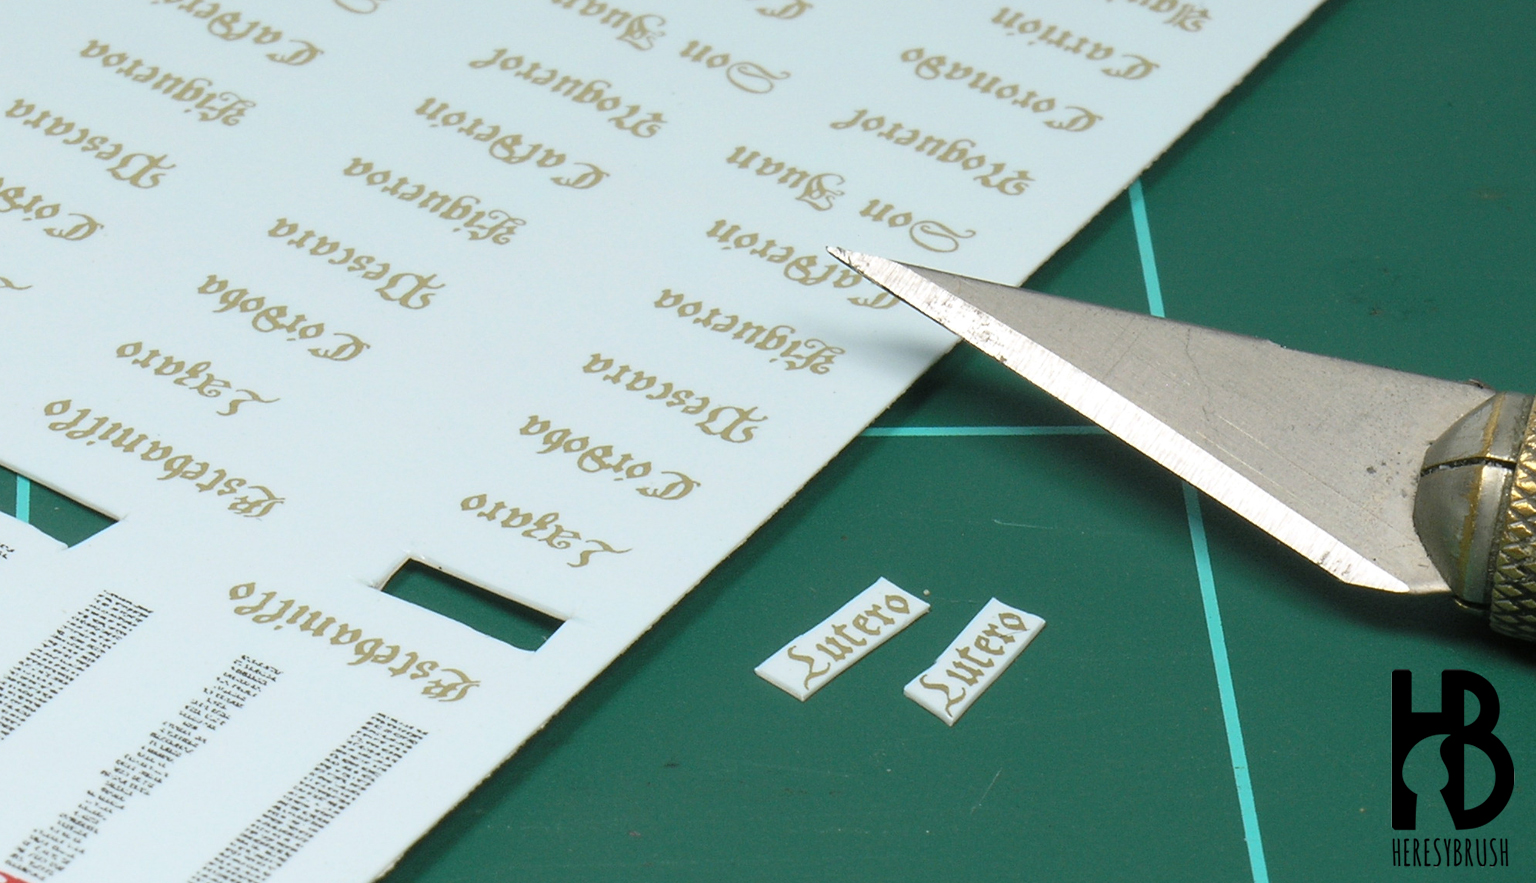
Step 2: next we use a sharp modelling knife to cut the decal. We cut it carefully and close to the letters, trying to include as little as possible the transparent part.
Step 3: we remove the cut decals from the sheet gently. If they are not perfectly cut, we use the modelling knife again. I normally use two decals per base: one in the front and one in the back.
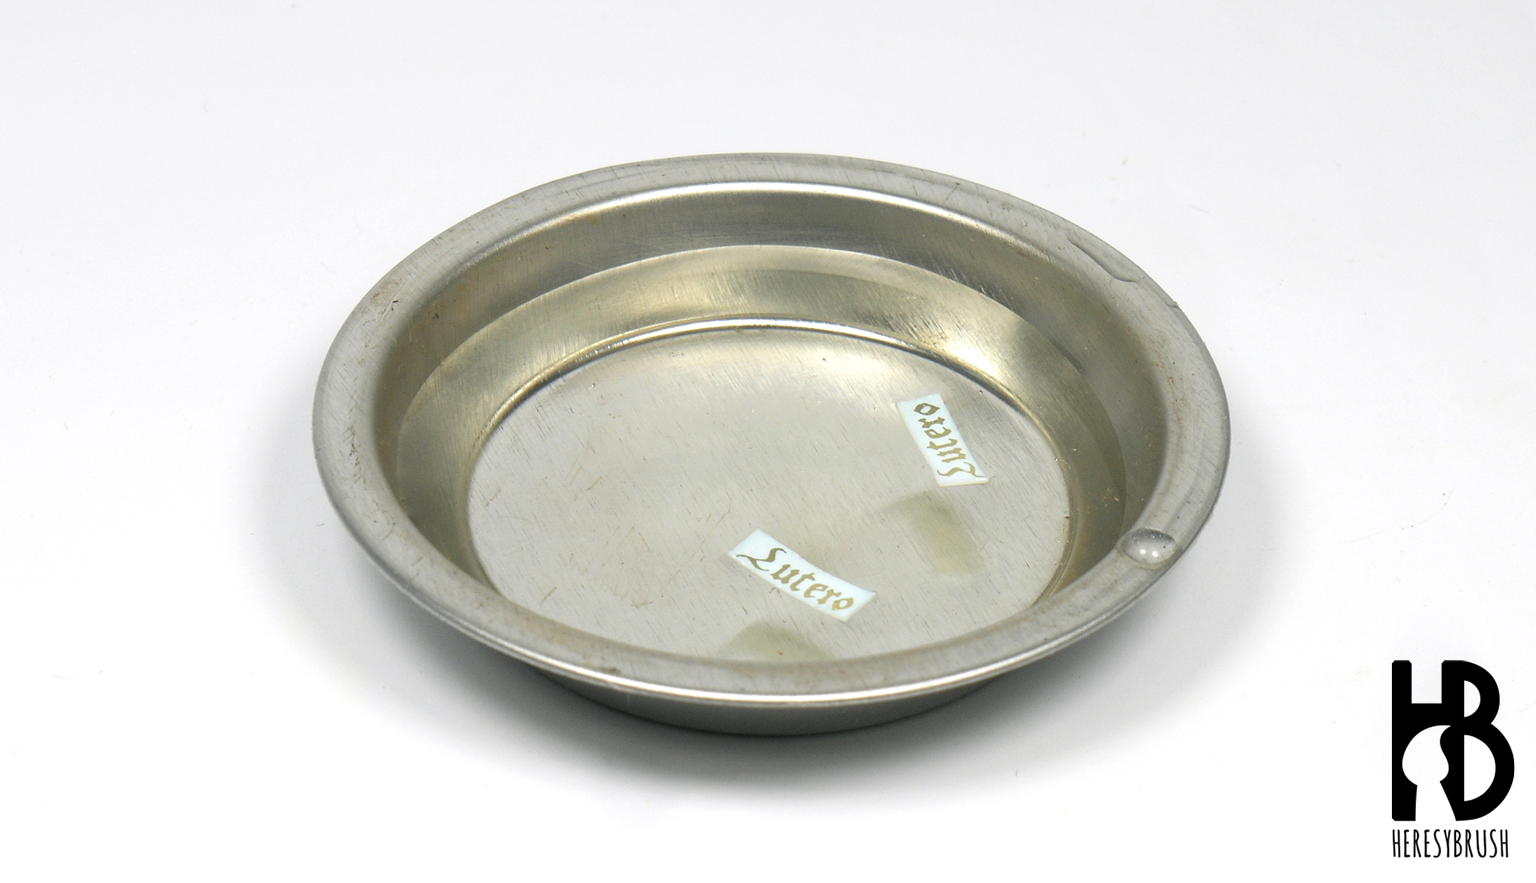
Step 4: we soak the decals with tap water until the decal is separated from the paper sheet. It can take couple of minutes. Do not rush the separation with a brush as you can accidentaly break the decal.
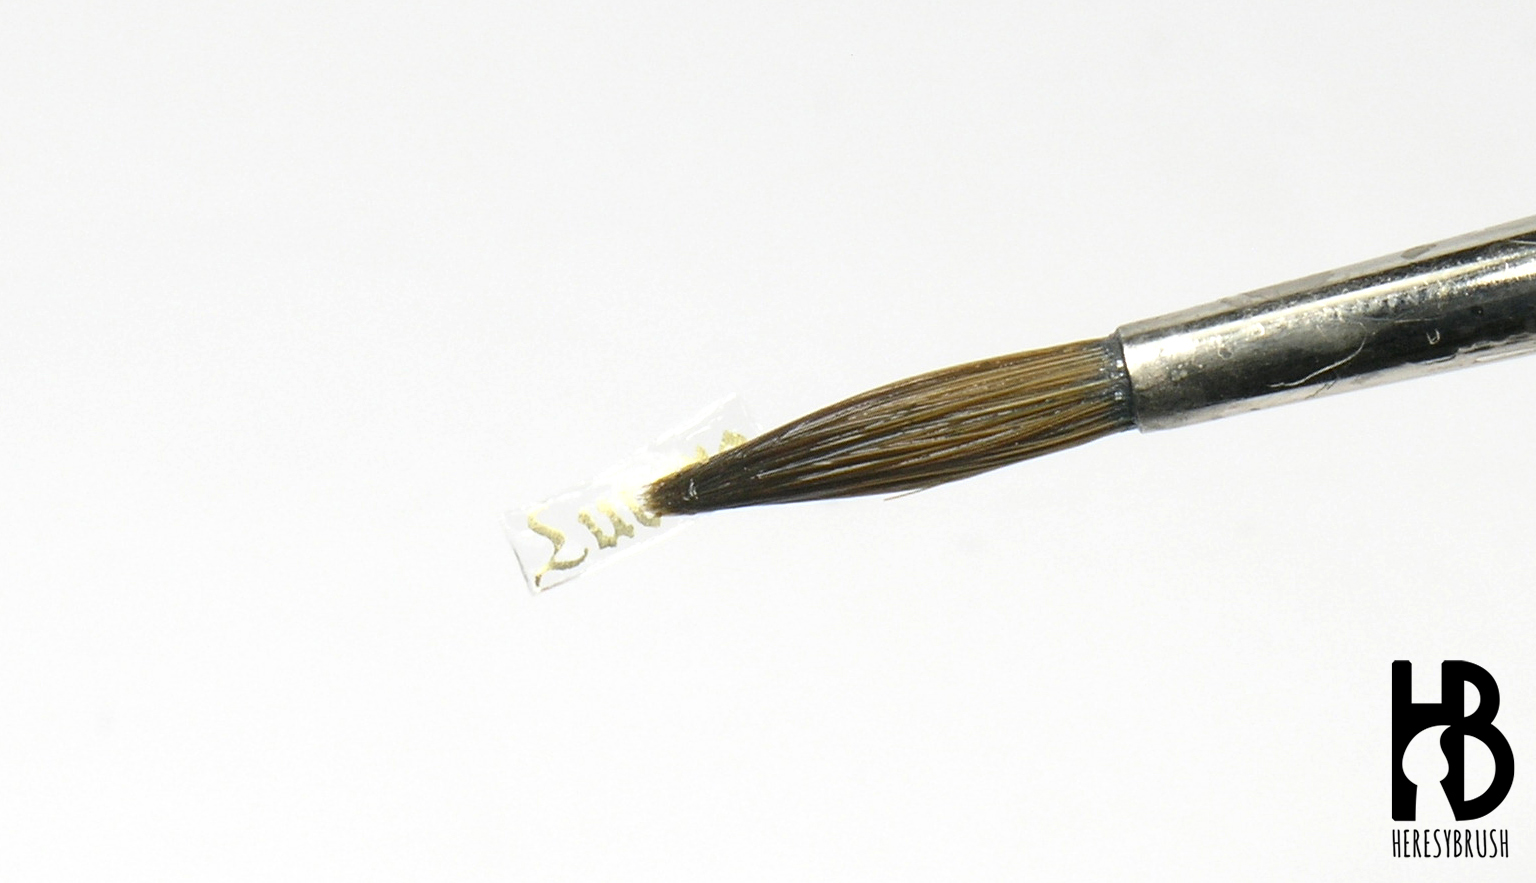
Step 5: to handle and apply the decal we can use a rounded brush. After recovering it from the water it is important to remove the excess of water using a cloth or paper towel. We hold the decal from the frontal part.
Step 6: and then we apply it on the right place. We can use the tip of the brush to gently move it to the right position. Or we can directly remove it and apply it again. If it is stuck, we add a little bit of water.
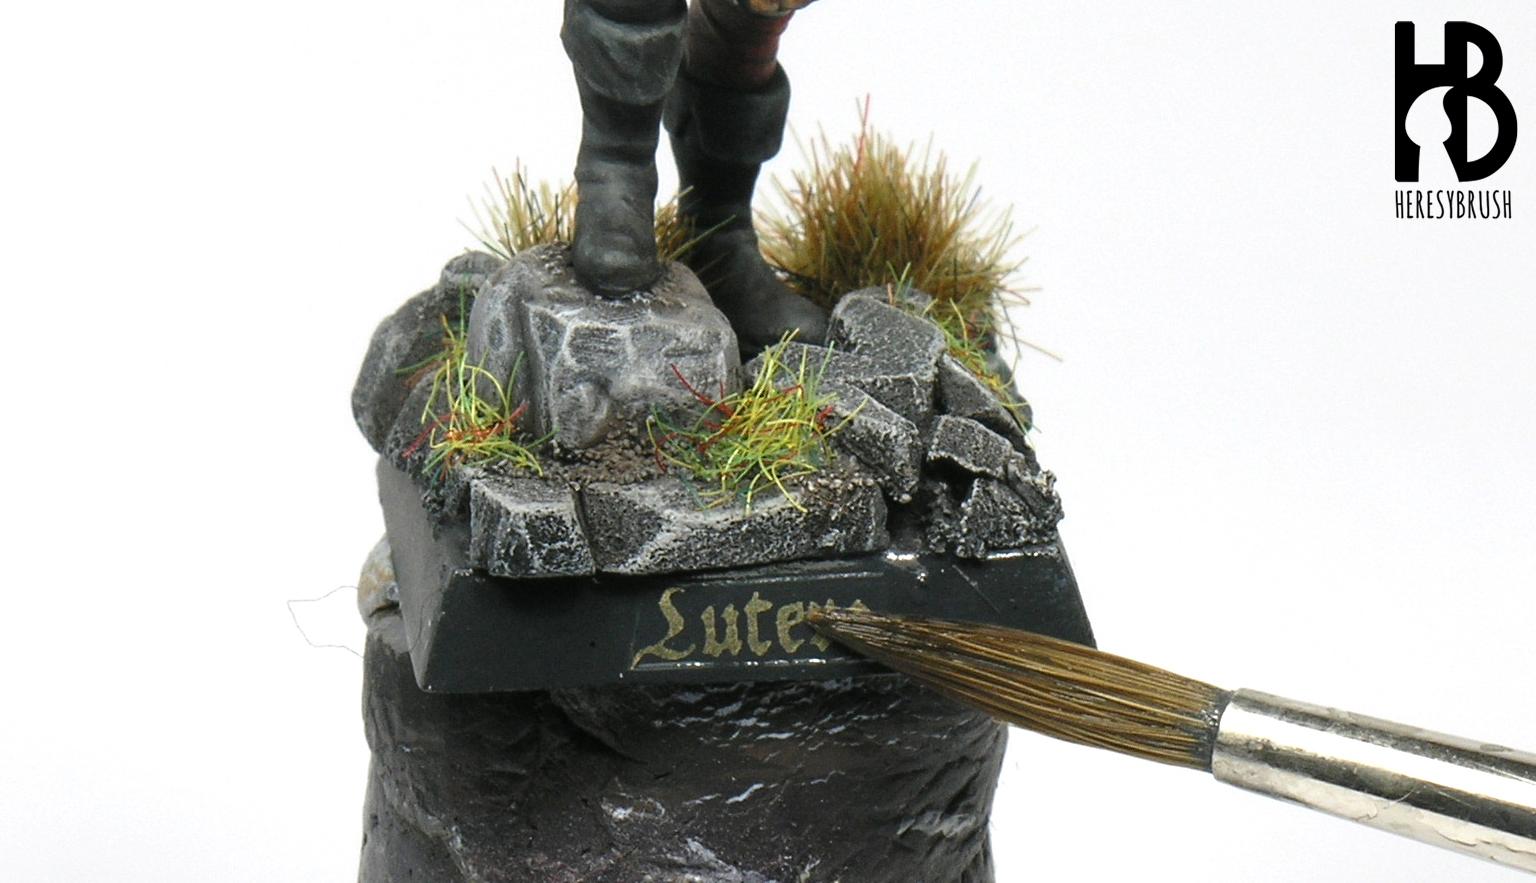
Step 7: to fully fix and adapt the decal to the surface we can use specific products for decals, such as MicroSet and MicroSol (MicroScale Induestries). We apply each product couple of times to get a perfect adaptation. We wait until the first layer is dry before applying the next.

Step 8: finally, we apply two layers of matt varnish, such as A.MIG-2055, with a brush to seal and protect the decal, as well as to neutralize the shiny effect of the glossy varnish.
These are the Witch Hunters with silver name tags, also from Scumb4g Kustoms.